
Upload photos to the gallery
By the end you’ll have your photos in your website’s Gallery, tagged so fans can filter them, with a title on the ones you want.
Before you start
- Have the photos on your computer: JPG, PNG, WebP, HEIC or TIFF, up to 50 MB each. Big photos are shrunk before they upload.
- Tags are optional. To tag photos with a team or player, the team or player needs to exist first.
Steps
-
Step 1: In the left menu, click Website.
Website opens on its Design tab. Your photos have their own tab.
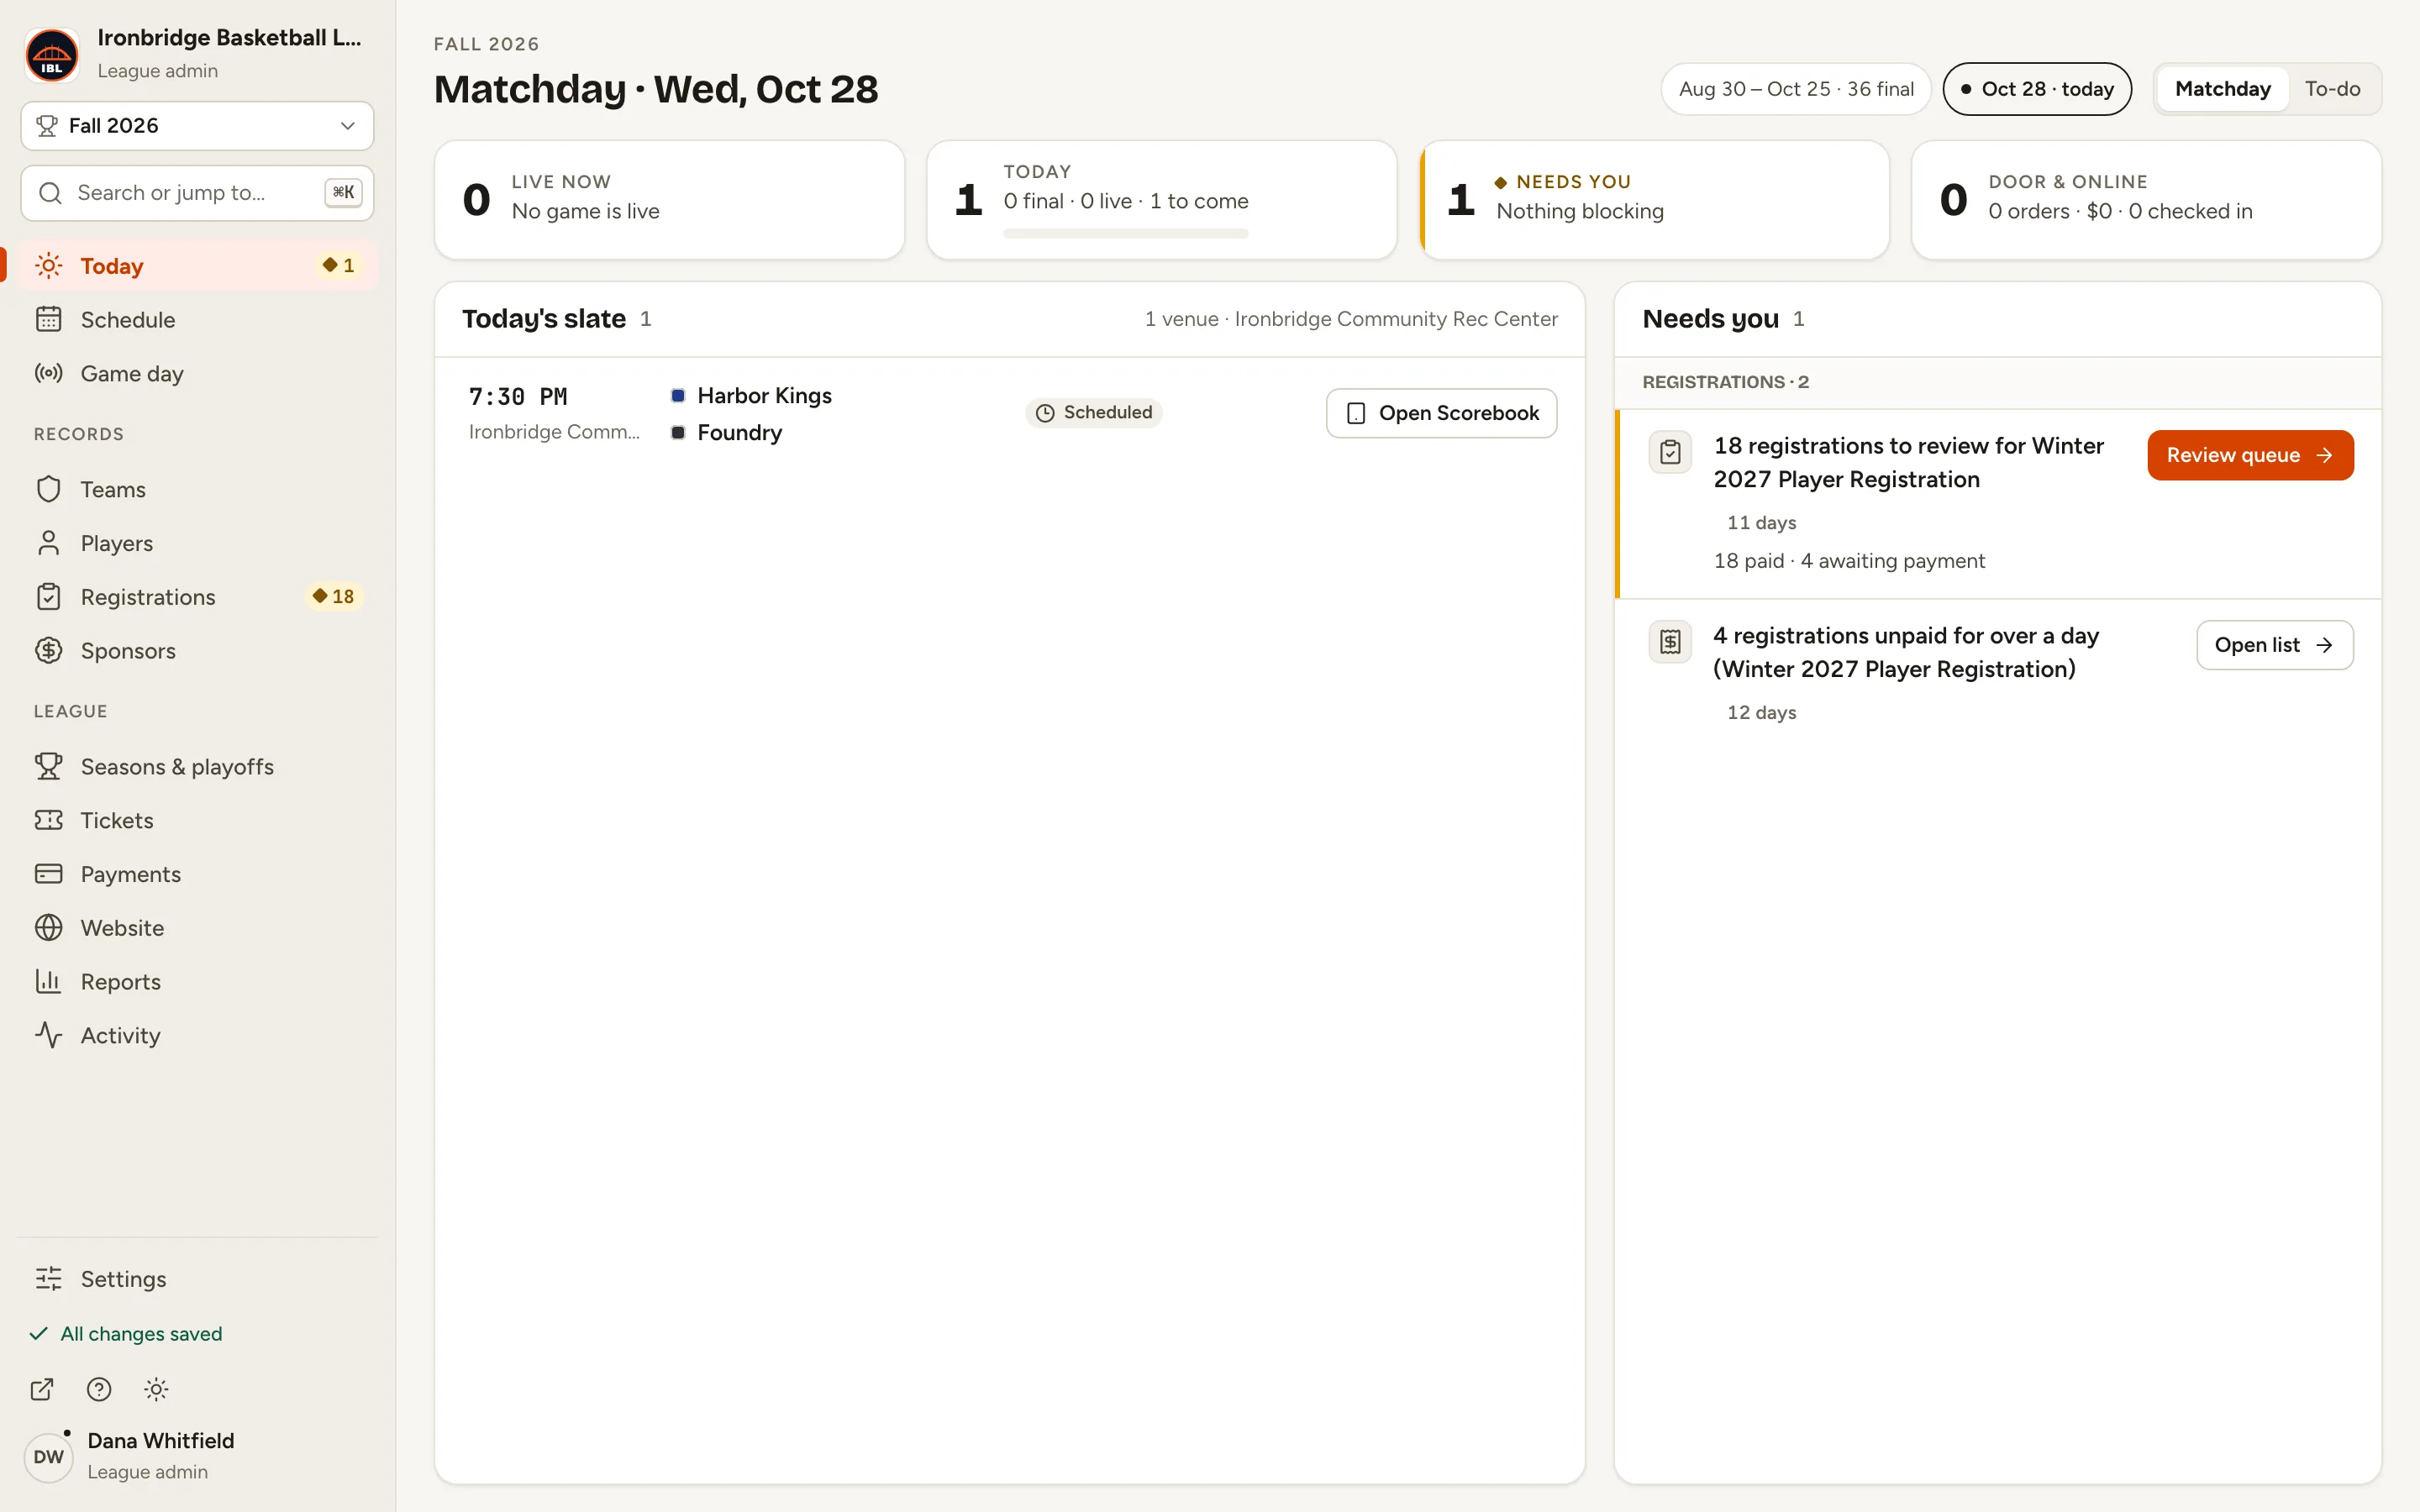
Fig. 1Website, in the left menu. -
Step 2: Click the Media tab.
Media holds every photo in your gallery. With none yet, it says No photos yet.
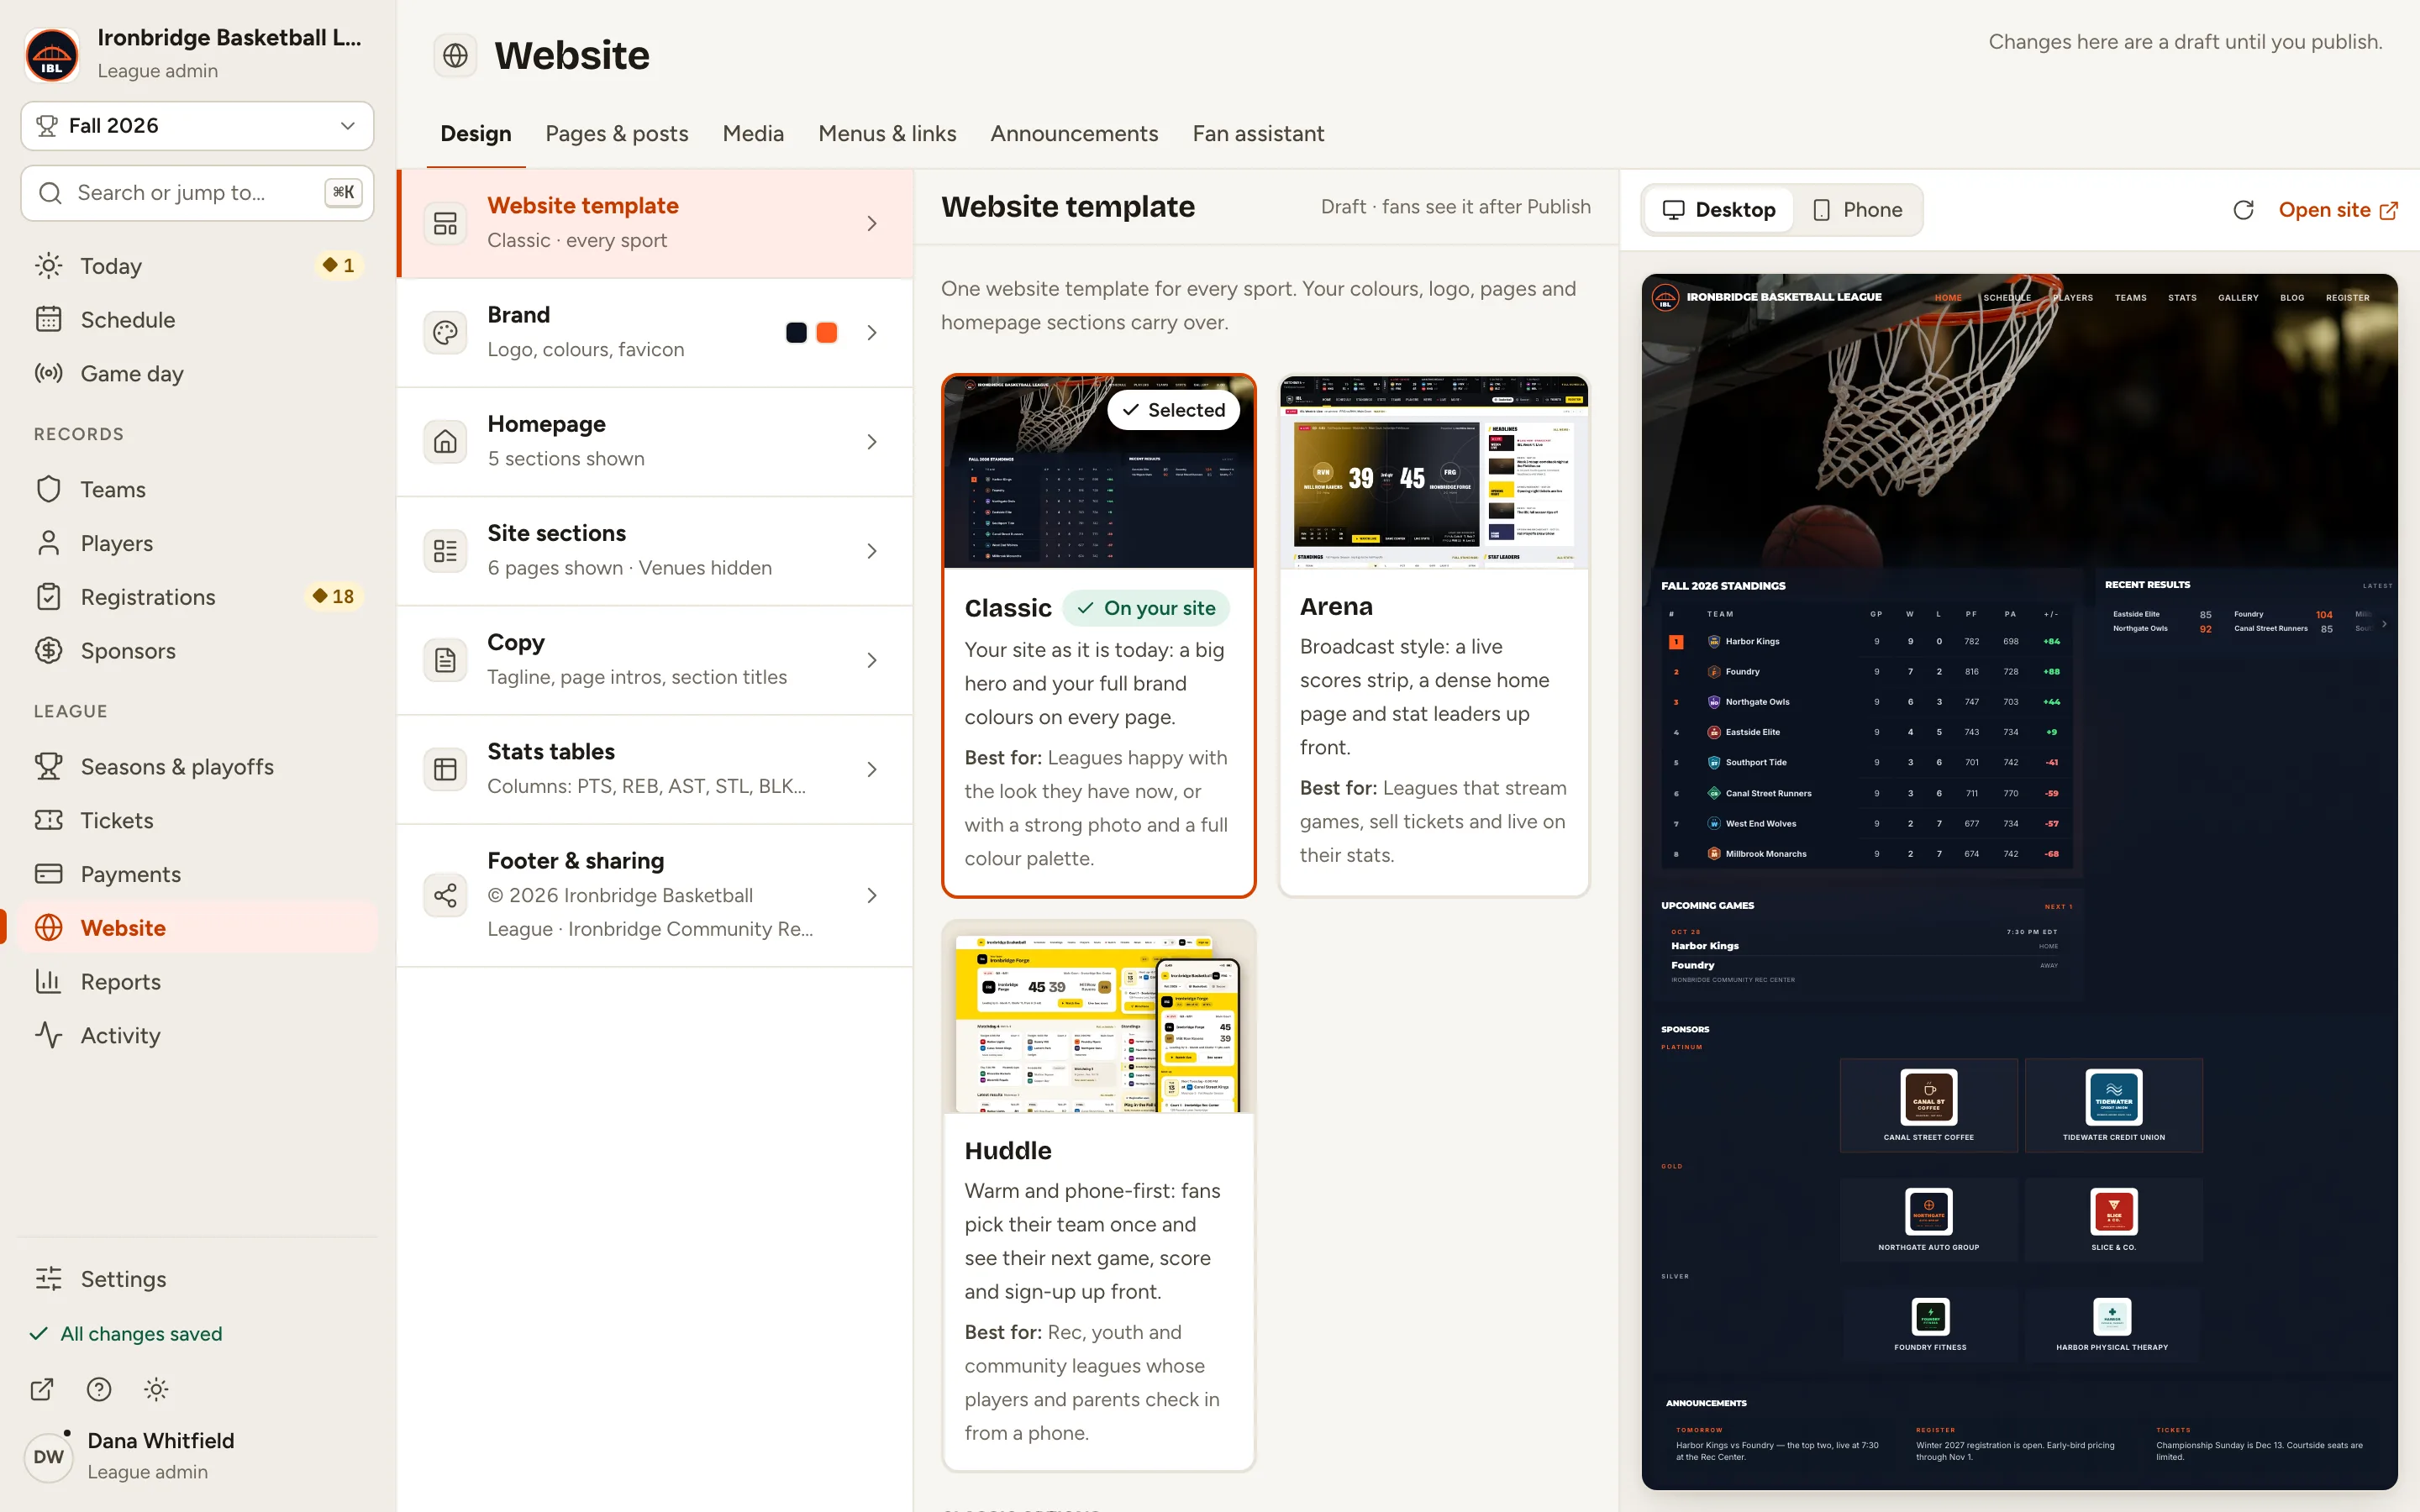
Fig. 2The Media tab, next to Pages & posts. -
Step 3: Click Upload photos at the top right.
The Upload photos panel opens.
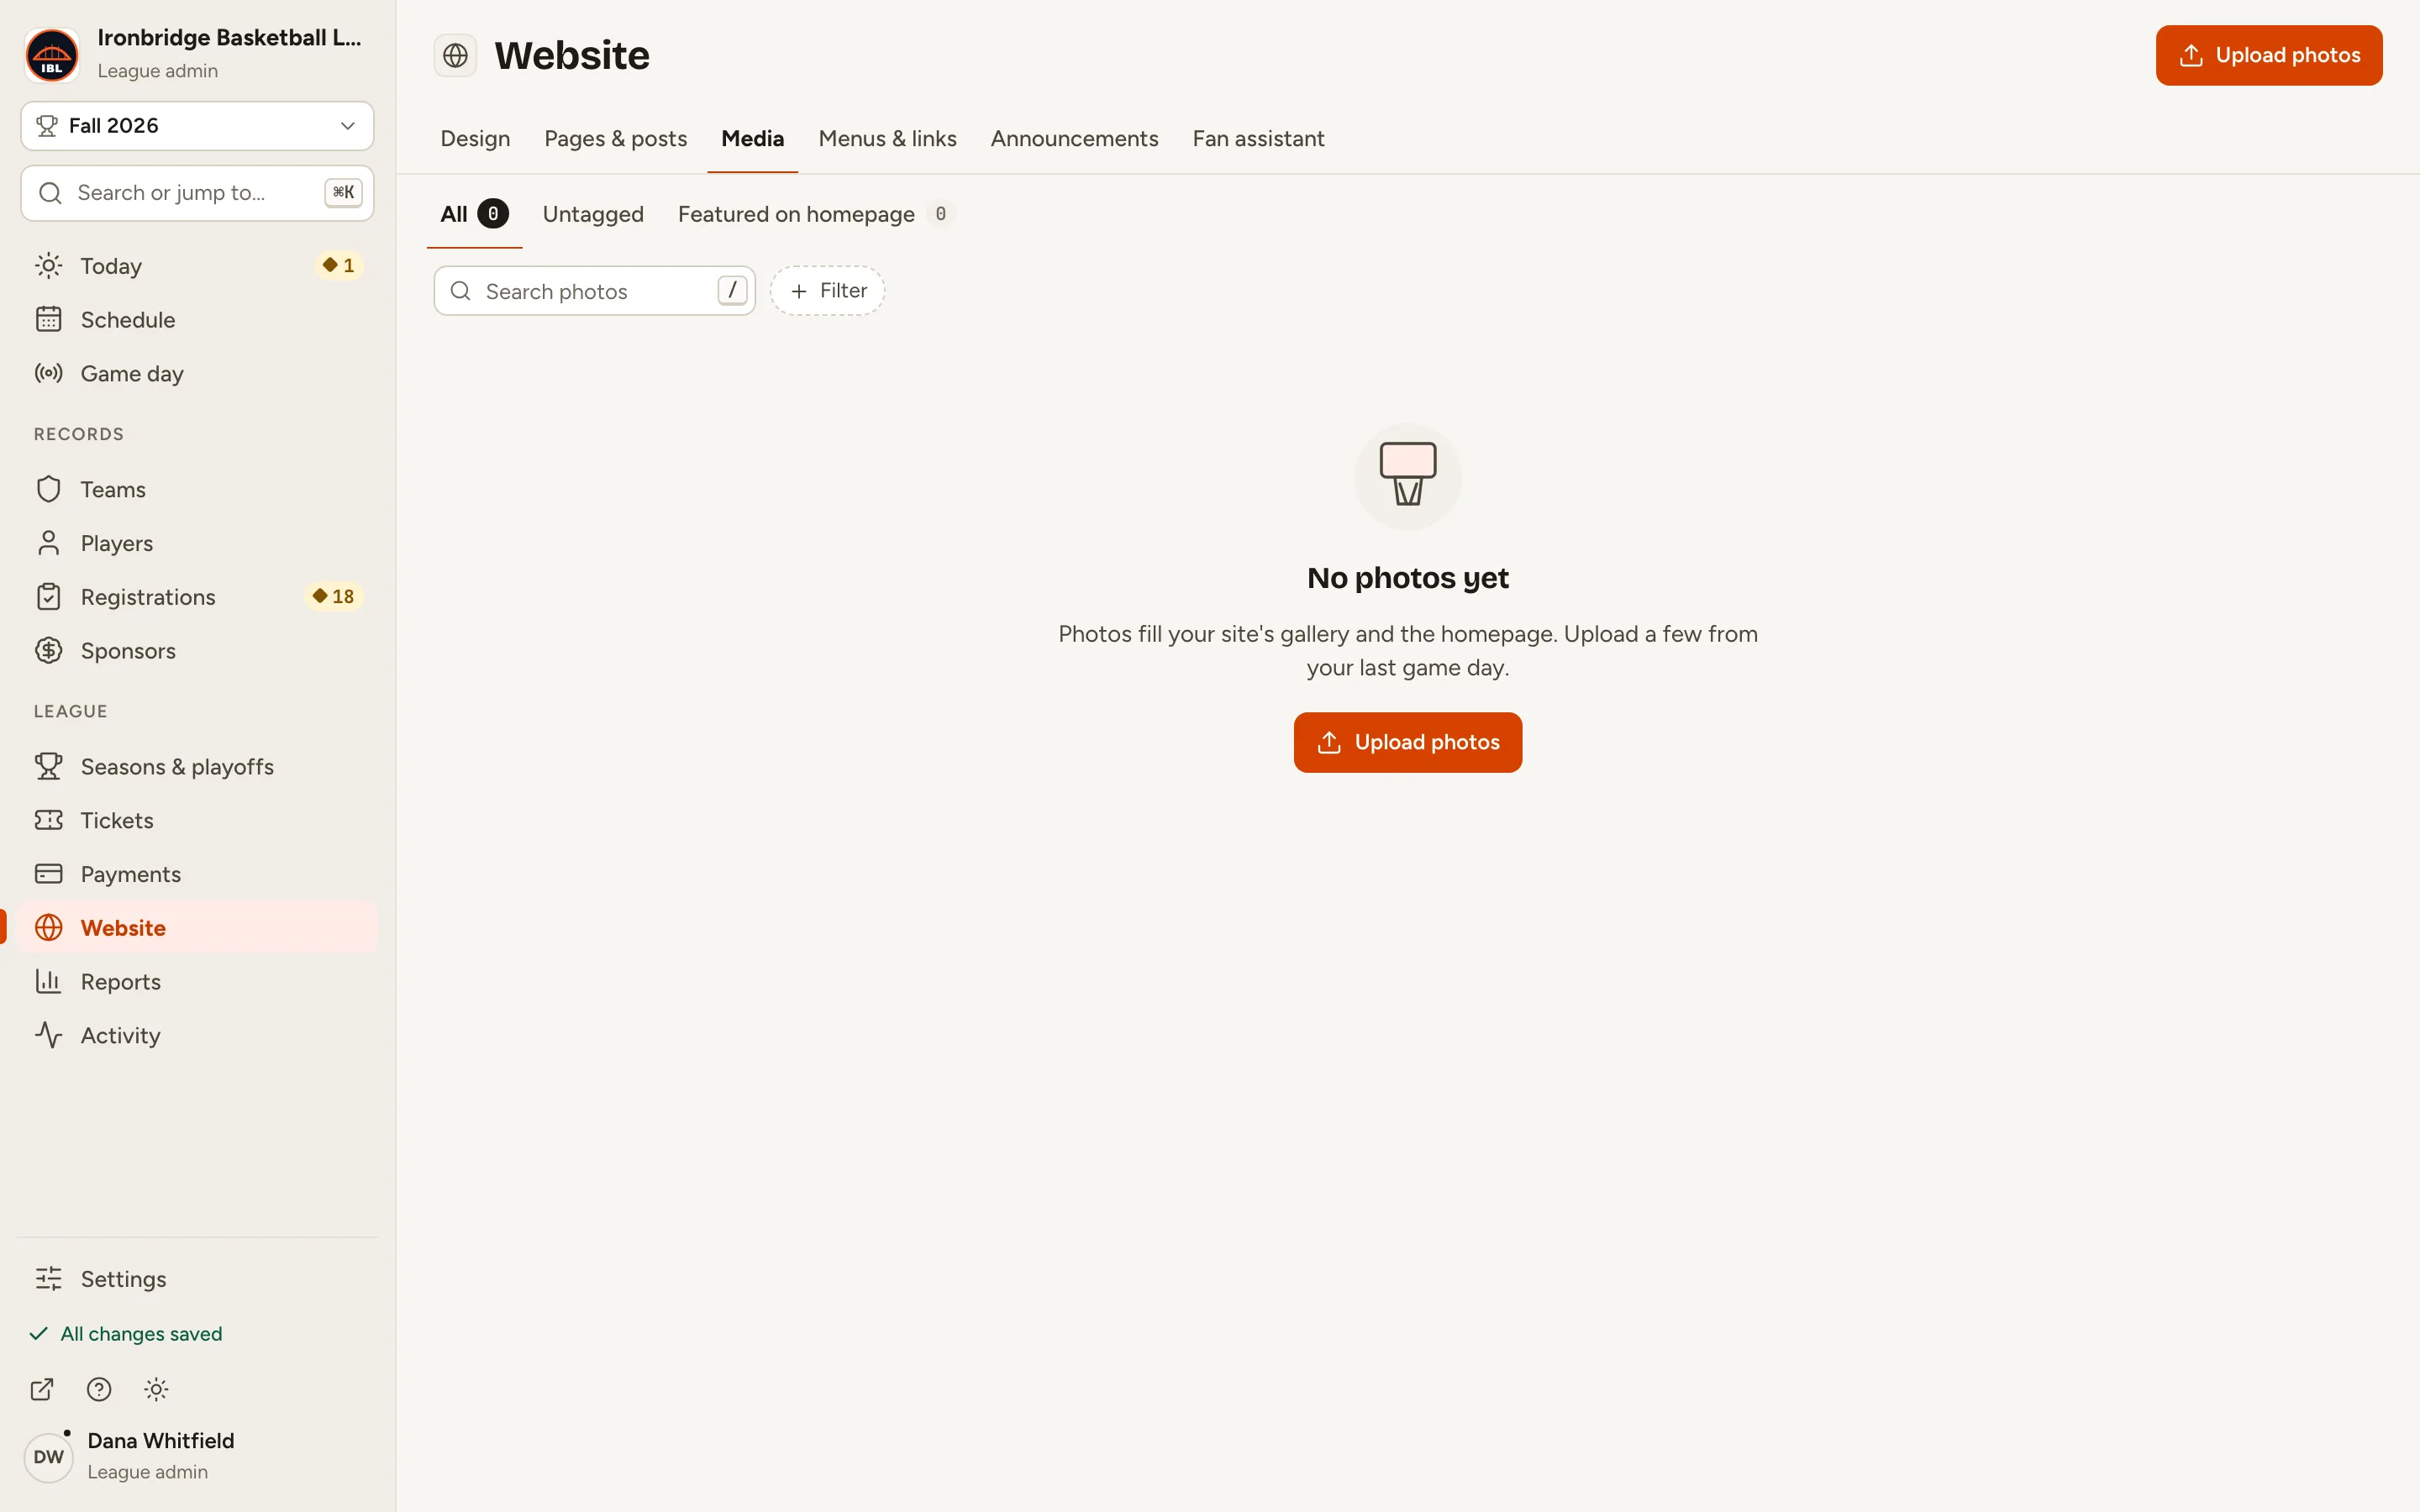
Fig. 3Upload photos, at the top right of Media. -
Step 4: Click Choose files and pick your photos.
You can also drag photos onto the box. Up to 50 go at a time, and each one is listed as Waiting.
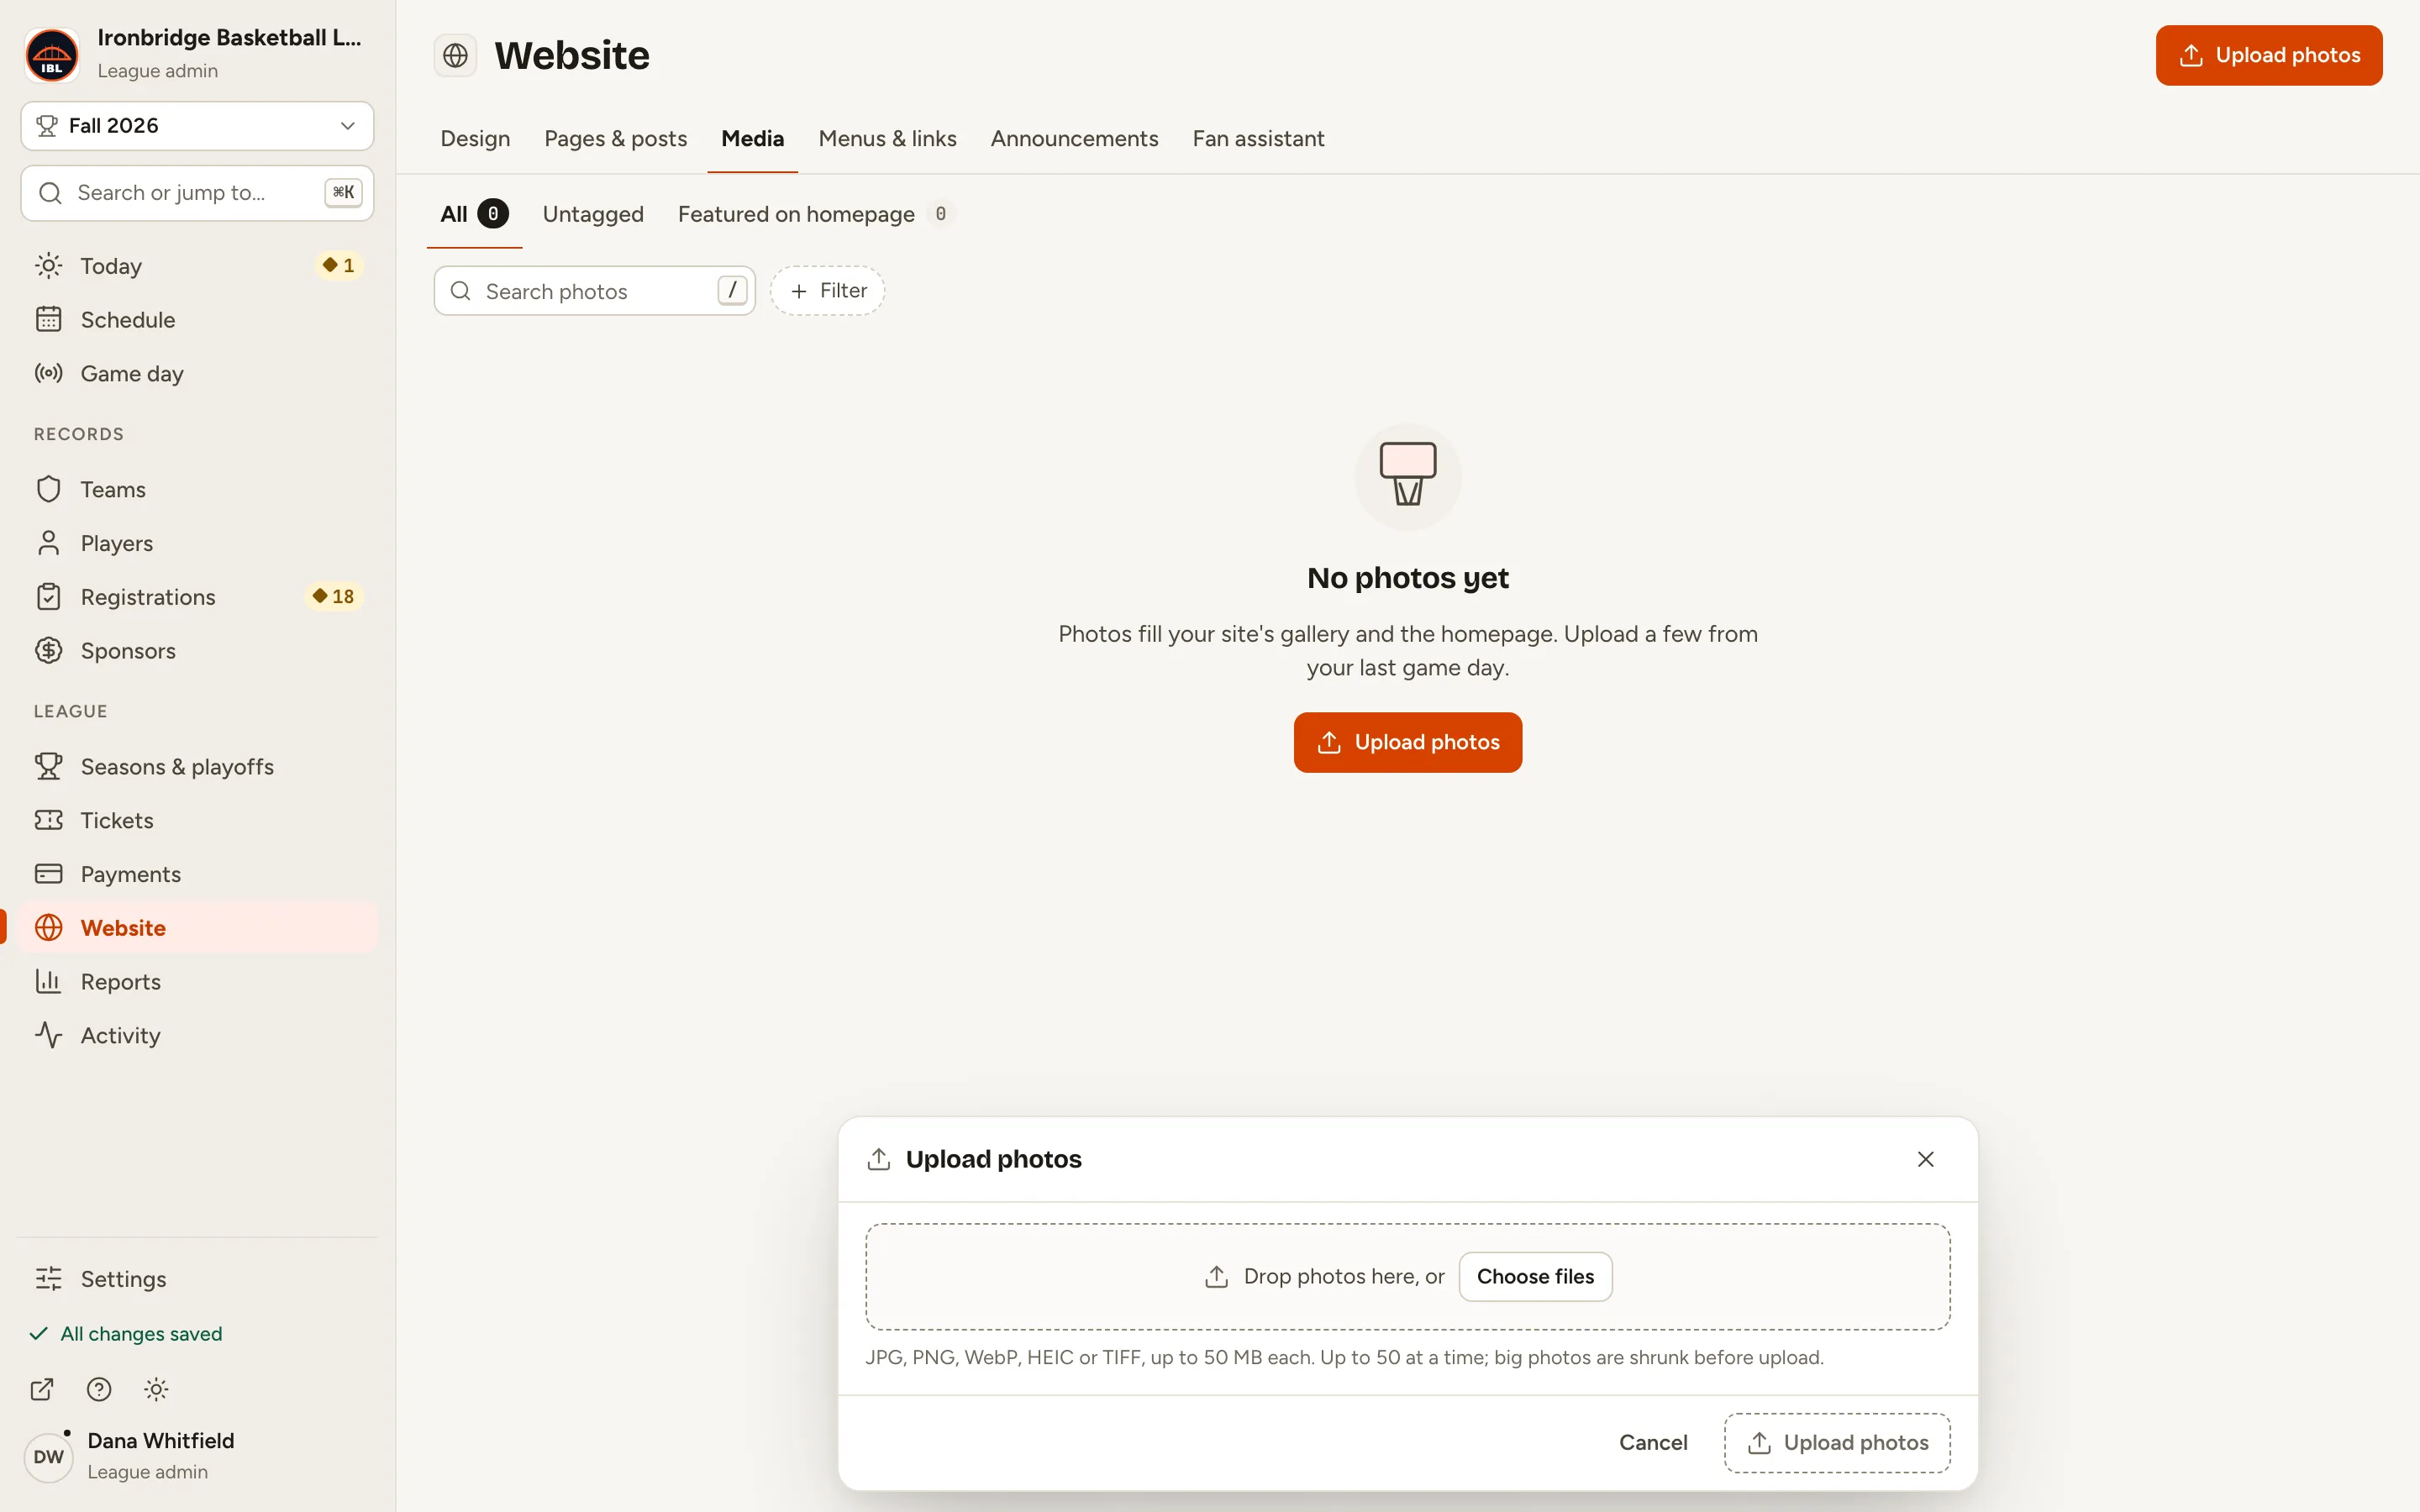
Fig. 4Choose files, in the Upload photos panel. -
Step 5: In Tag all 4 photos, type a season, team or player and pick it.
Tags let fans filter the gallery by season, competition, team or player. They’re optional, and you can add more to each photo later.
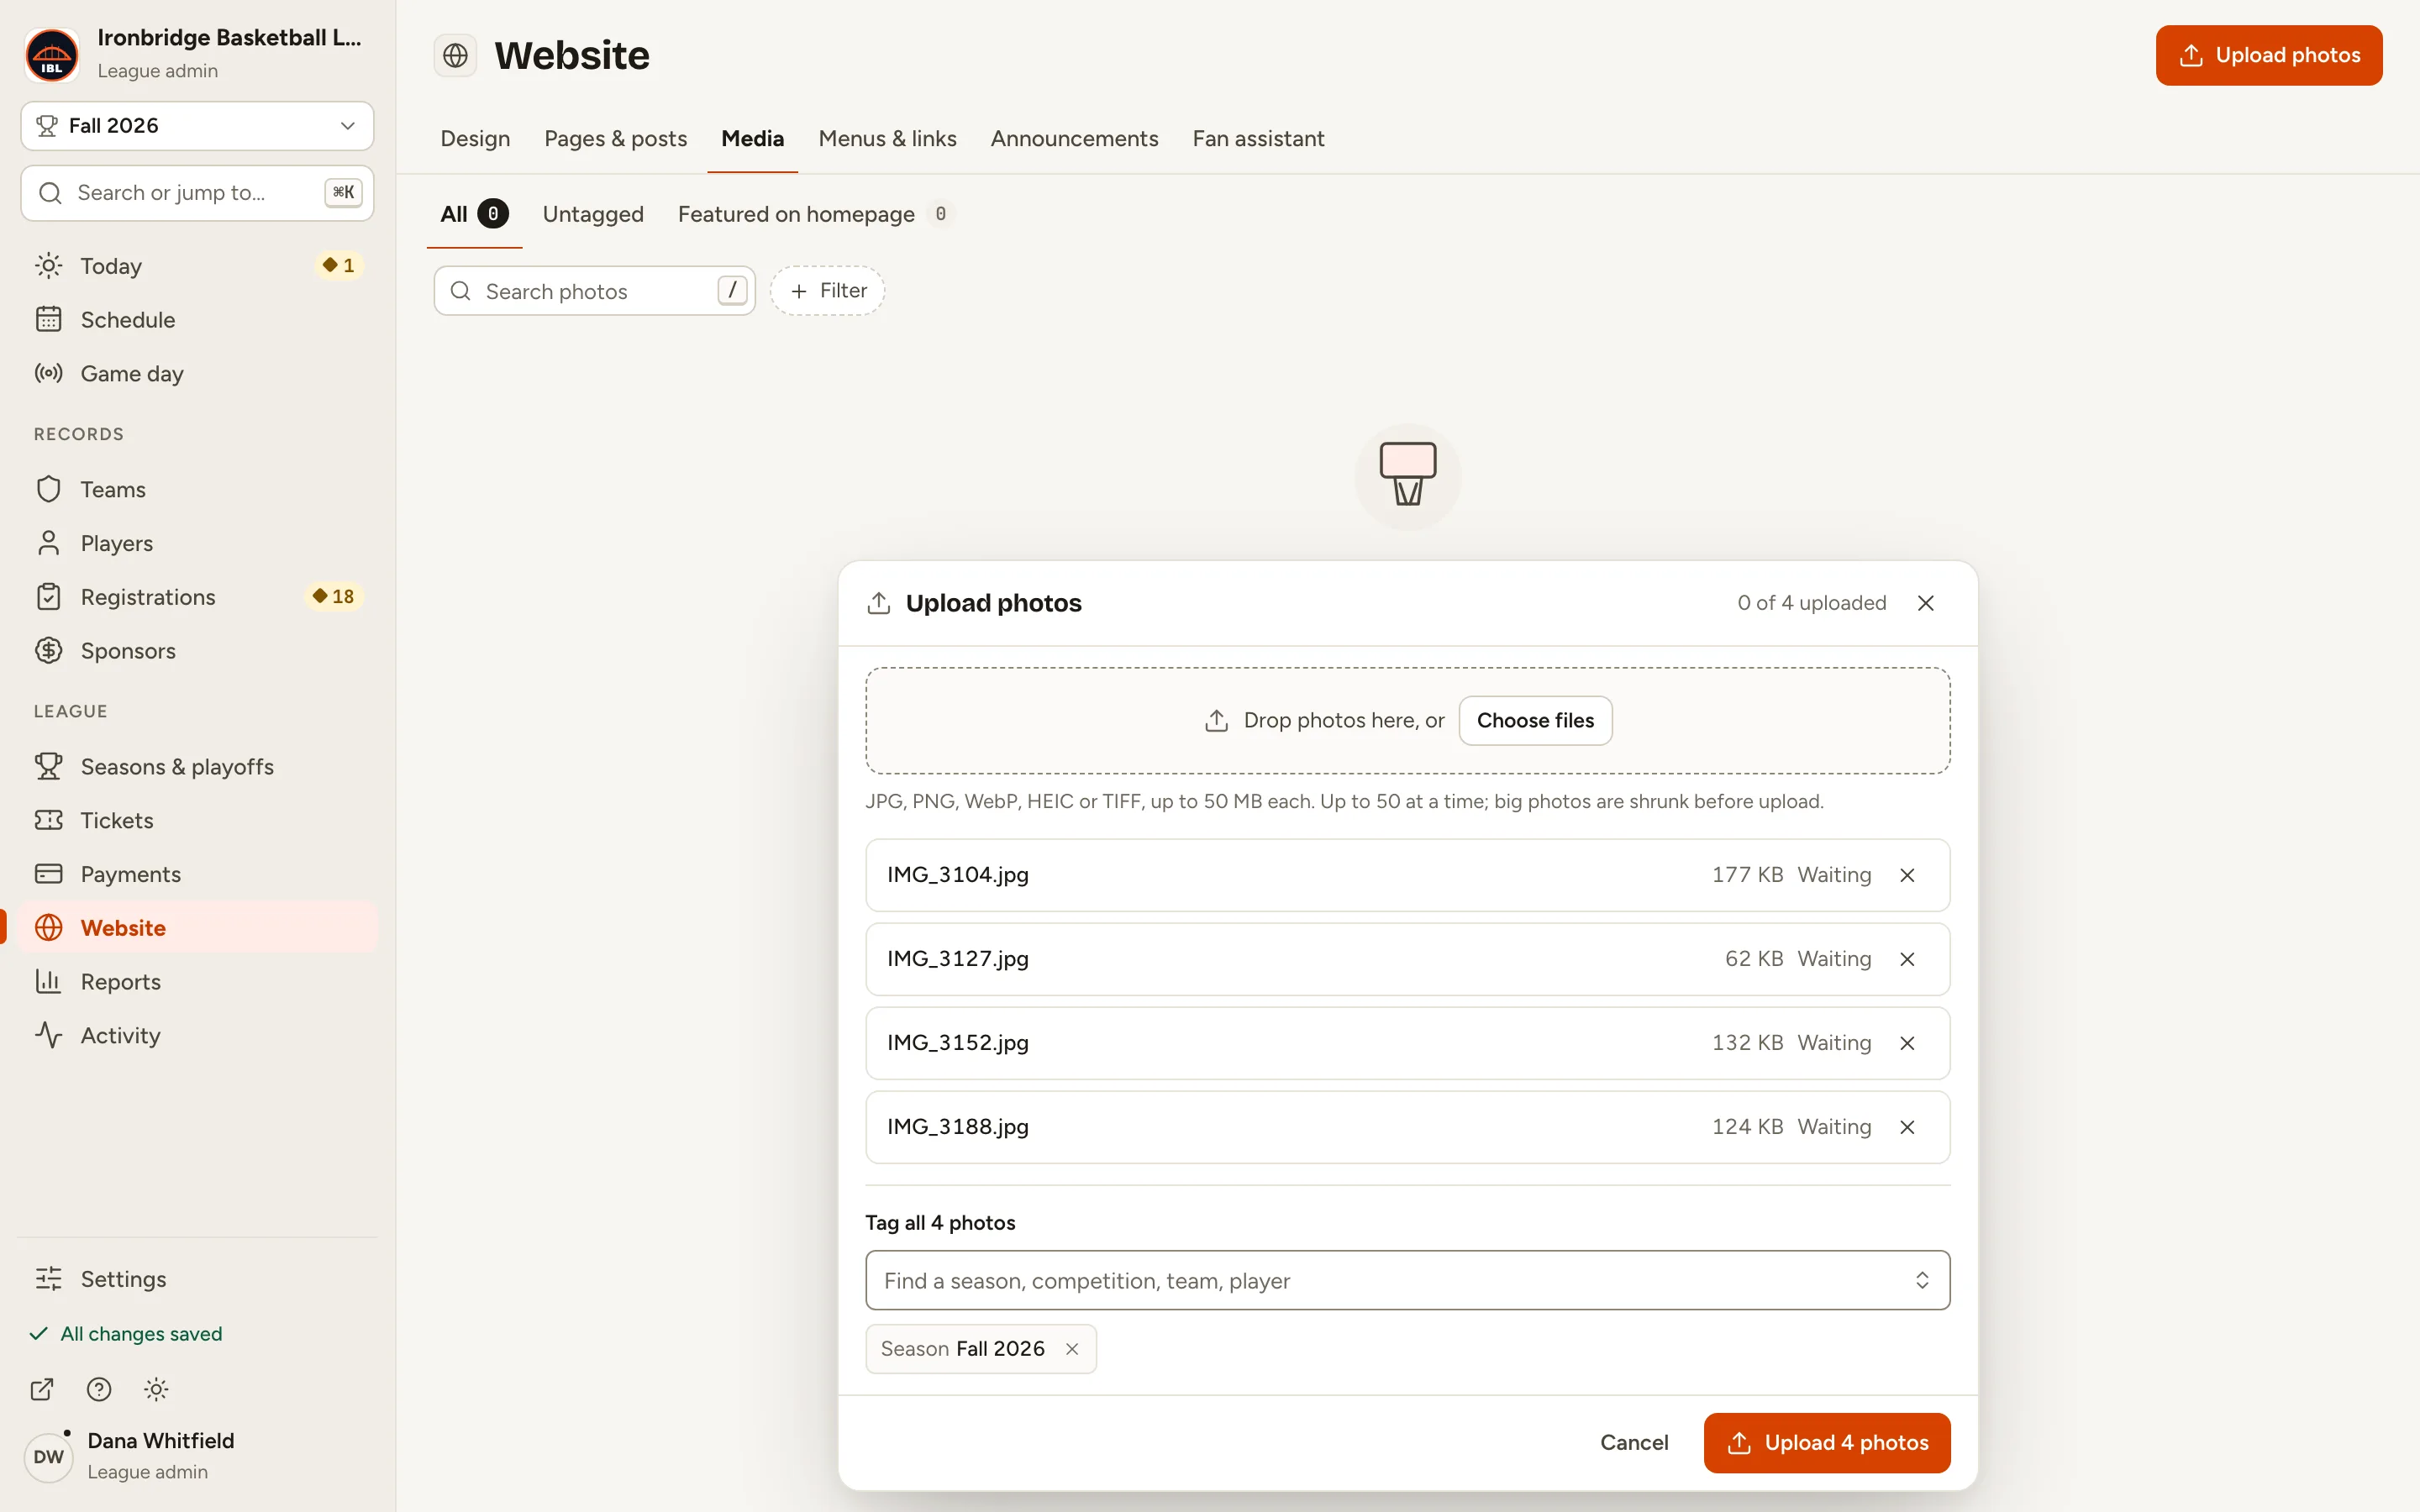
Fig. 5Tag all your photos at once while they upload. -
Step 6: Click Upload 4 photos.
The button counts your photos. Each one shows Uploaded when it’s done. You can close the panel and the uploads keep going.
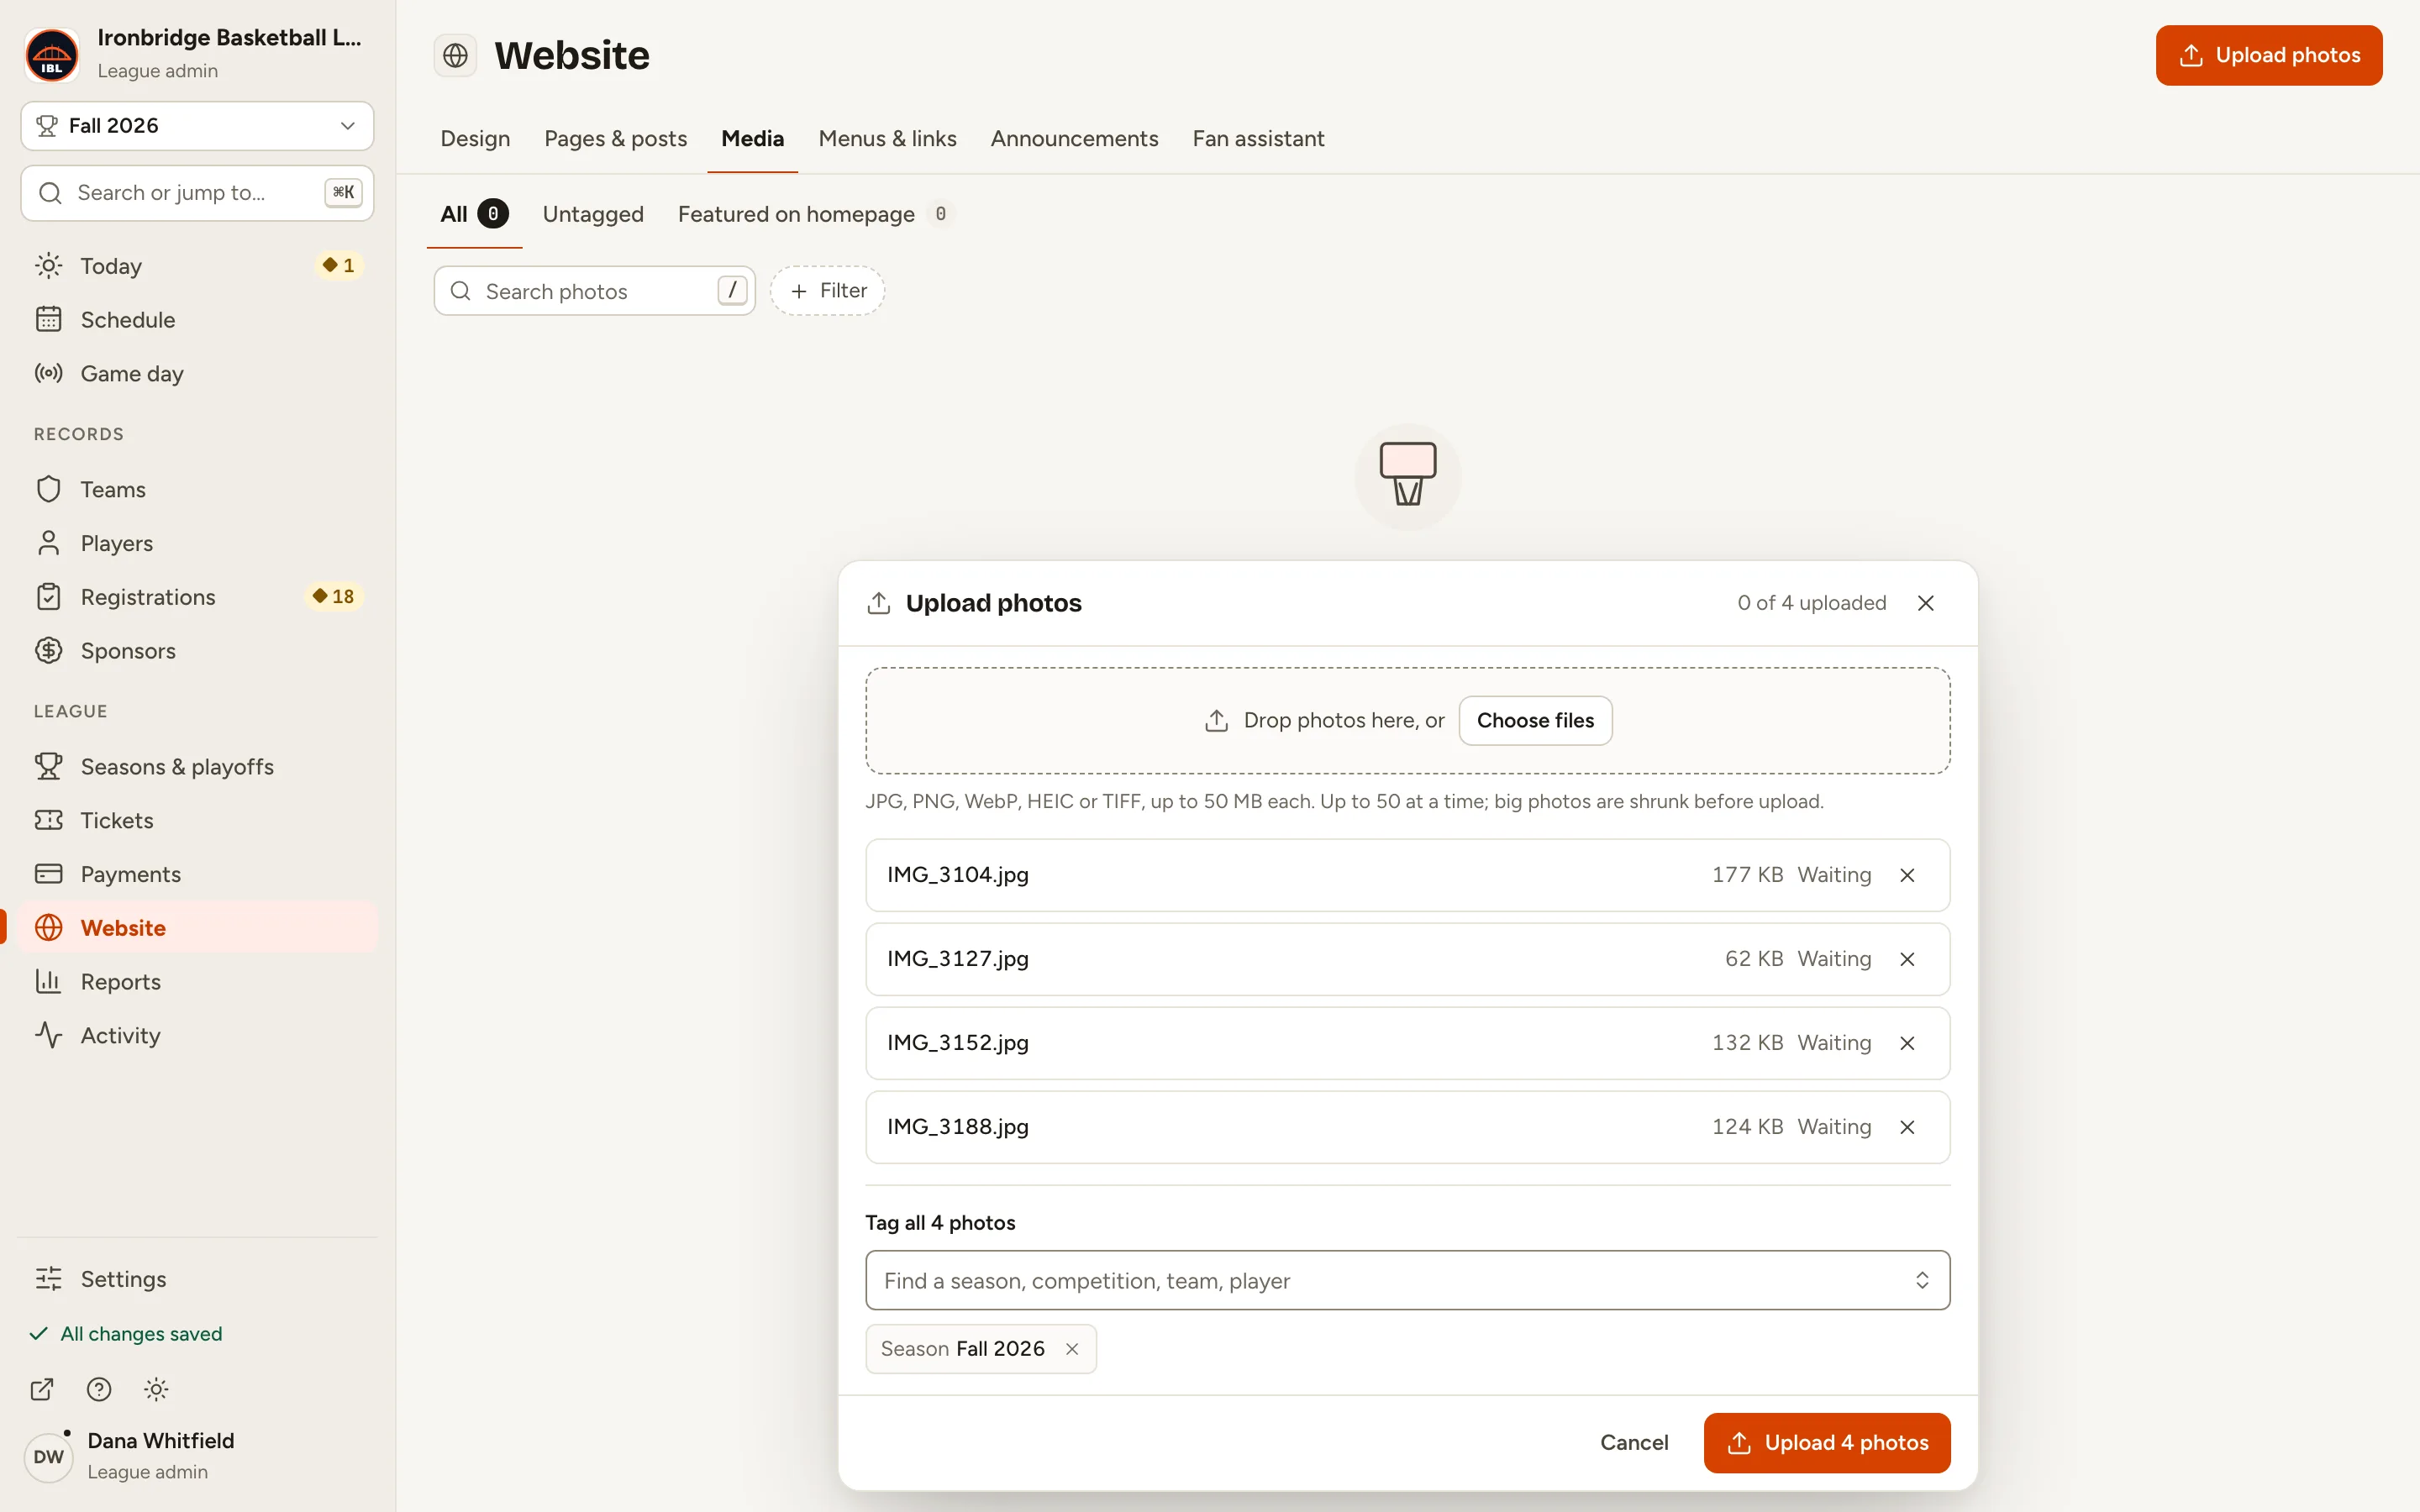
Fig. 6The button counts the photos you’re adding. -
Step 7: Click Done.
Your photos are in the grid, each with its number of tags.
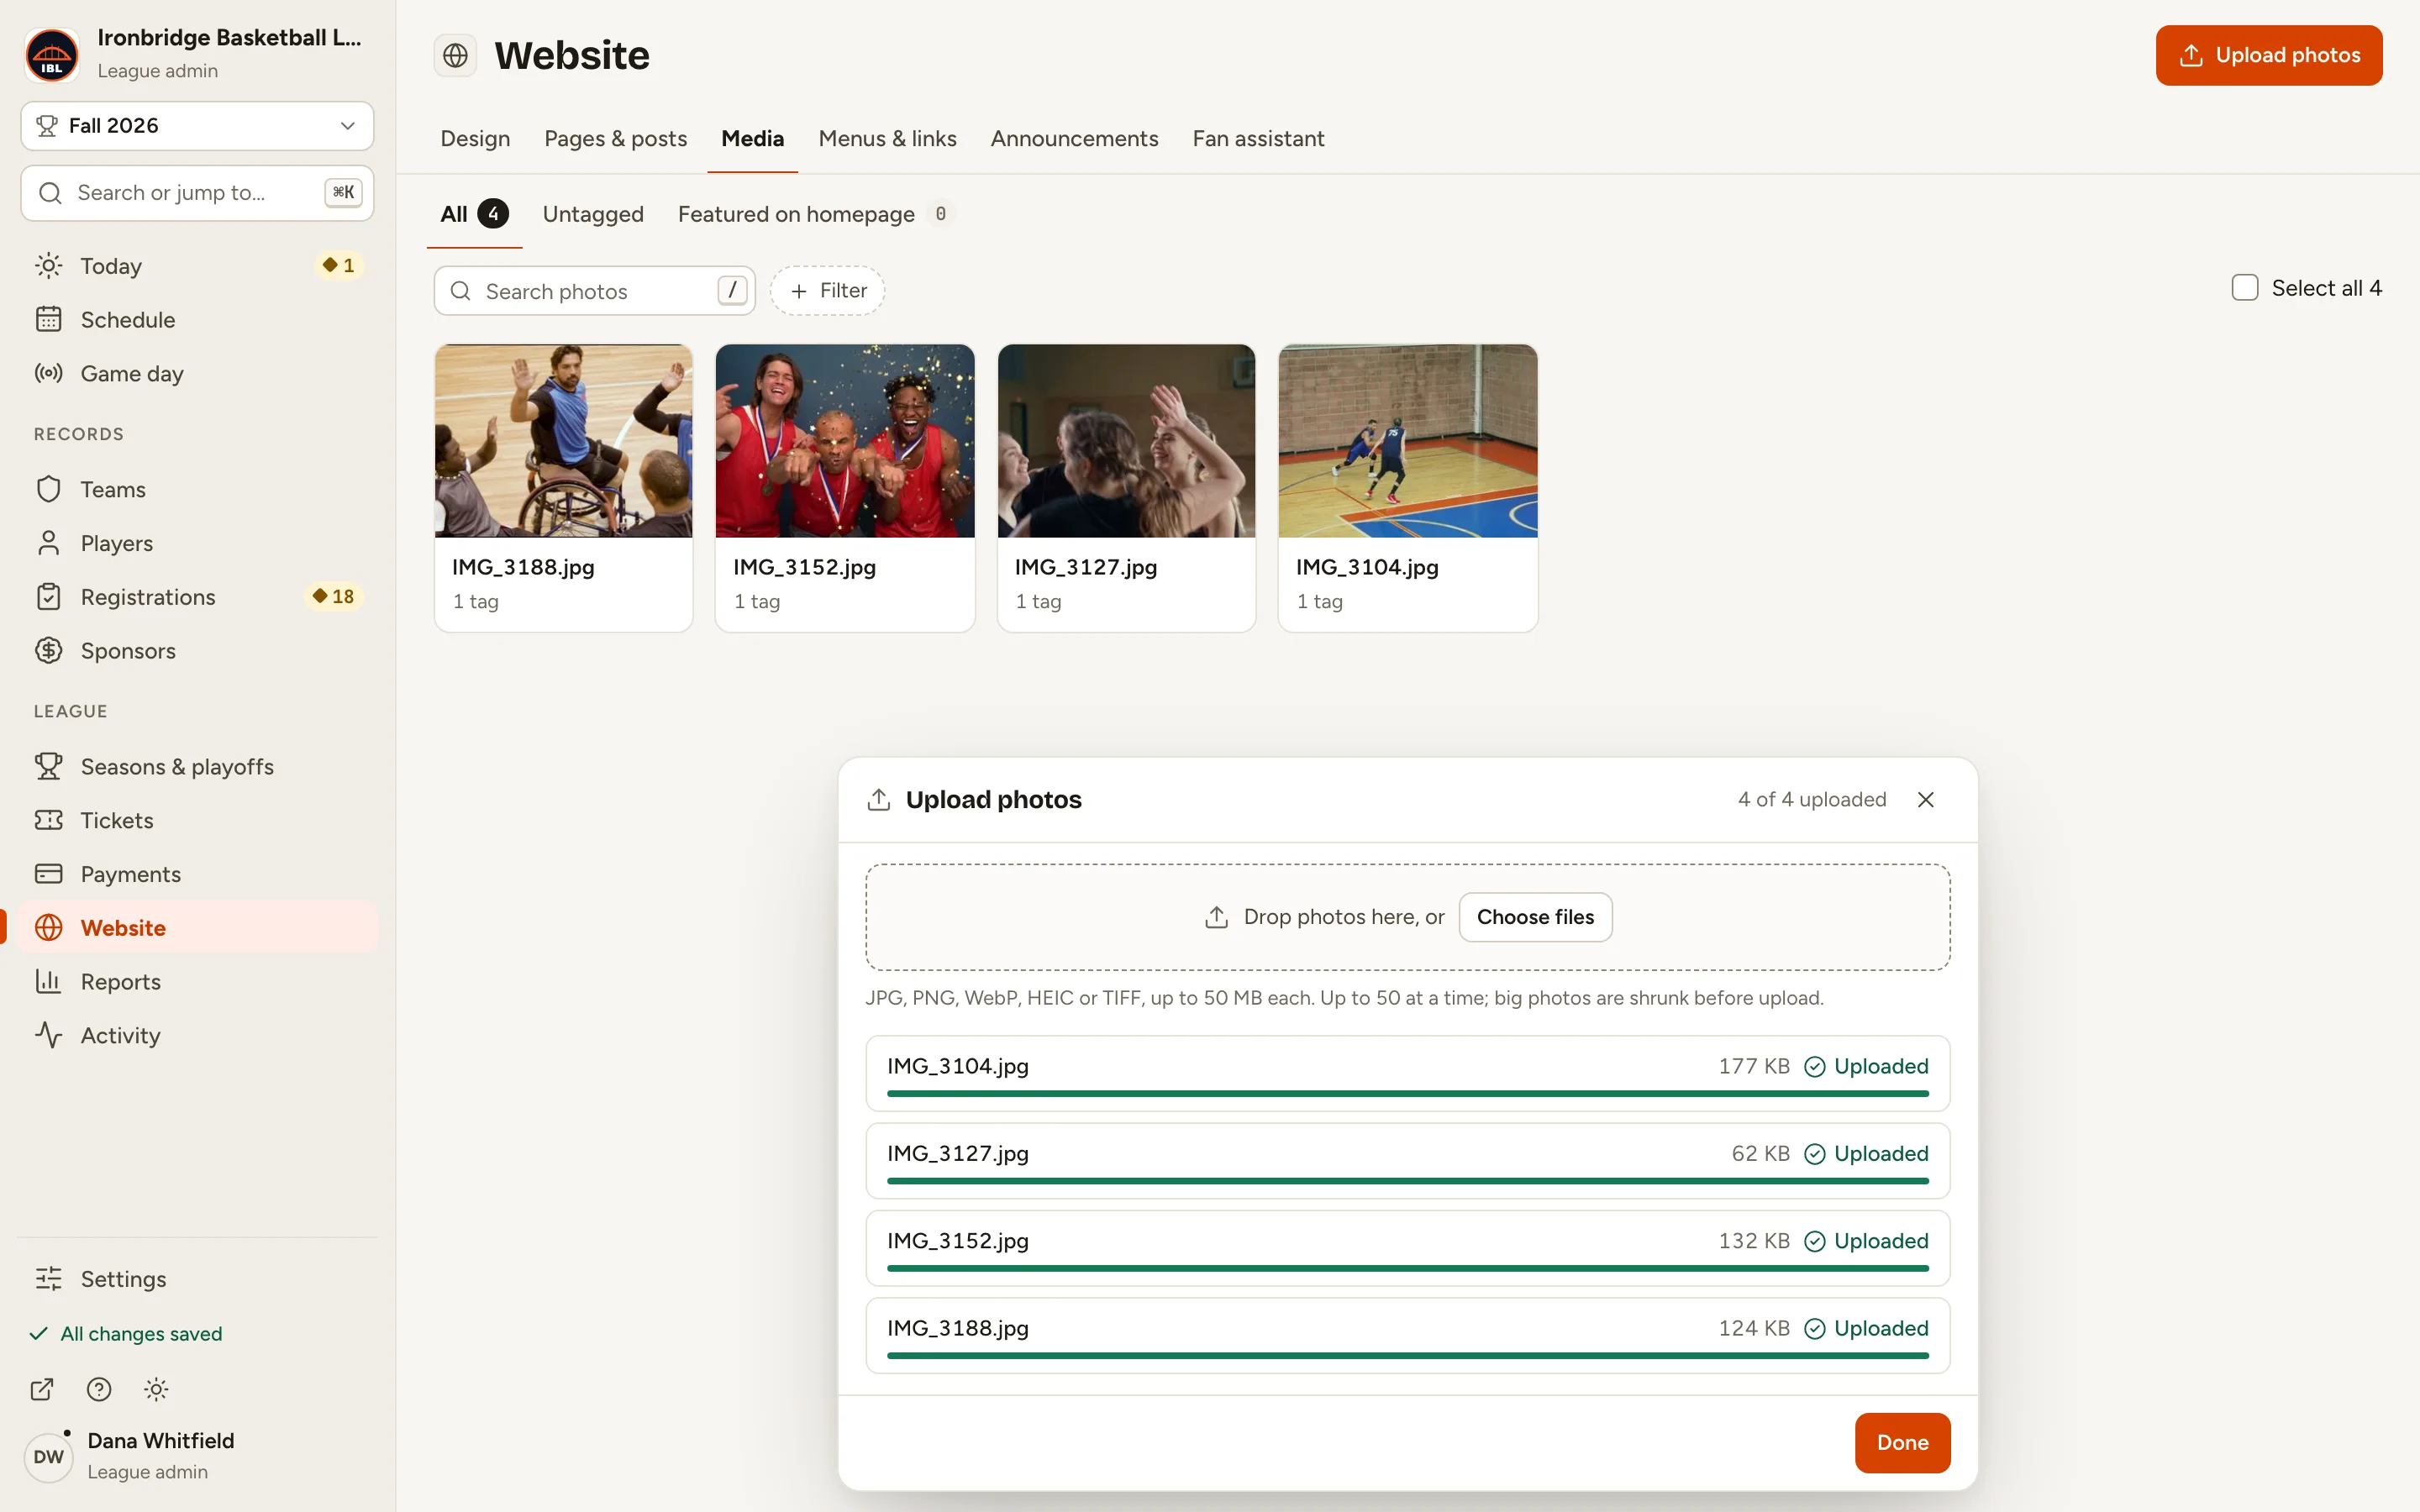
Fig. 7All four uploaded; Done closes the panel. -
Step 8: Click a photo to open it.
The photo opens beside the grid with its caption, tags and Featured on homepage. Changes here save as you go.
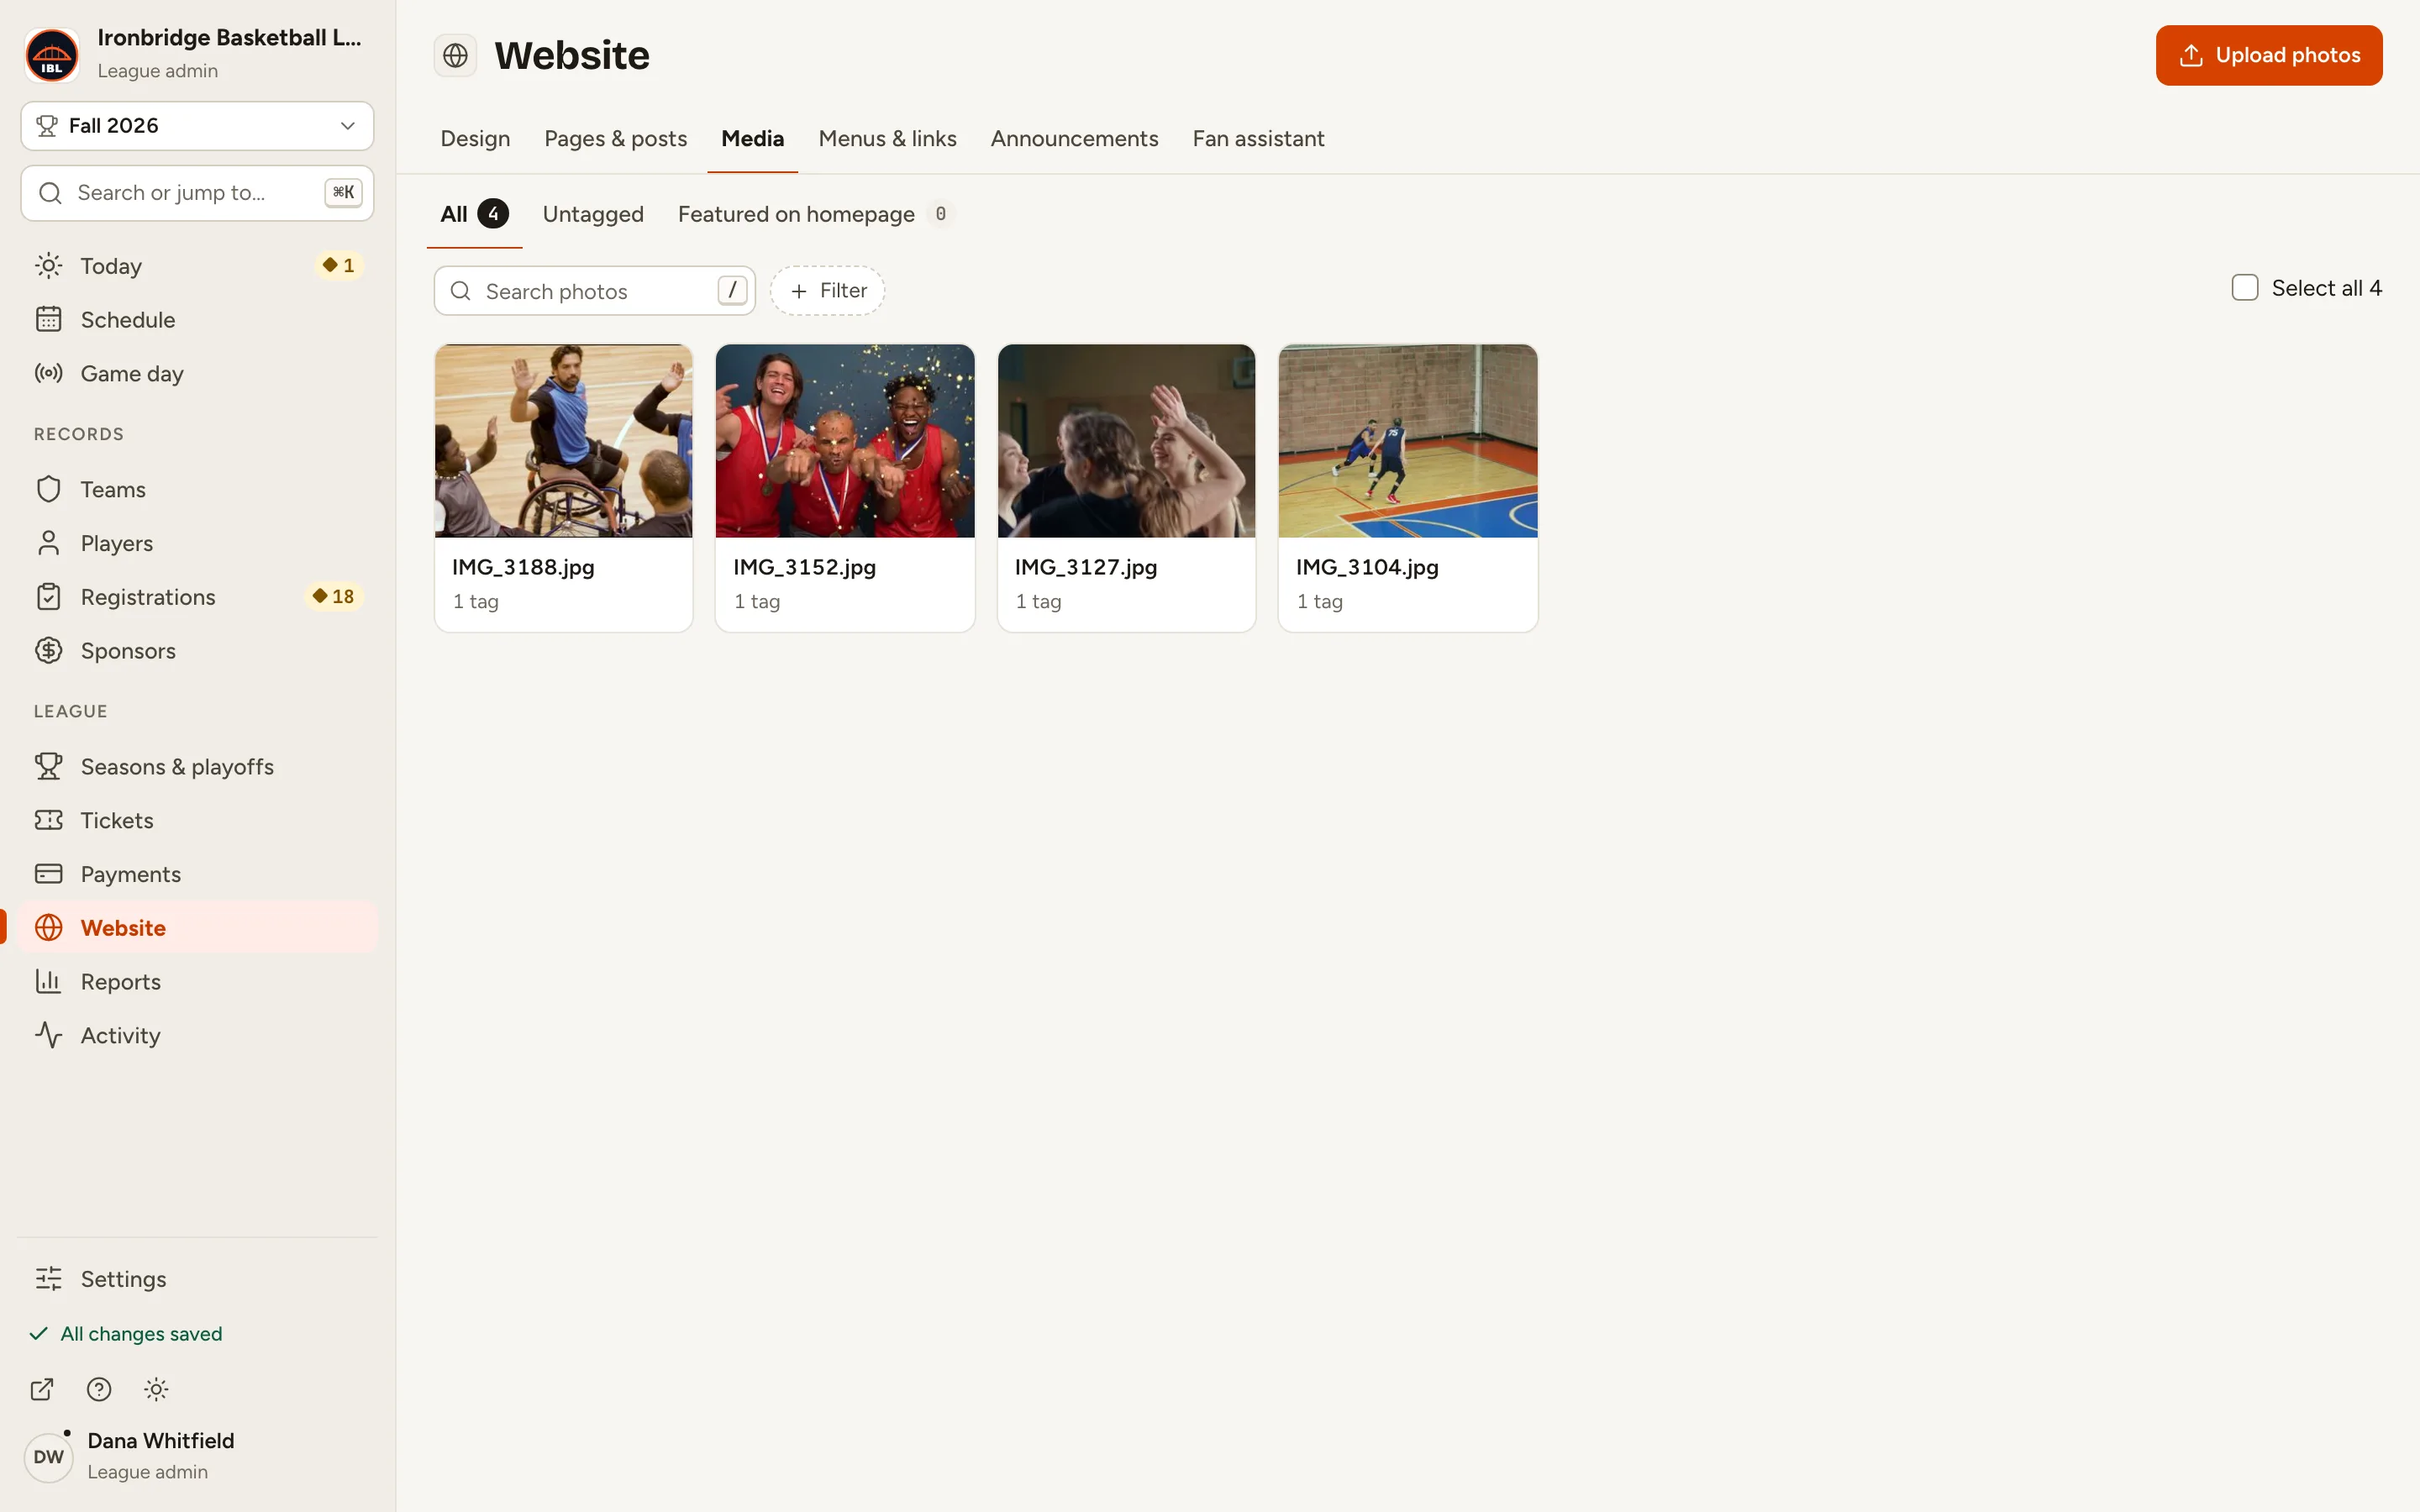
Fig. 8Each photo in the grid opens on a click. -
Step 9: Next to Title, click No title, type a title and press Enter.
The title shows with the photo in the gallery. A Title changed message confirms it, with Undo in case you need it.
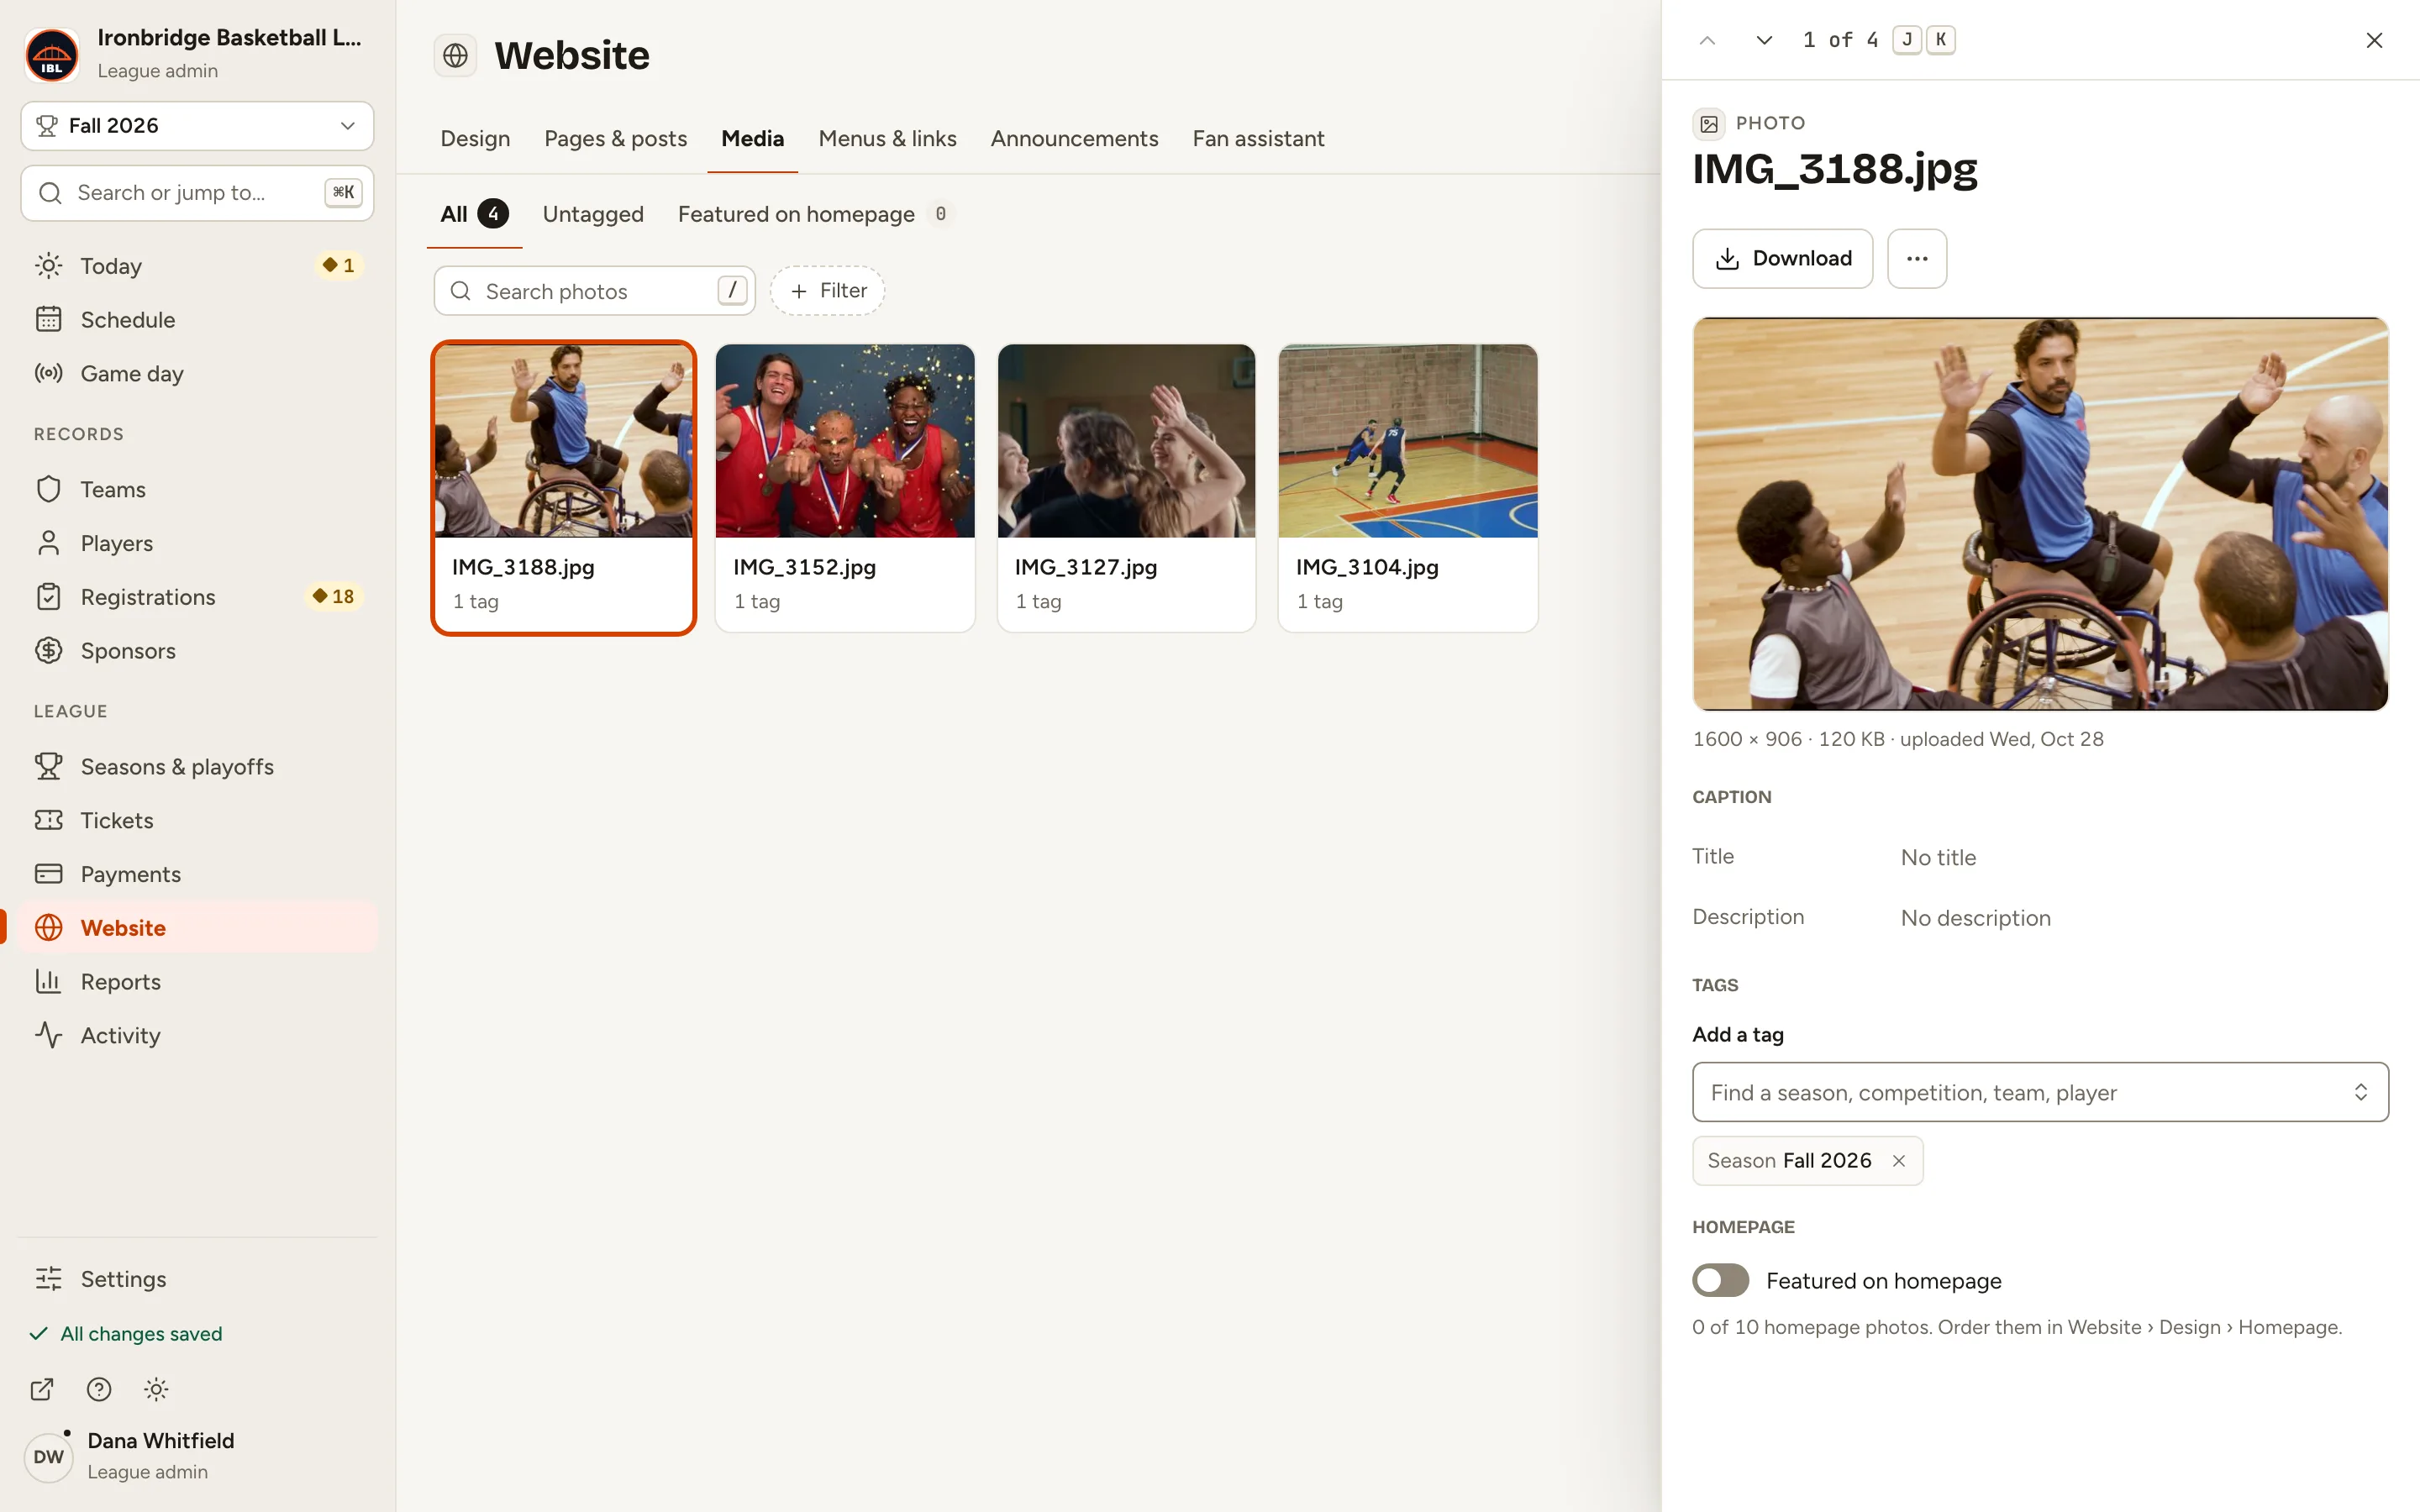
Fig. 9The photo’s caption: a title and a description. -
Step 10: Open your website and click Gallery.
From the admin, click ↗ (View public site) at the bottom of the sidebar; your website opens in a new tab. Your photos are in the Gallery, where fans can filter them by season, competition, team and player.

Fig. 10Your photos in the Gallery, with its filters.
What you’ll see
Your photos are in your website’s Gallery. They stay in Website › Media, where you can tag them, give them titles, feature them on your homepage or delete them.