Choose your public season
By the end you’ll have your website opening on the season you choose, with last season still there for fans to look back on.
Before you start
- You need the season you want fans to see first, in the same sport as your current one. Here: Winter 2027, next to Fall 2026. See Create your first season and teams.
- The public season is the one your website opens on: its standings and stats show first. Each sport has one. With divisions, each division has its own.
Steps
-
Step 1: In the left menu, click Seasons & playoffs.
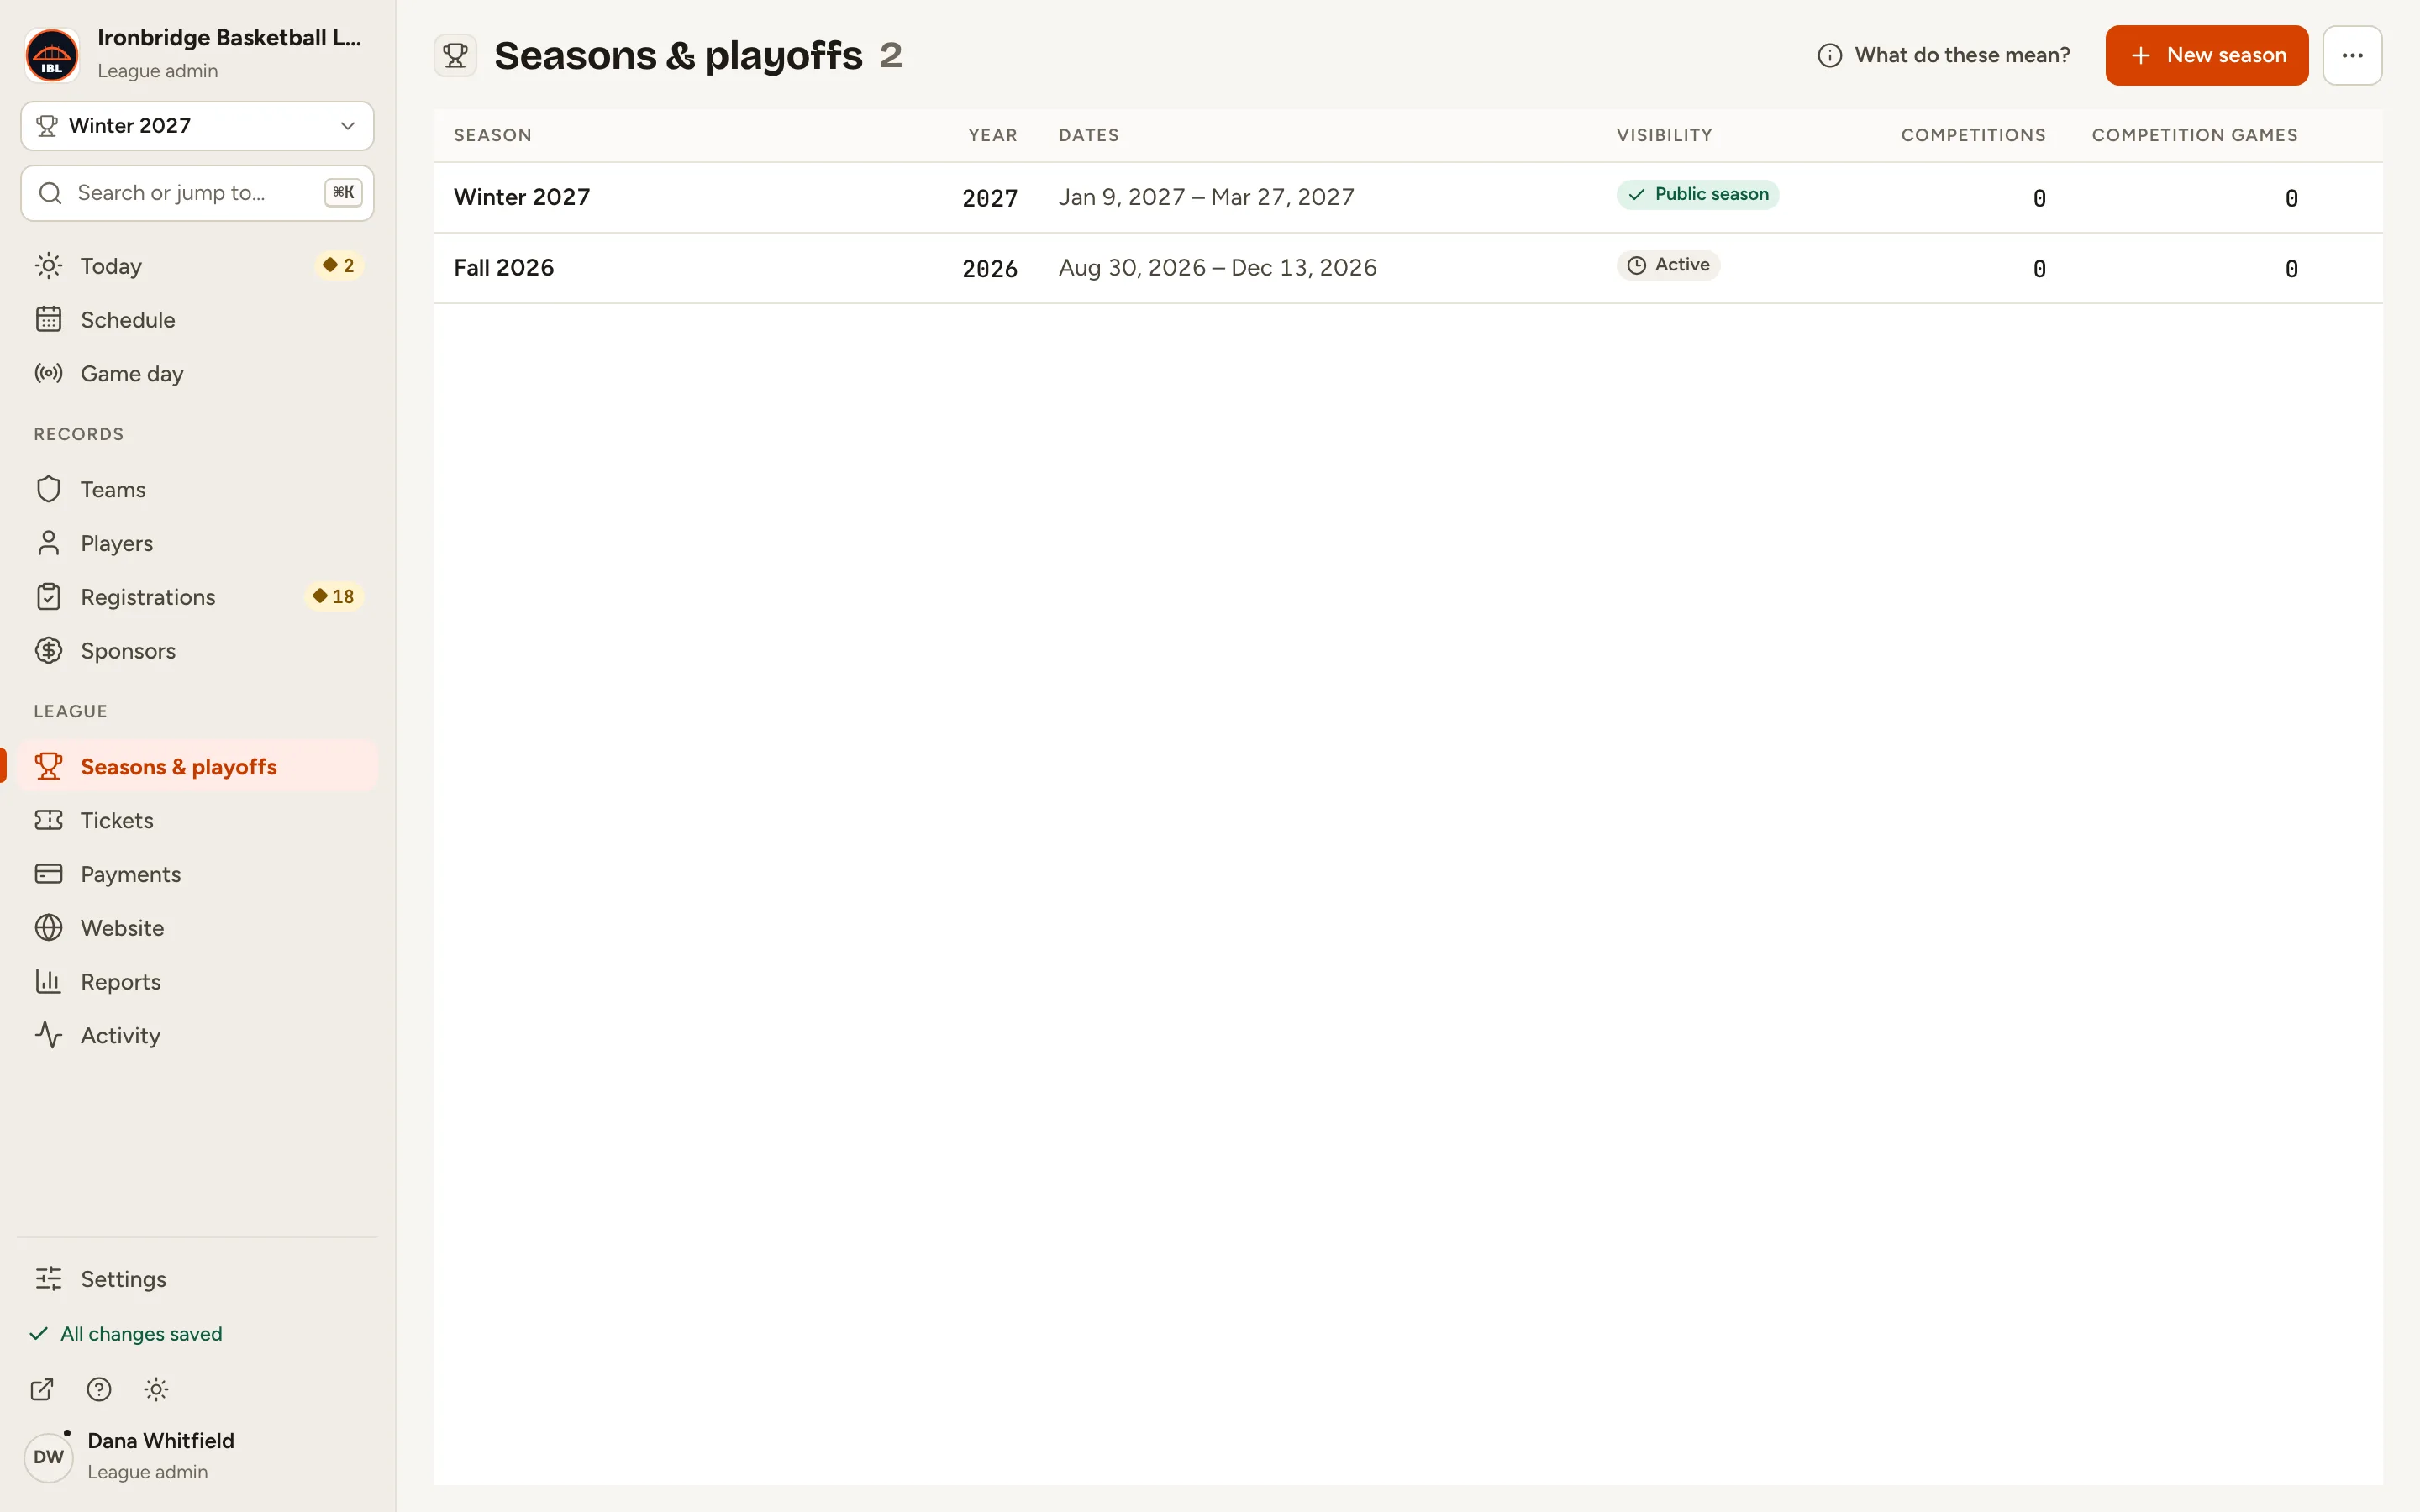
Your seasons are listed. The Public season tag shows the one fans see first; here Fall 2026. Winter 2027 is Active: live and reachable, but not what your site opens on.
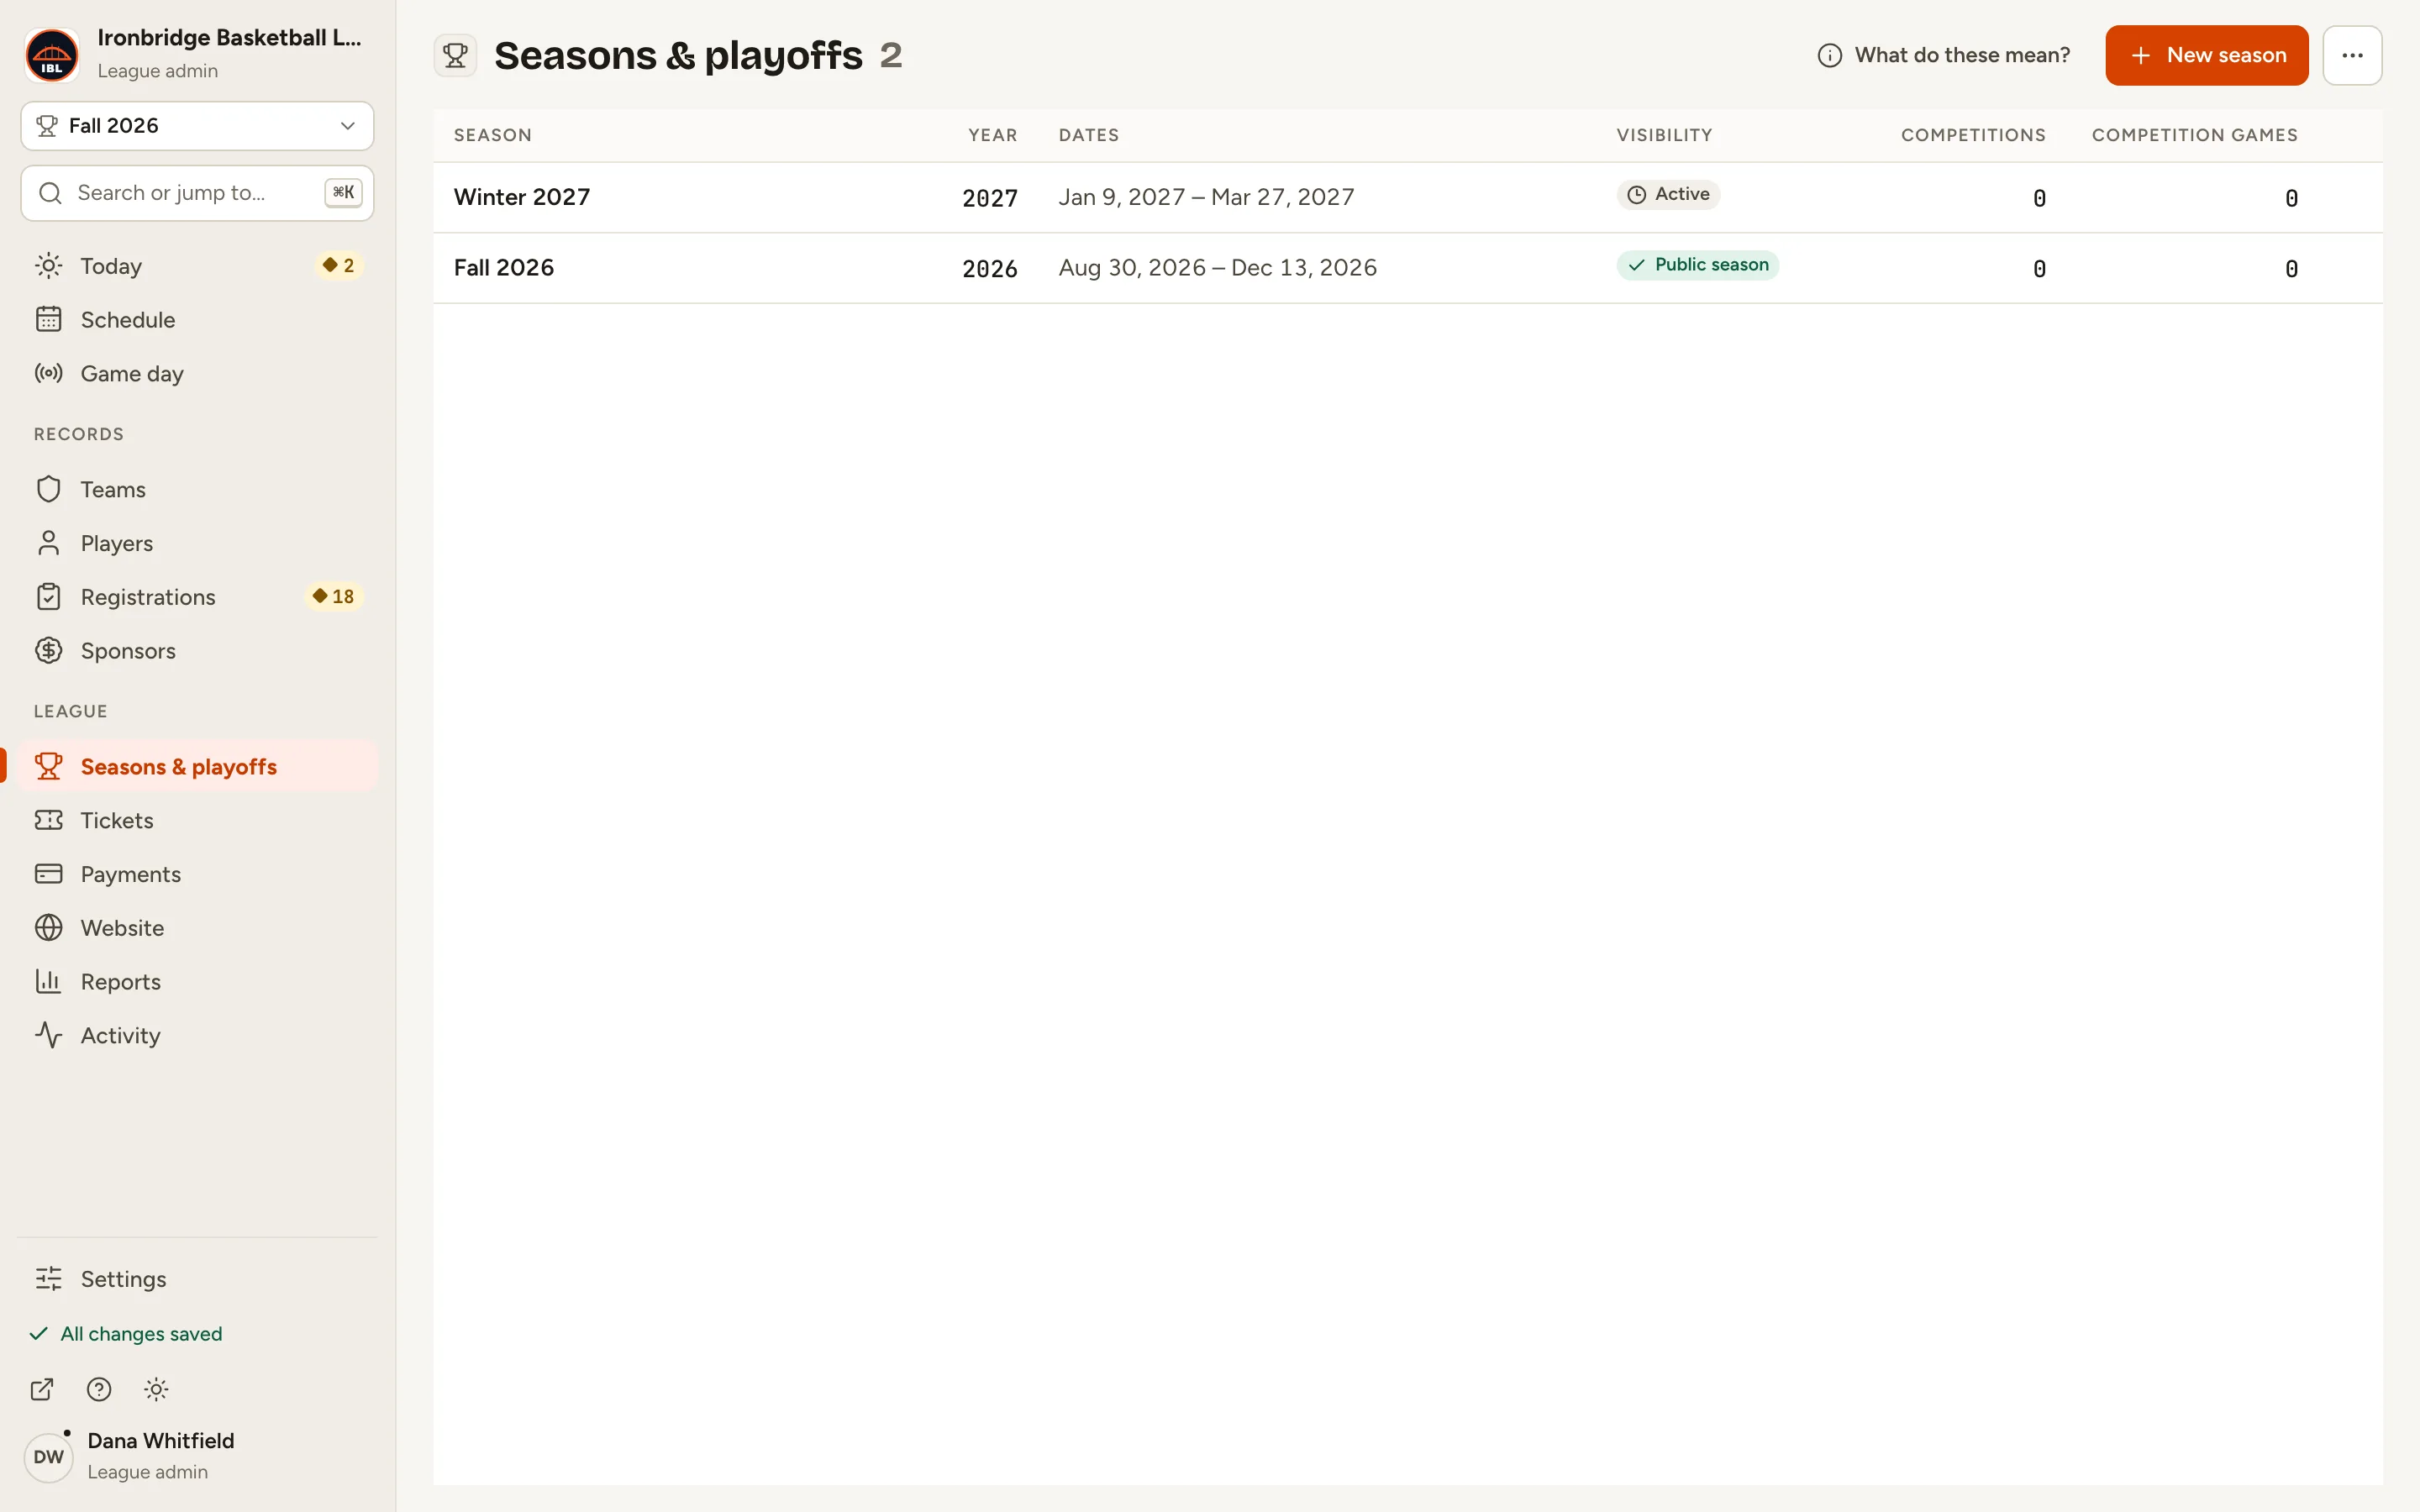
Fig. 1Seasons & playoffs: Fall 2026 is the public season, Winter 2027 is active. -
Step 2: Click the season you want fans to see first, like Winter 2027.
Its record opens on Setup. The last step of Get Winter 2027 ready is Make it the public season.
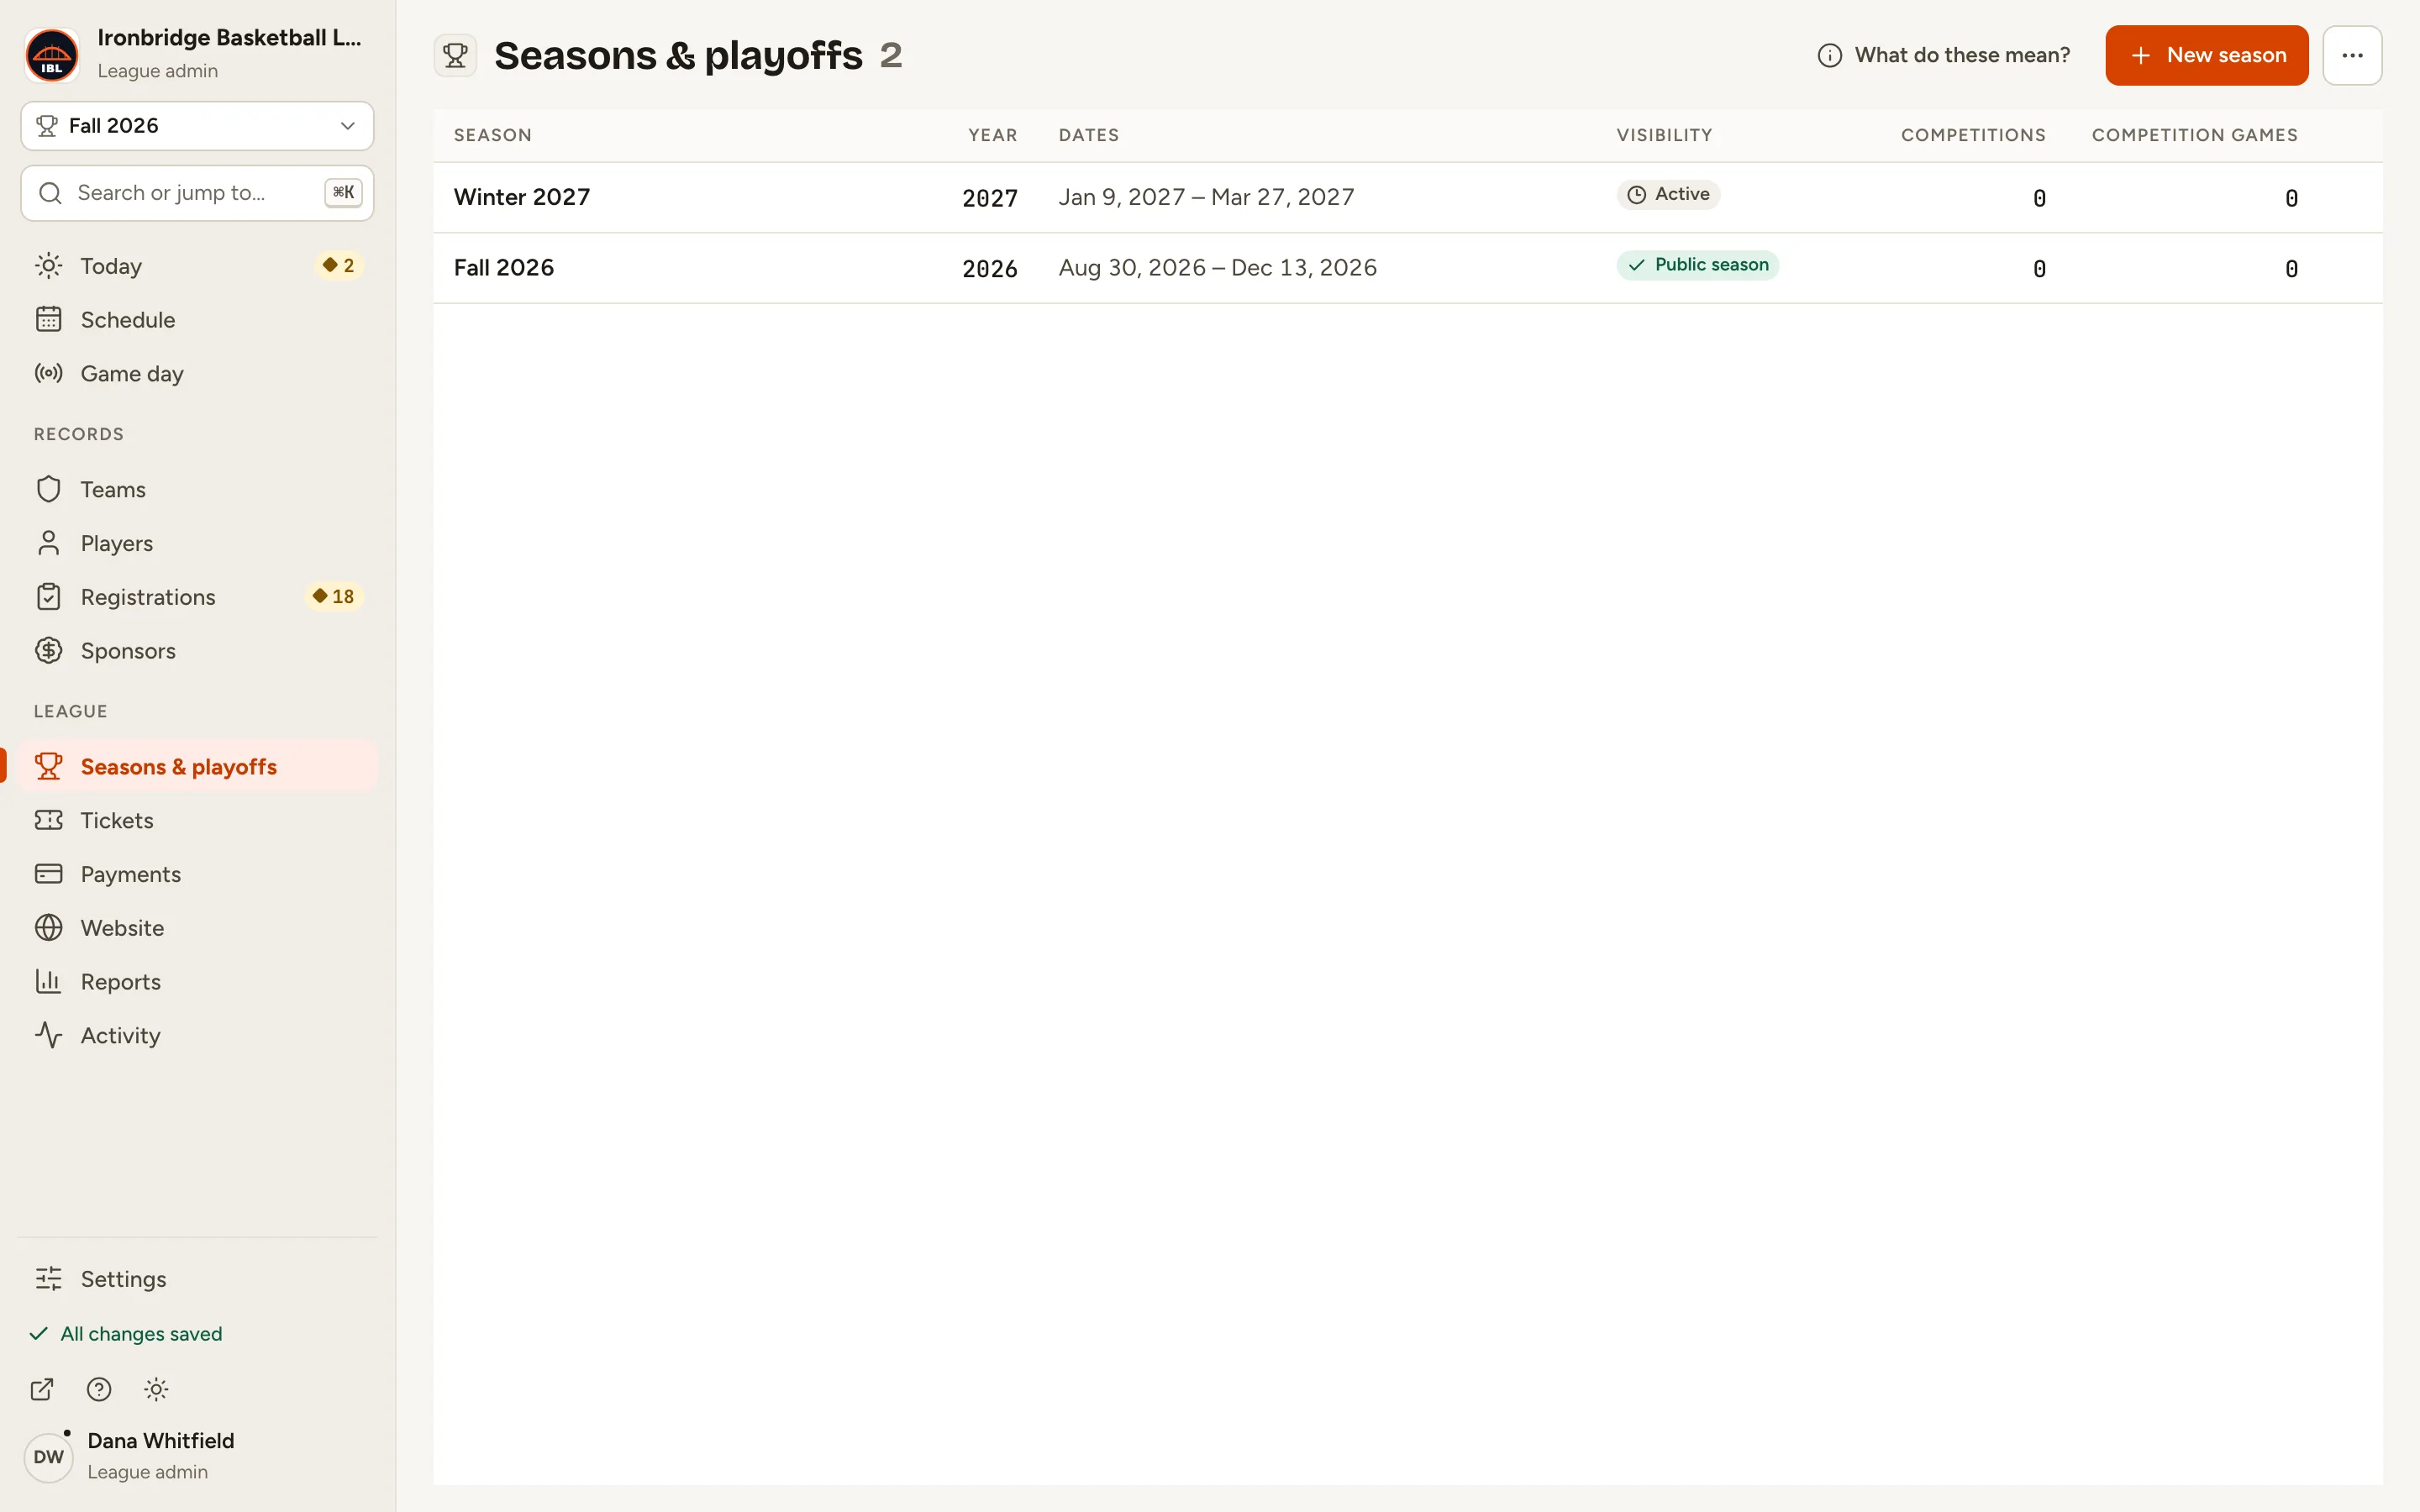
Fig. 2The Winter 2027 season record. -
Step 3: Click Make it the public season under the season name.
A box asks you to confirm. It says what changes: fans see Winter 2027 first, and Fall 2026 stays active and reachable.
Fig. 3Make Winter 2027 the public season? -
Step 4: Click Make it the public season in the box.
Winter 2027 now has the Public season tag, and its checklist is complete. Fall 2026 keeps its games and stats, and fans can still pick it.
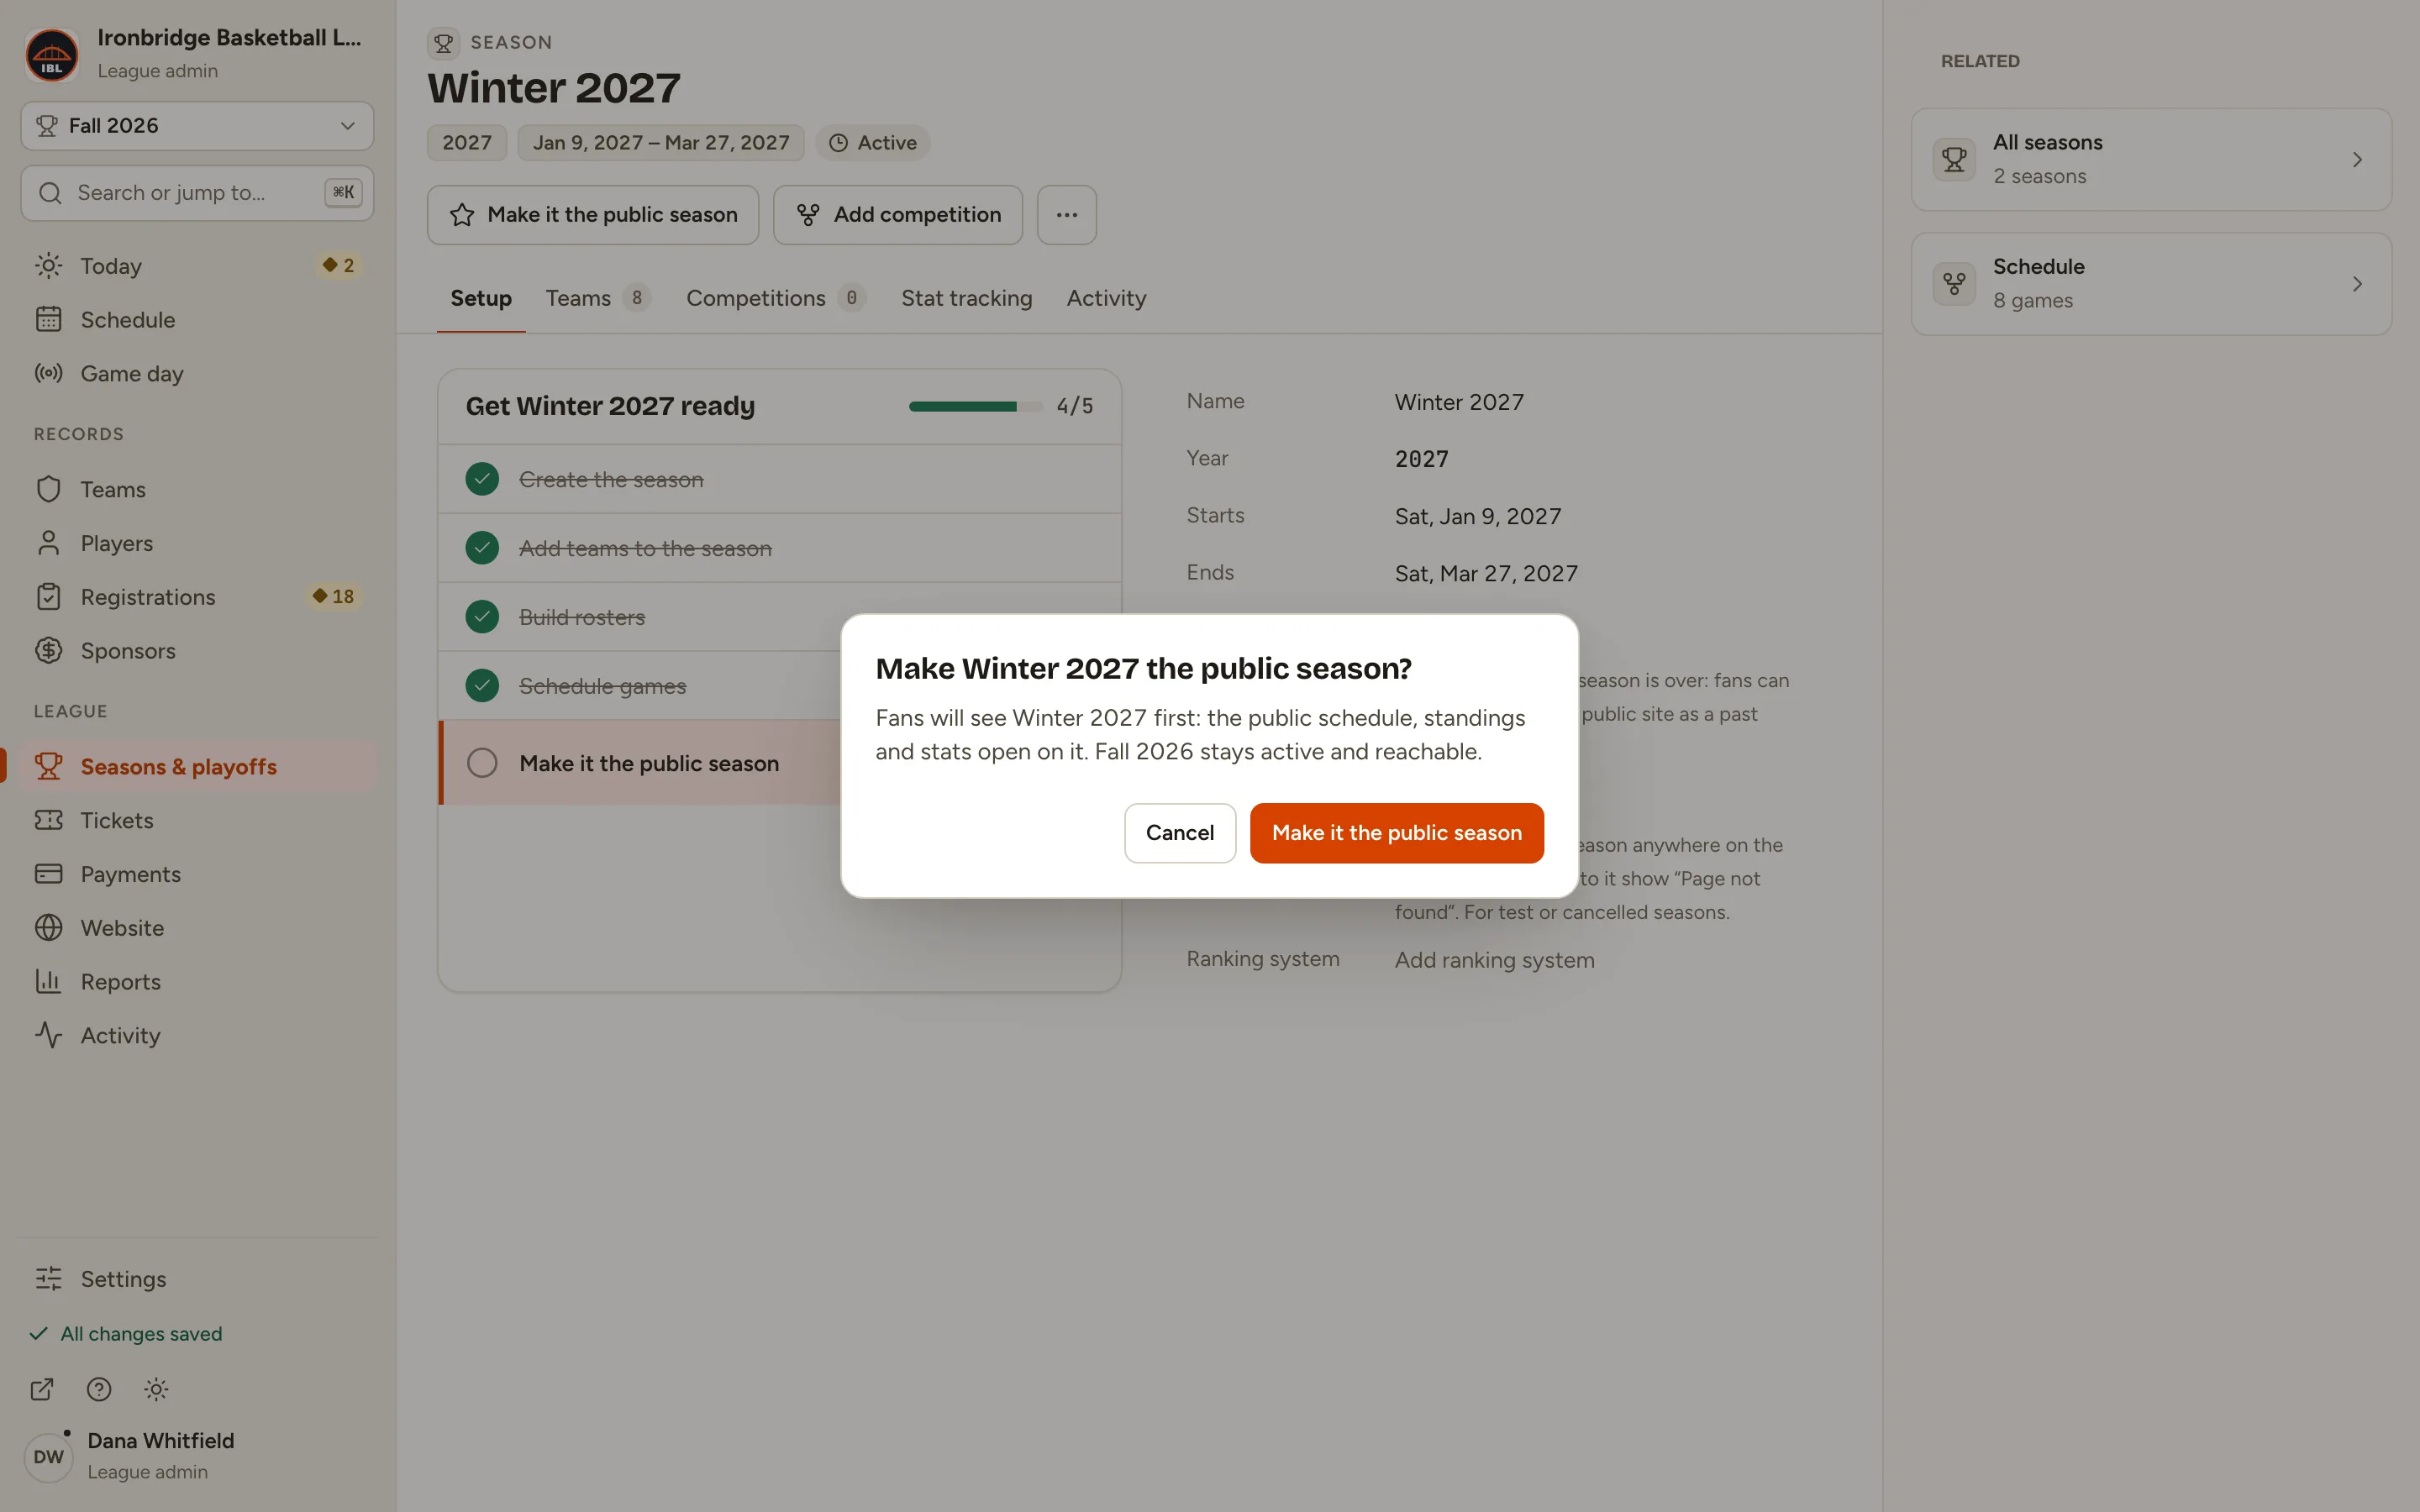
Fig. 4Winter 2027 is the public season. -
Step 5: On your website, open Home.
From the admin, click ↗ (View public site) at the bottom of the sidebar; your website opens in a new tab. Home now shows Winter 2027 standings, and Stats opens on Winter 2027.
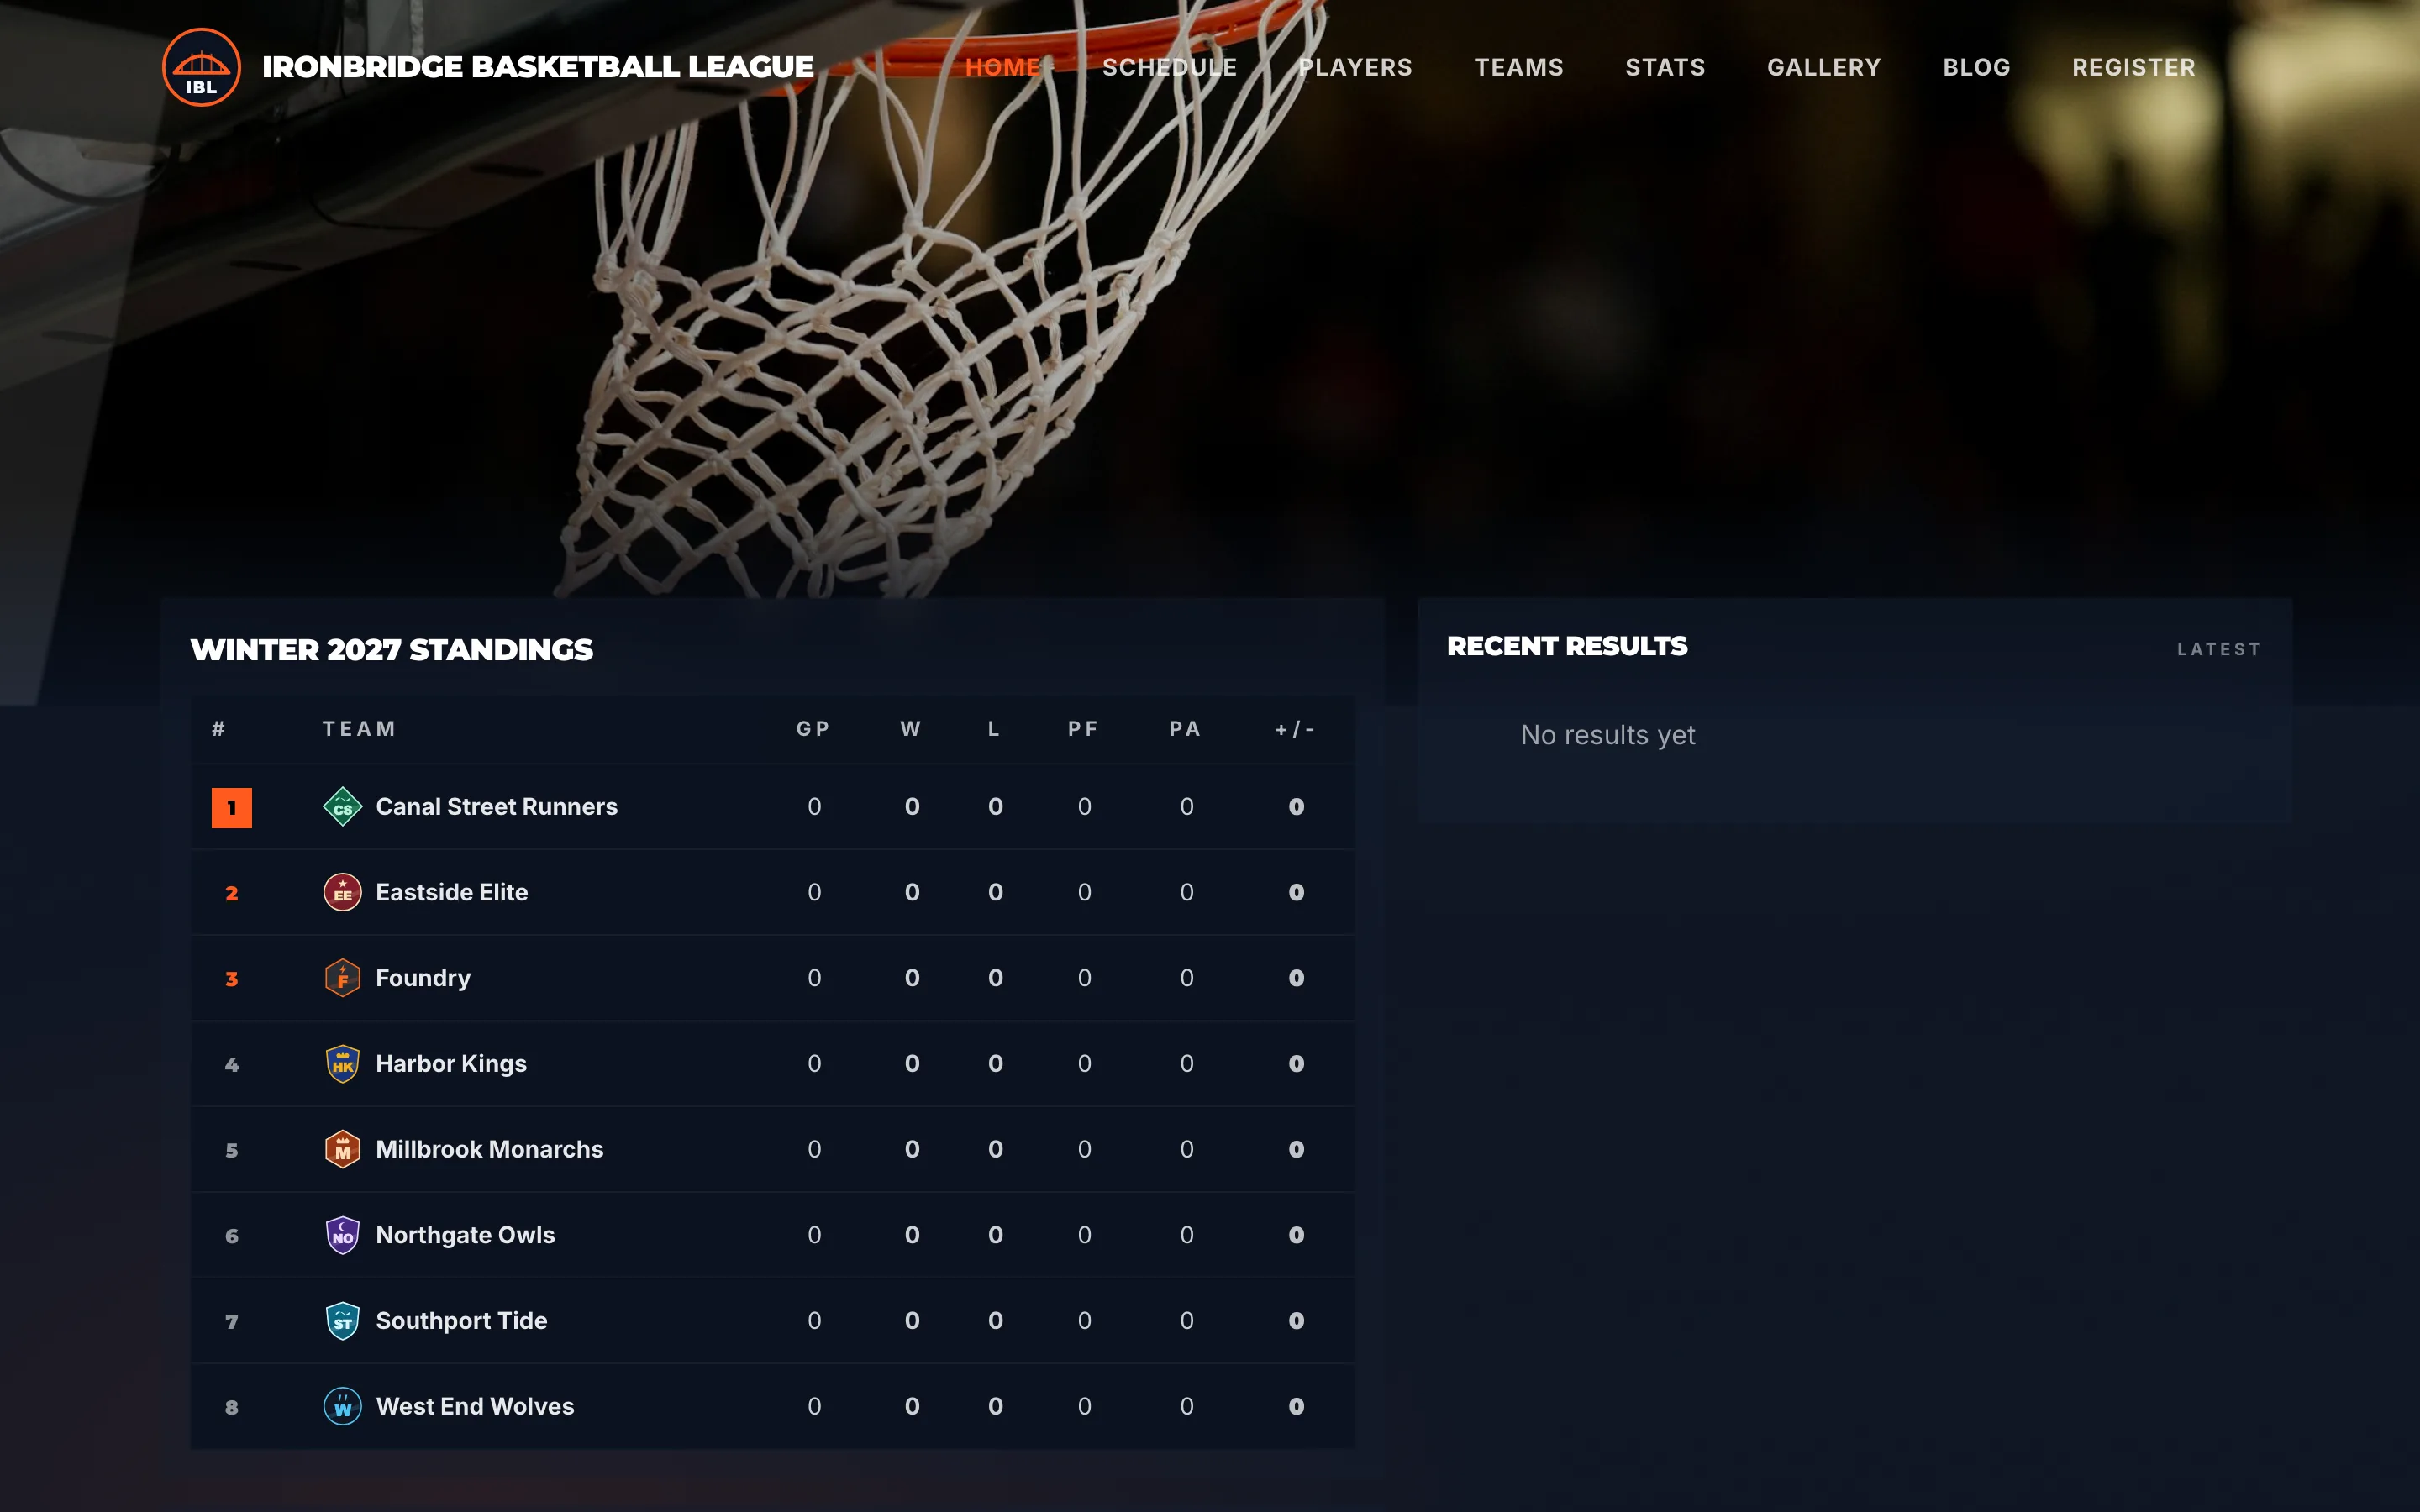
Fig. 5Your website’s Home shows Winter 2027 standings.
What you’ll see
Your website opens on Winter 2027. Fall 2026 is still active: its schedule, standings and stats stay on your site, and fans can pick it in the season picker.