
Open a player registration
By the end you’ll have a registration for next season with dates, a spot limit, a price and your own question, open for sign-ups on your website.
Before you start
- You need the season people are signing up for. See Create your first season and teams.
- To charge a price, your league needs Stripe connected under Payments. See Connect Stripe to take payments. A free registration needs nothing else.
- If you don’t see Registrations in the left menu, ask ScoreLM to turn it on for your league.
Steps
-
Step 1: In the left menu, click Registrations.
Your registrations are listed here, with their season, status and how many people have signed up.
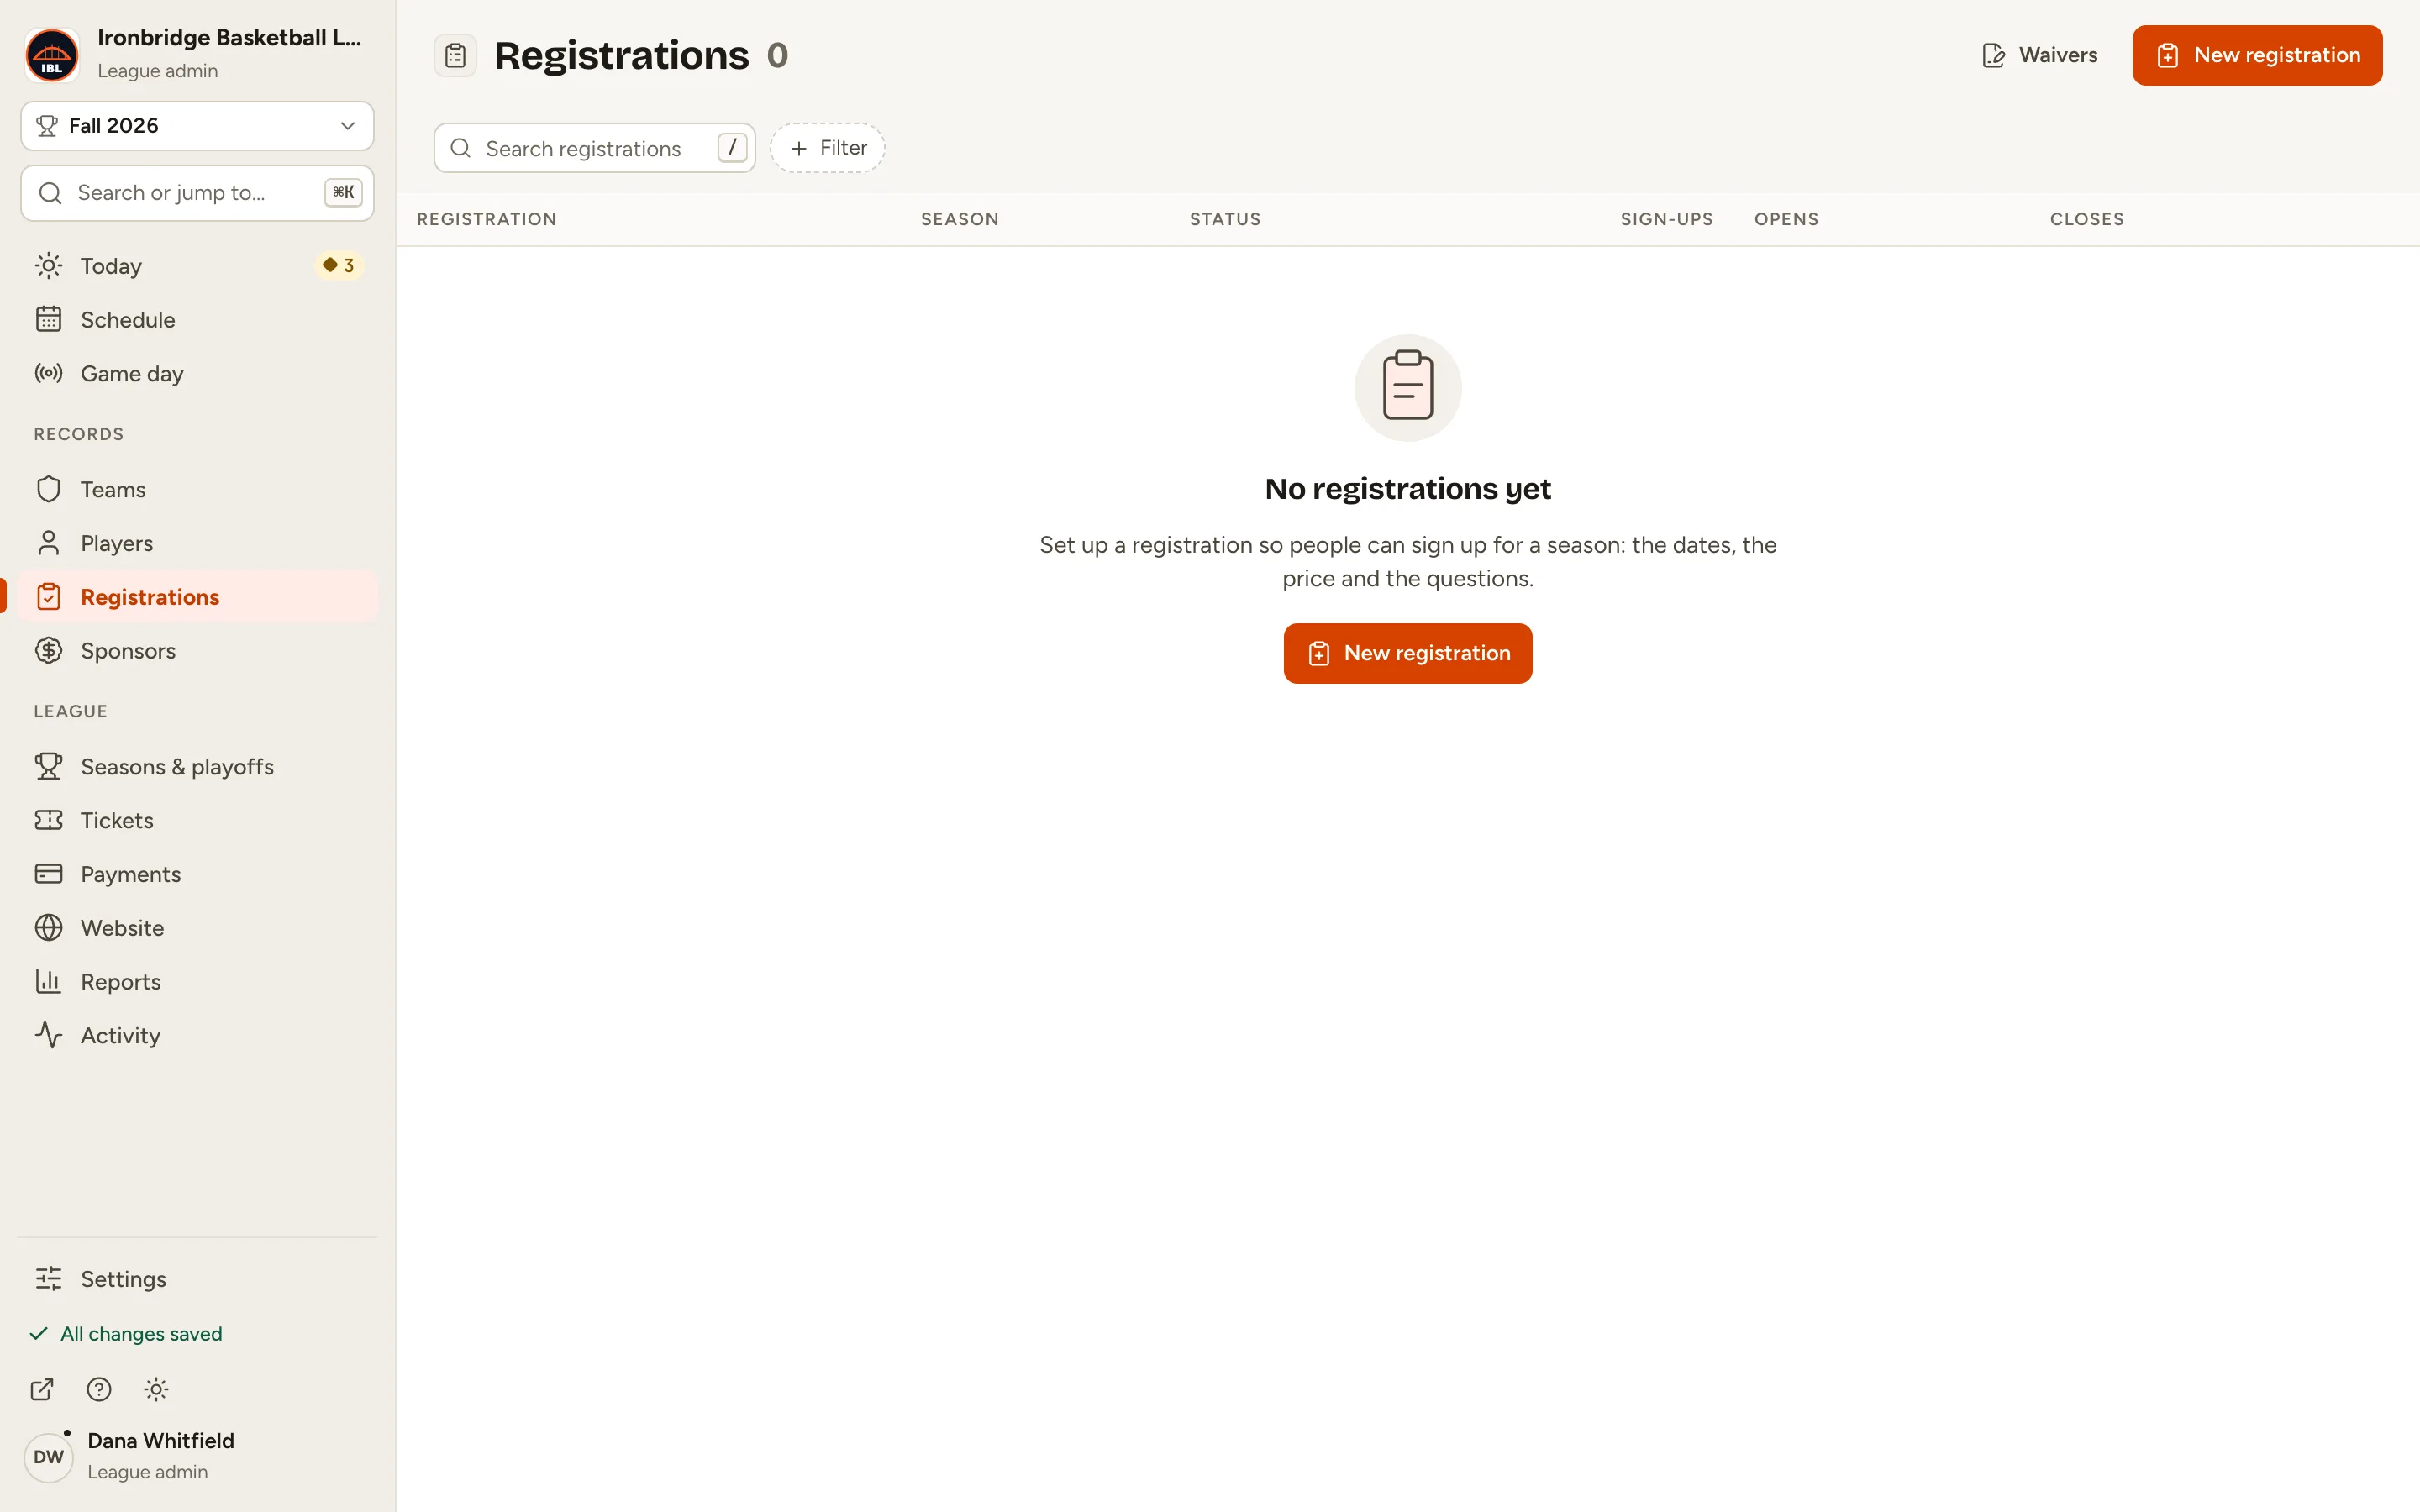
Fig. 1Registrations, with none yet. -
Step 2: Click New registration.
The New registration sheet opens on the right.
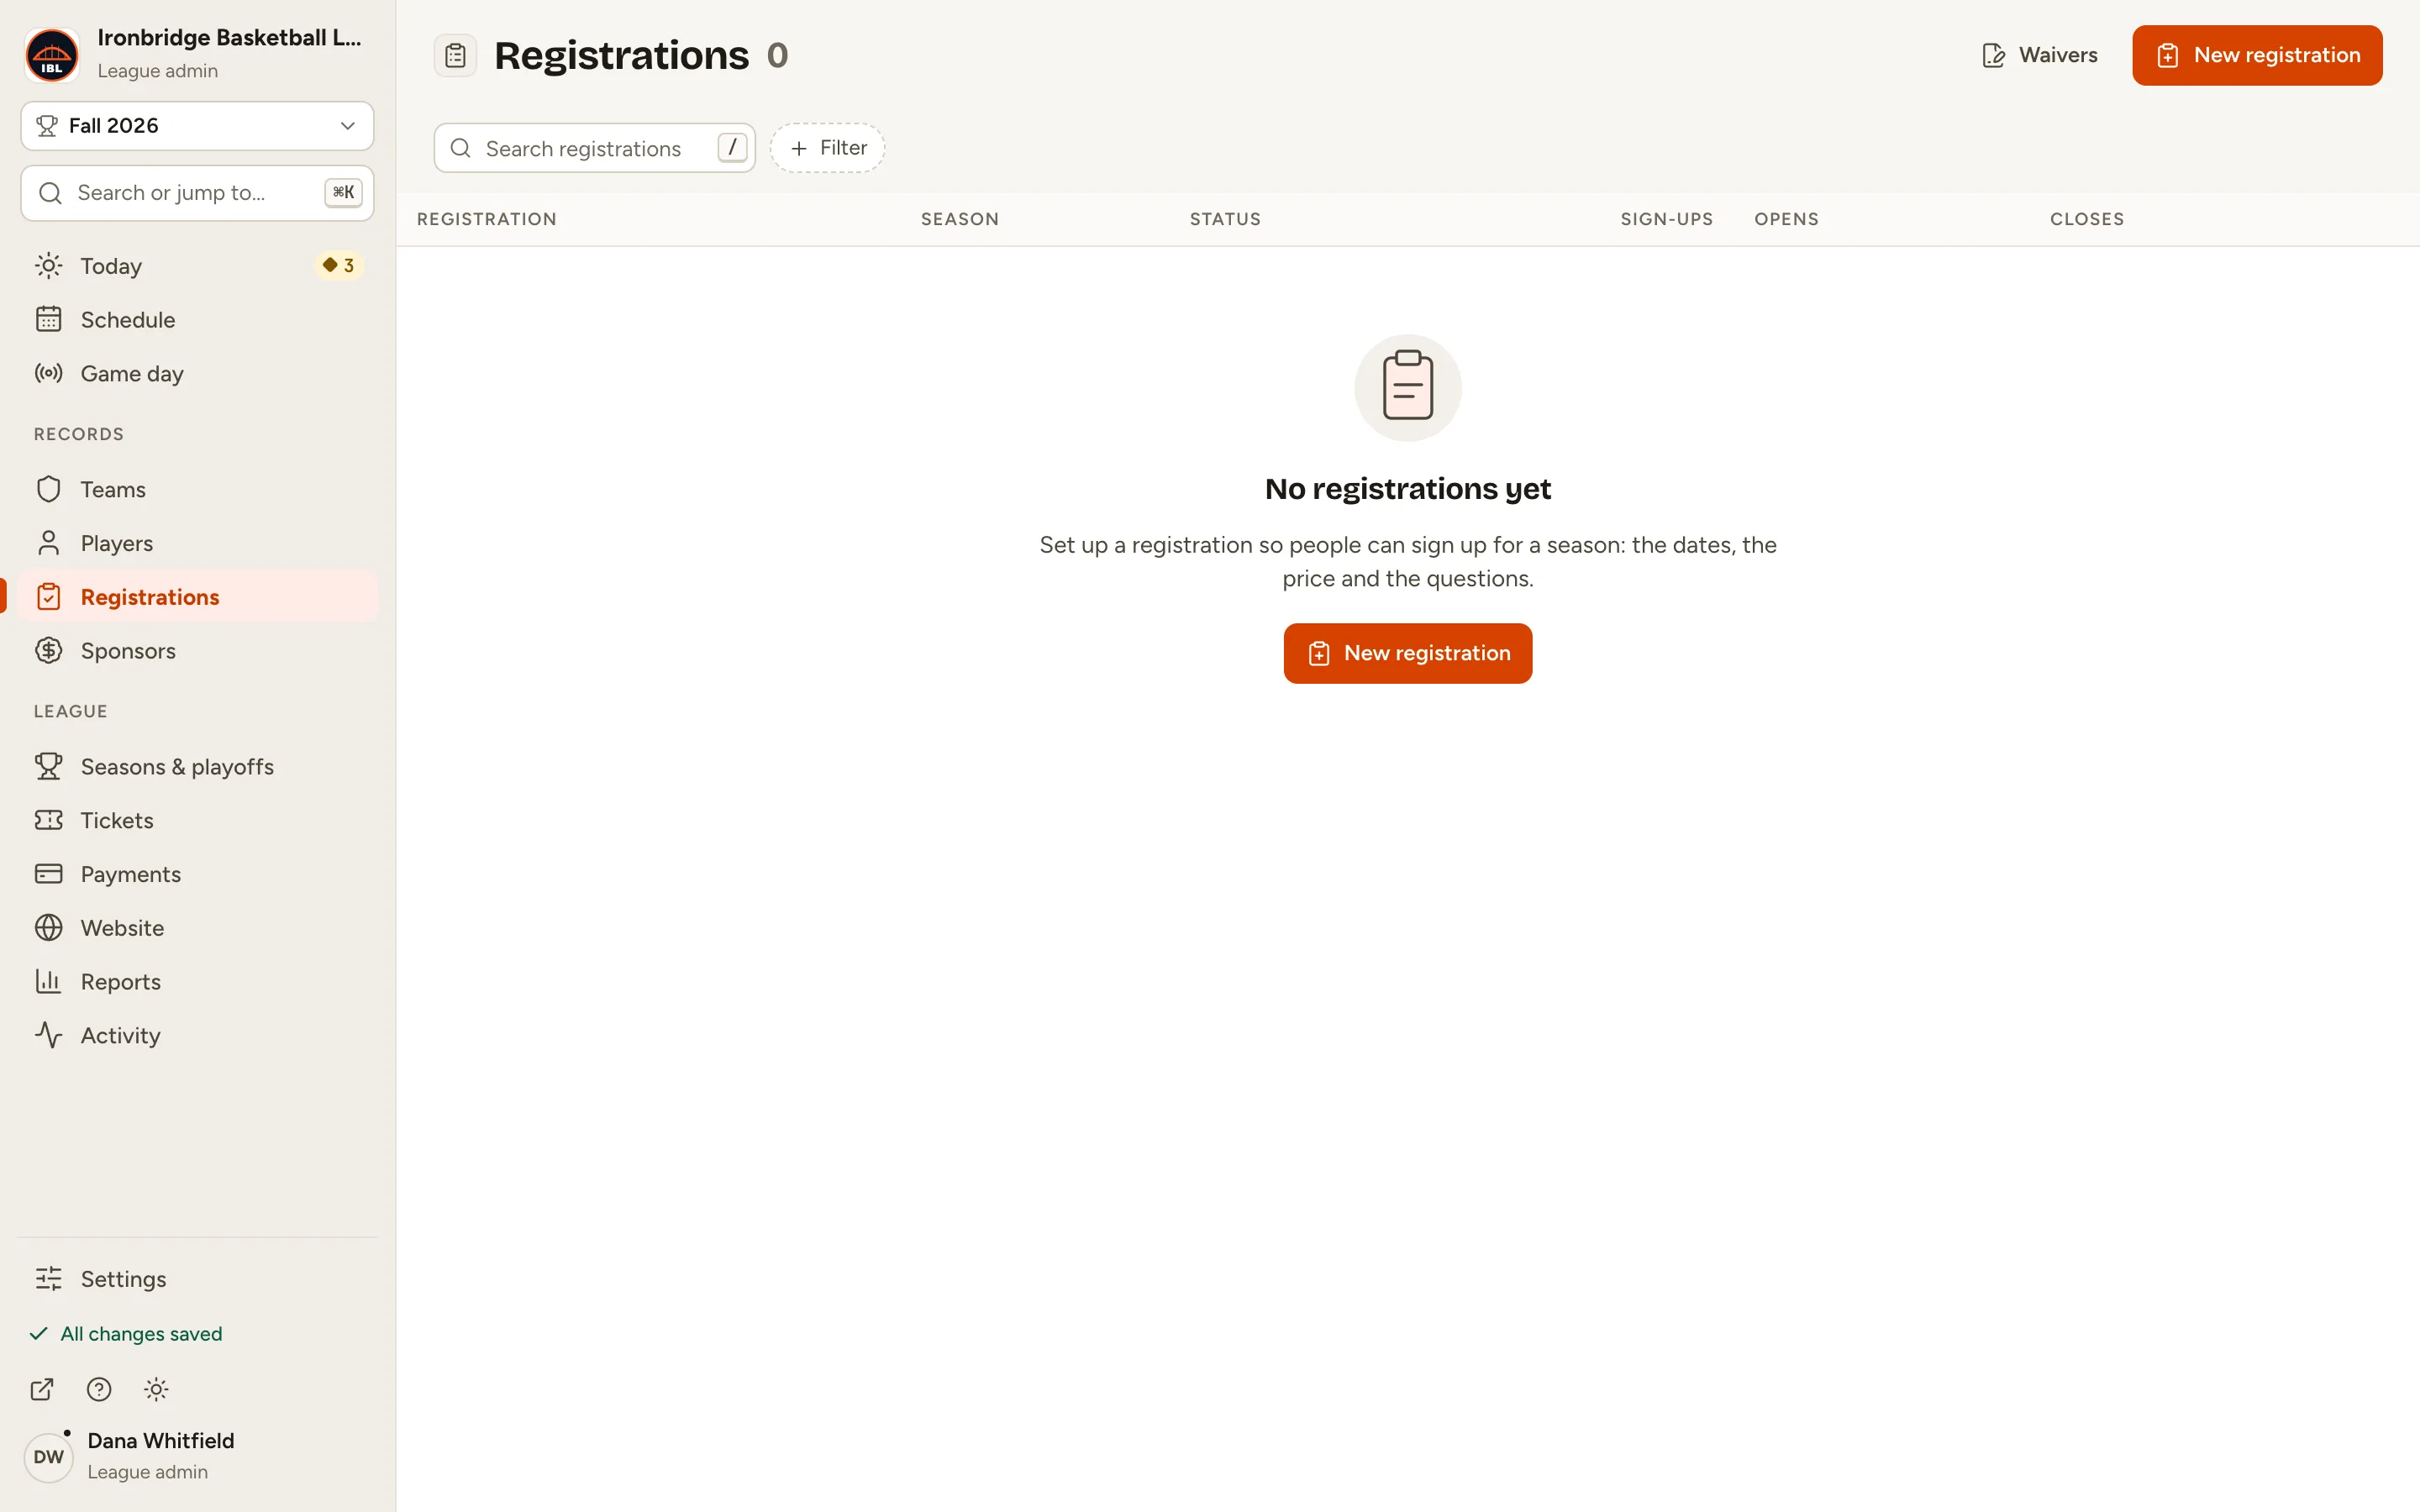
Fig. 2New registration, in the empty list. -
Step 3: Type a Name, like Winter 2027 player registration.
People see this name when they sign up.
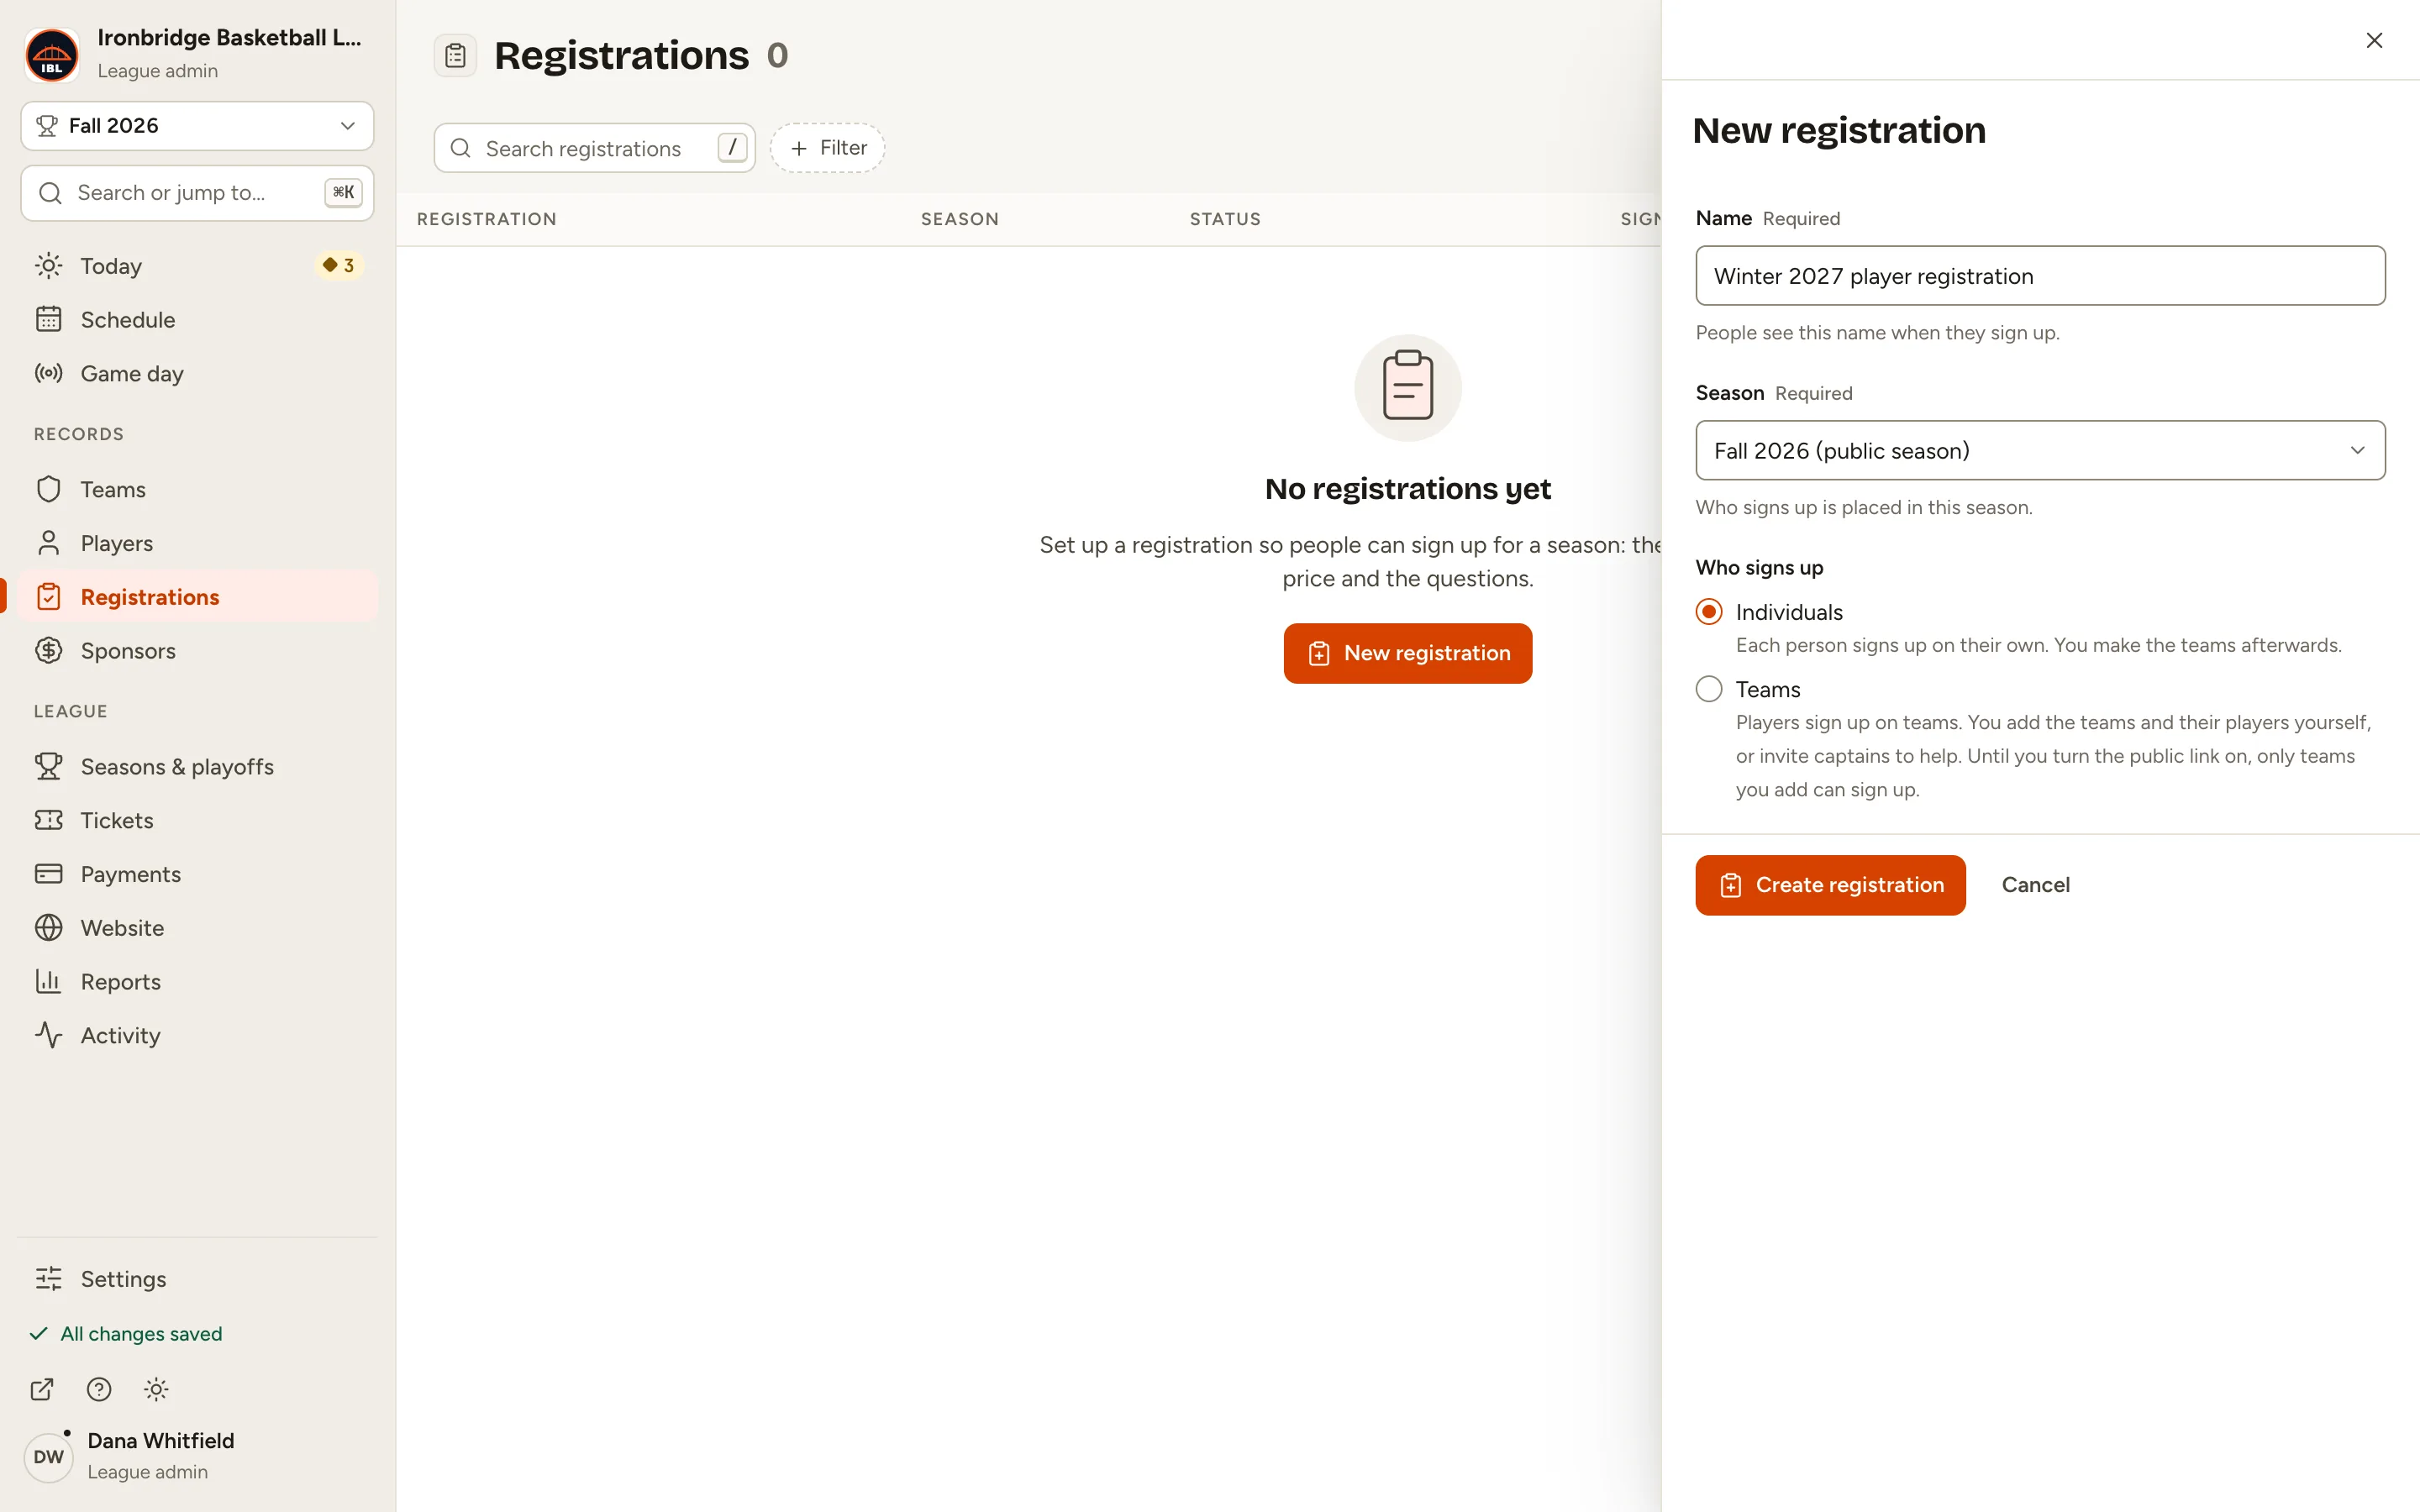
Fig. 3The registration’s name. -
Step 4: Choose the Season, like Winter 2027, and keep Individuals under Who signs up.
Everyone who signs up is placed in this season. With Individuals, each person signs up on their own and you make the teams afterwards.
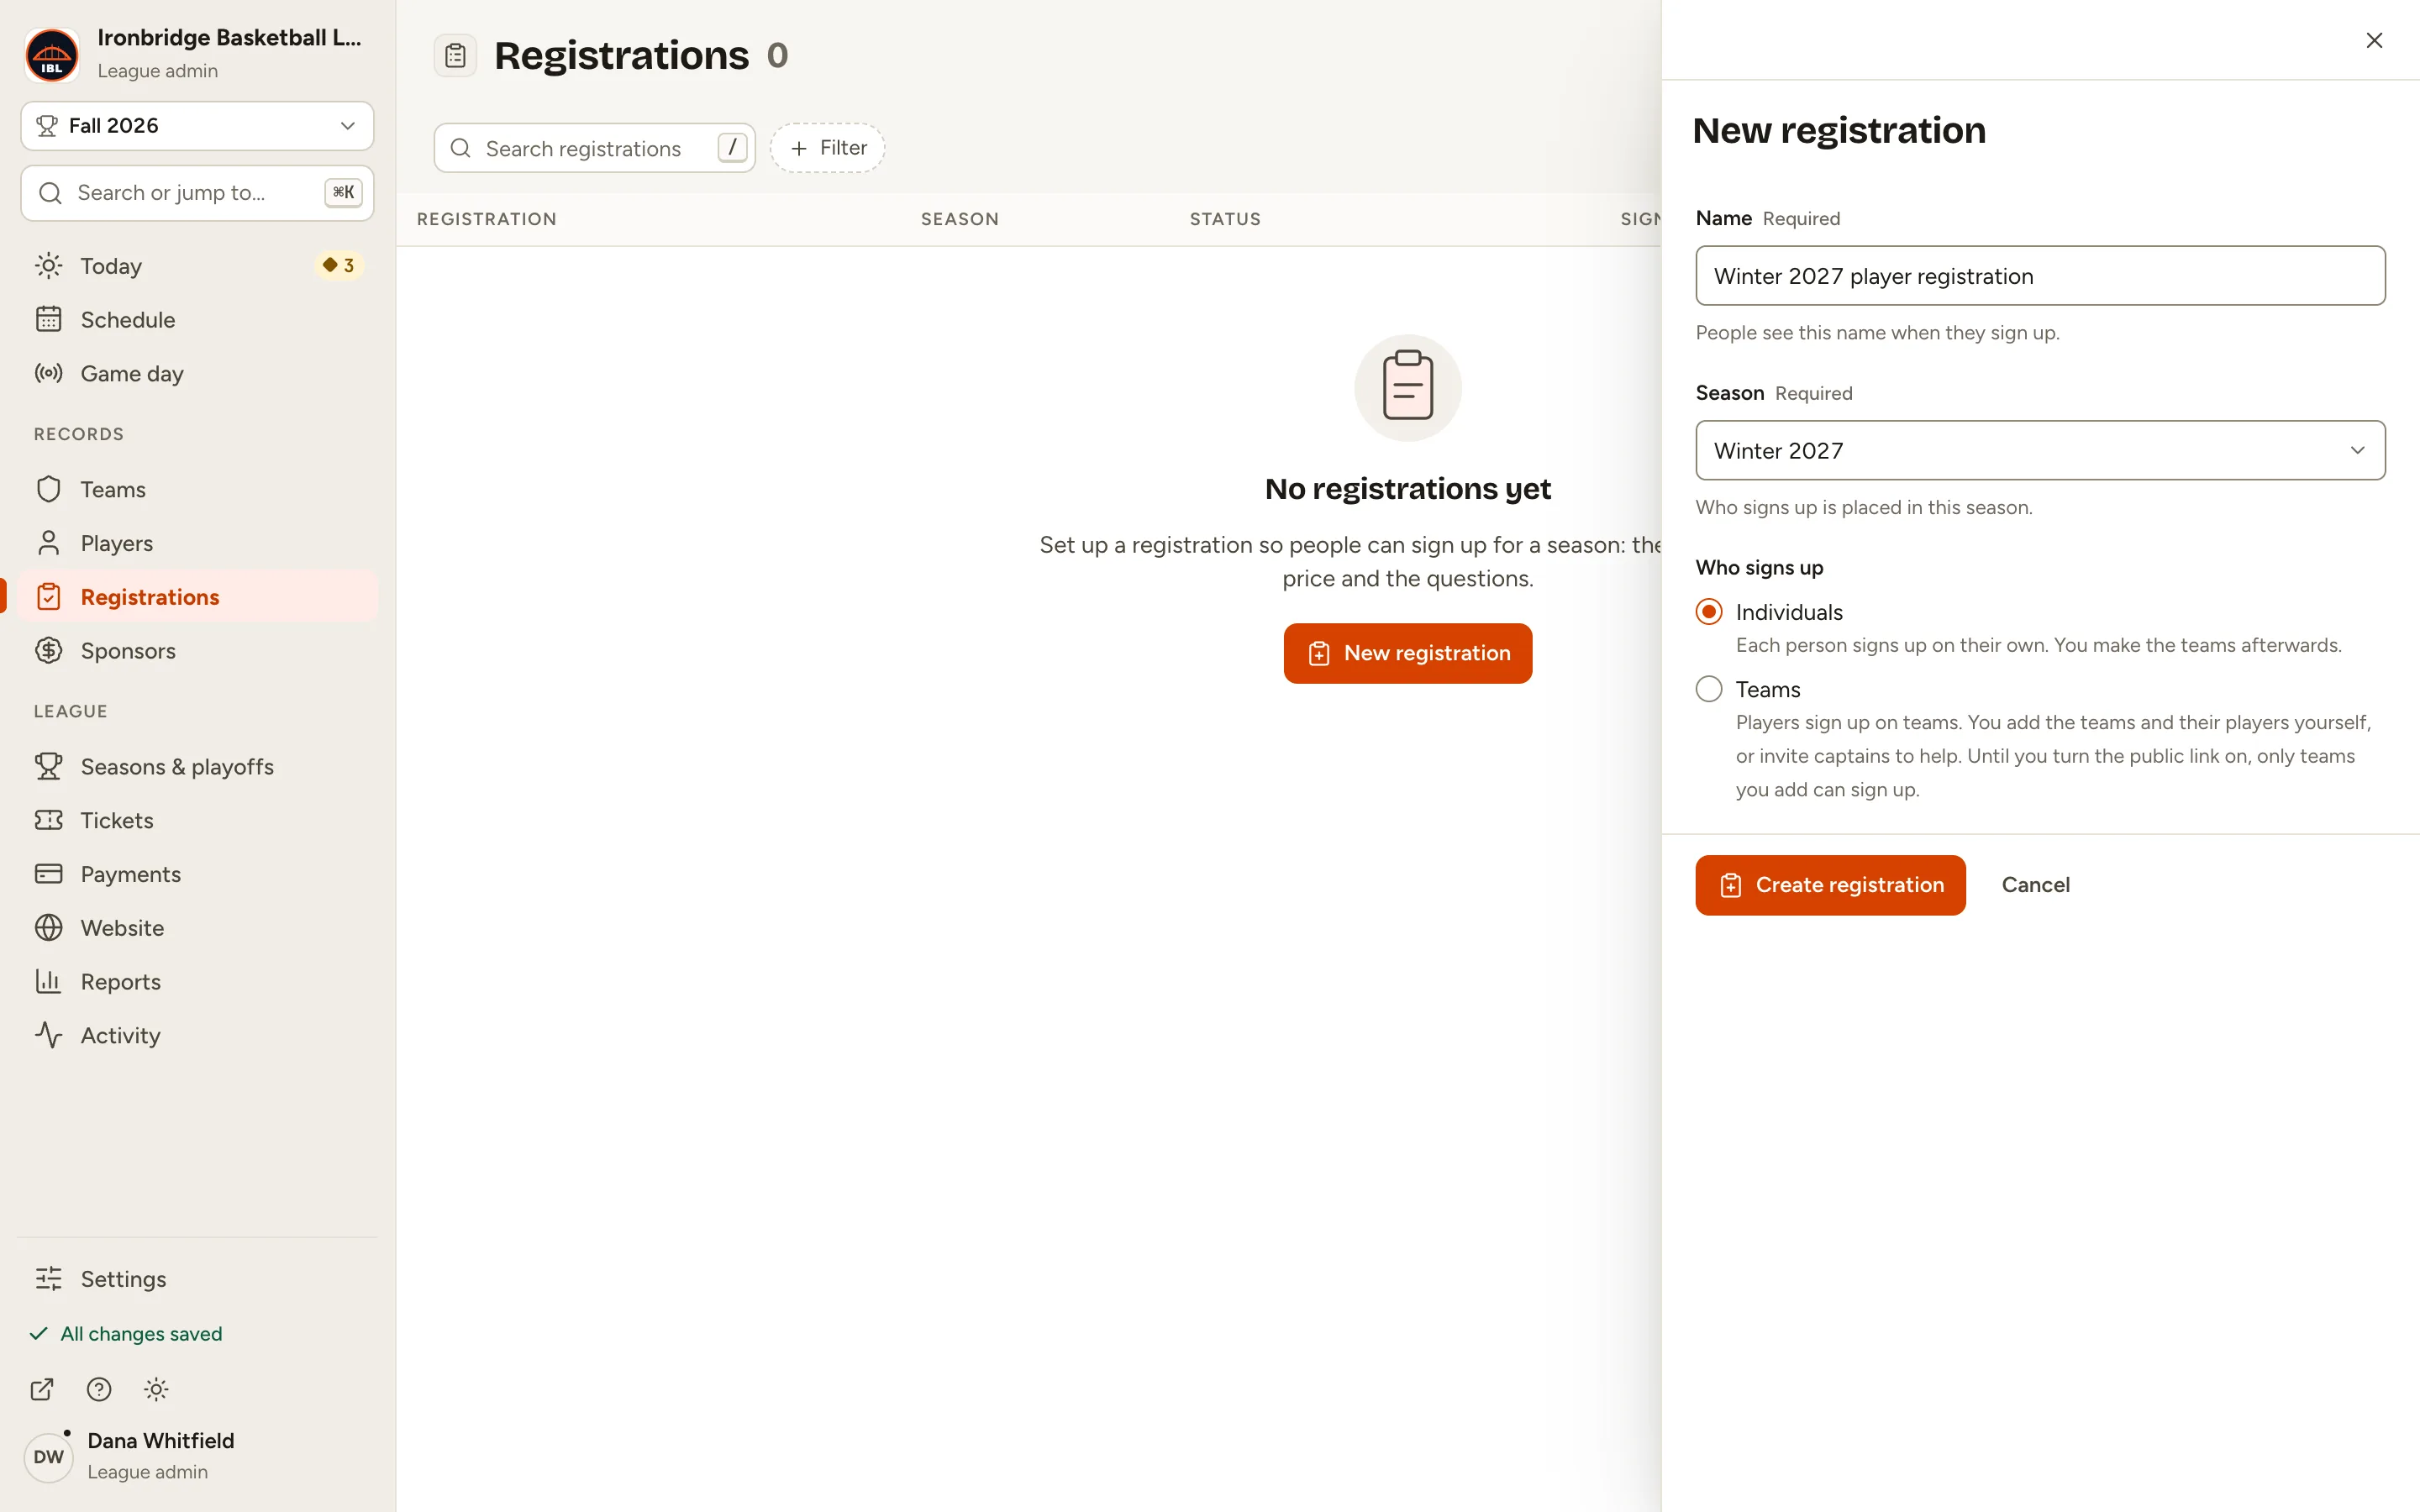
Fig. 4The season, and Individuals. -
Step 5: Click Create registration.
The registration opens on its Setup tab as a Draft, so nobody can sign up yet. The checklist on the left shows what’s left to do before you can open it.
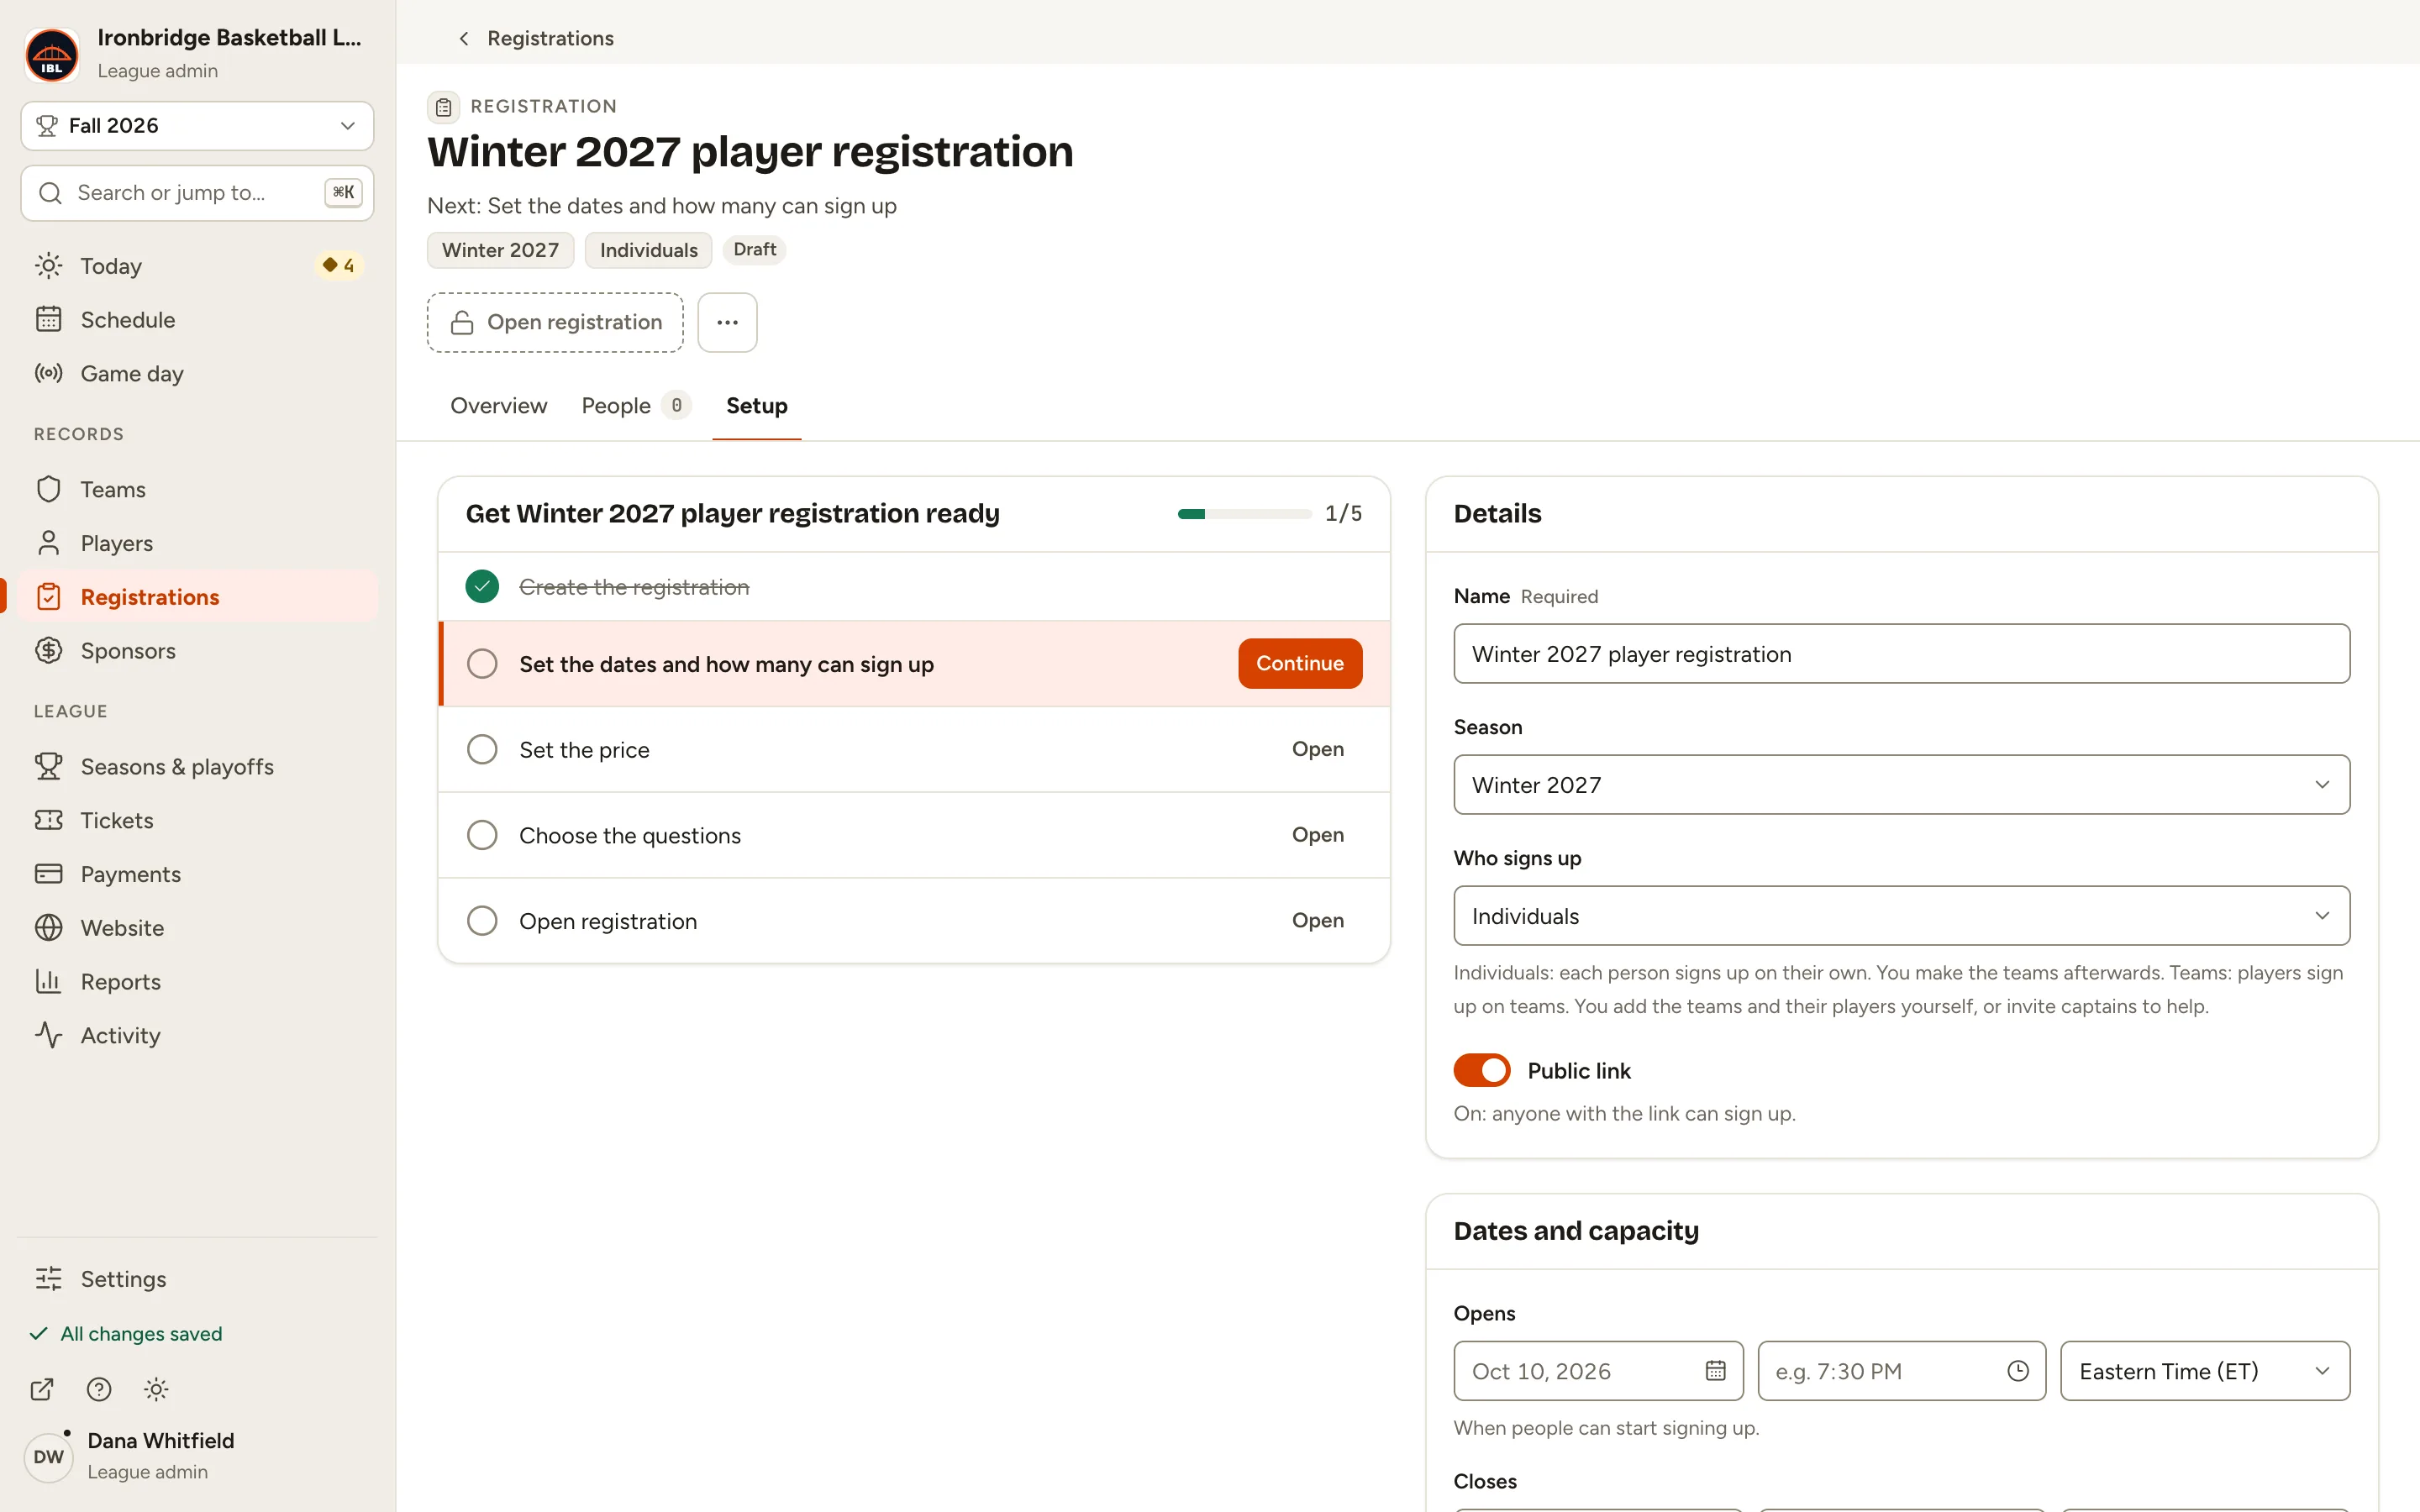
Fig. 5The Setup tab and its checklist. -
Step 6: Under Dates and capacity, set when it Opens and Closes.
Give each a date and a time; until both are in, the field says Choose a time too. Sign-up ends at the closing time.
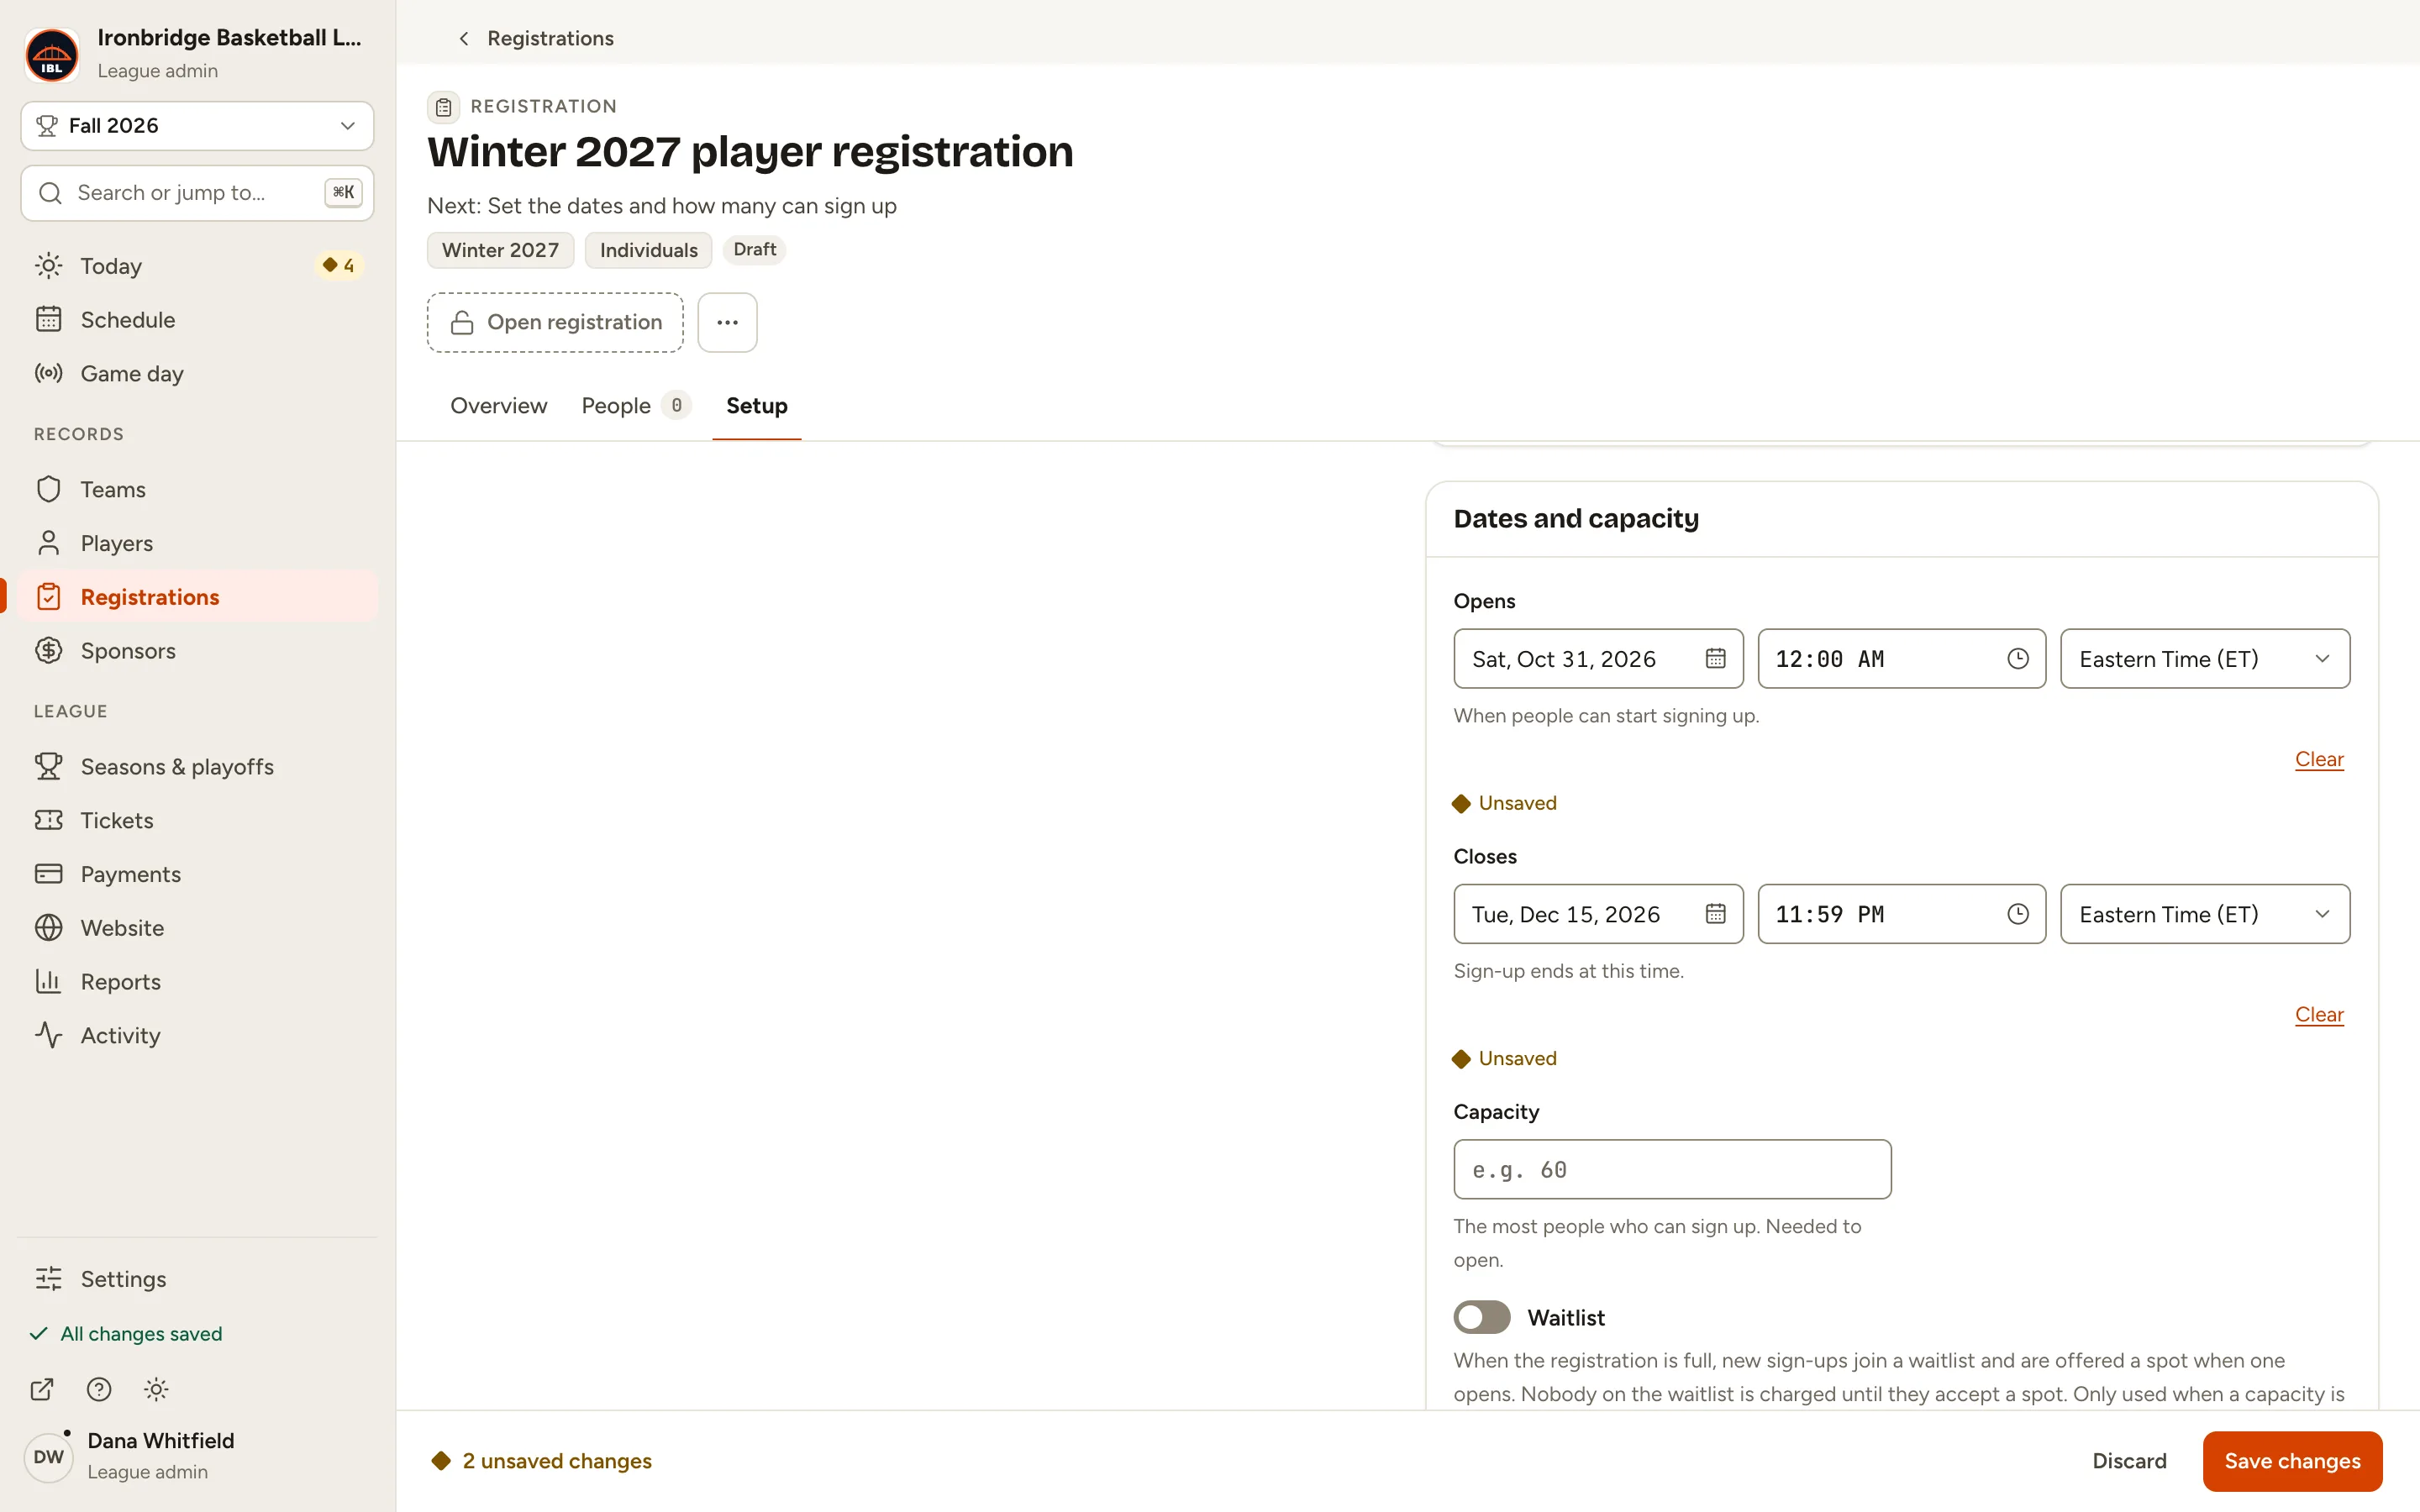
Fig. 6When sign-up opens and closes. -
Step 7: Type a Capacity, like 60.
The most people who can sign up. A registration needs one to open.
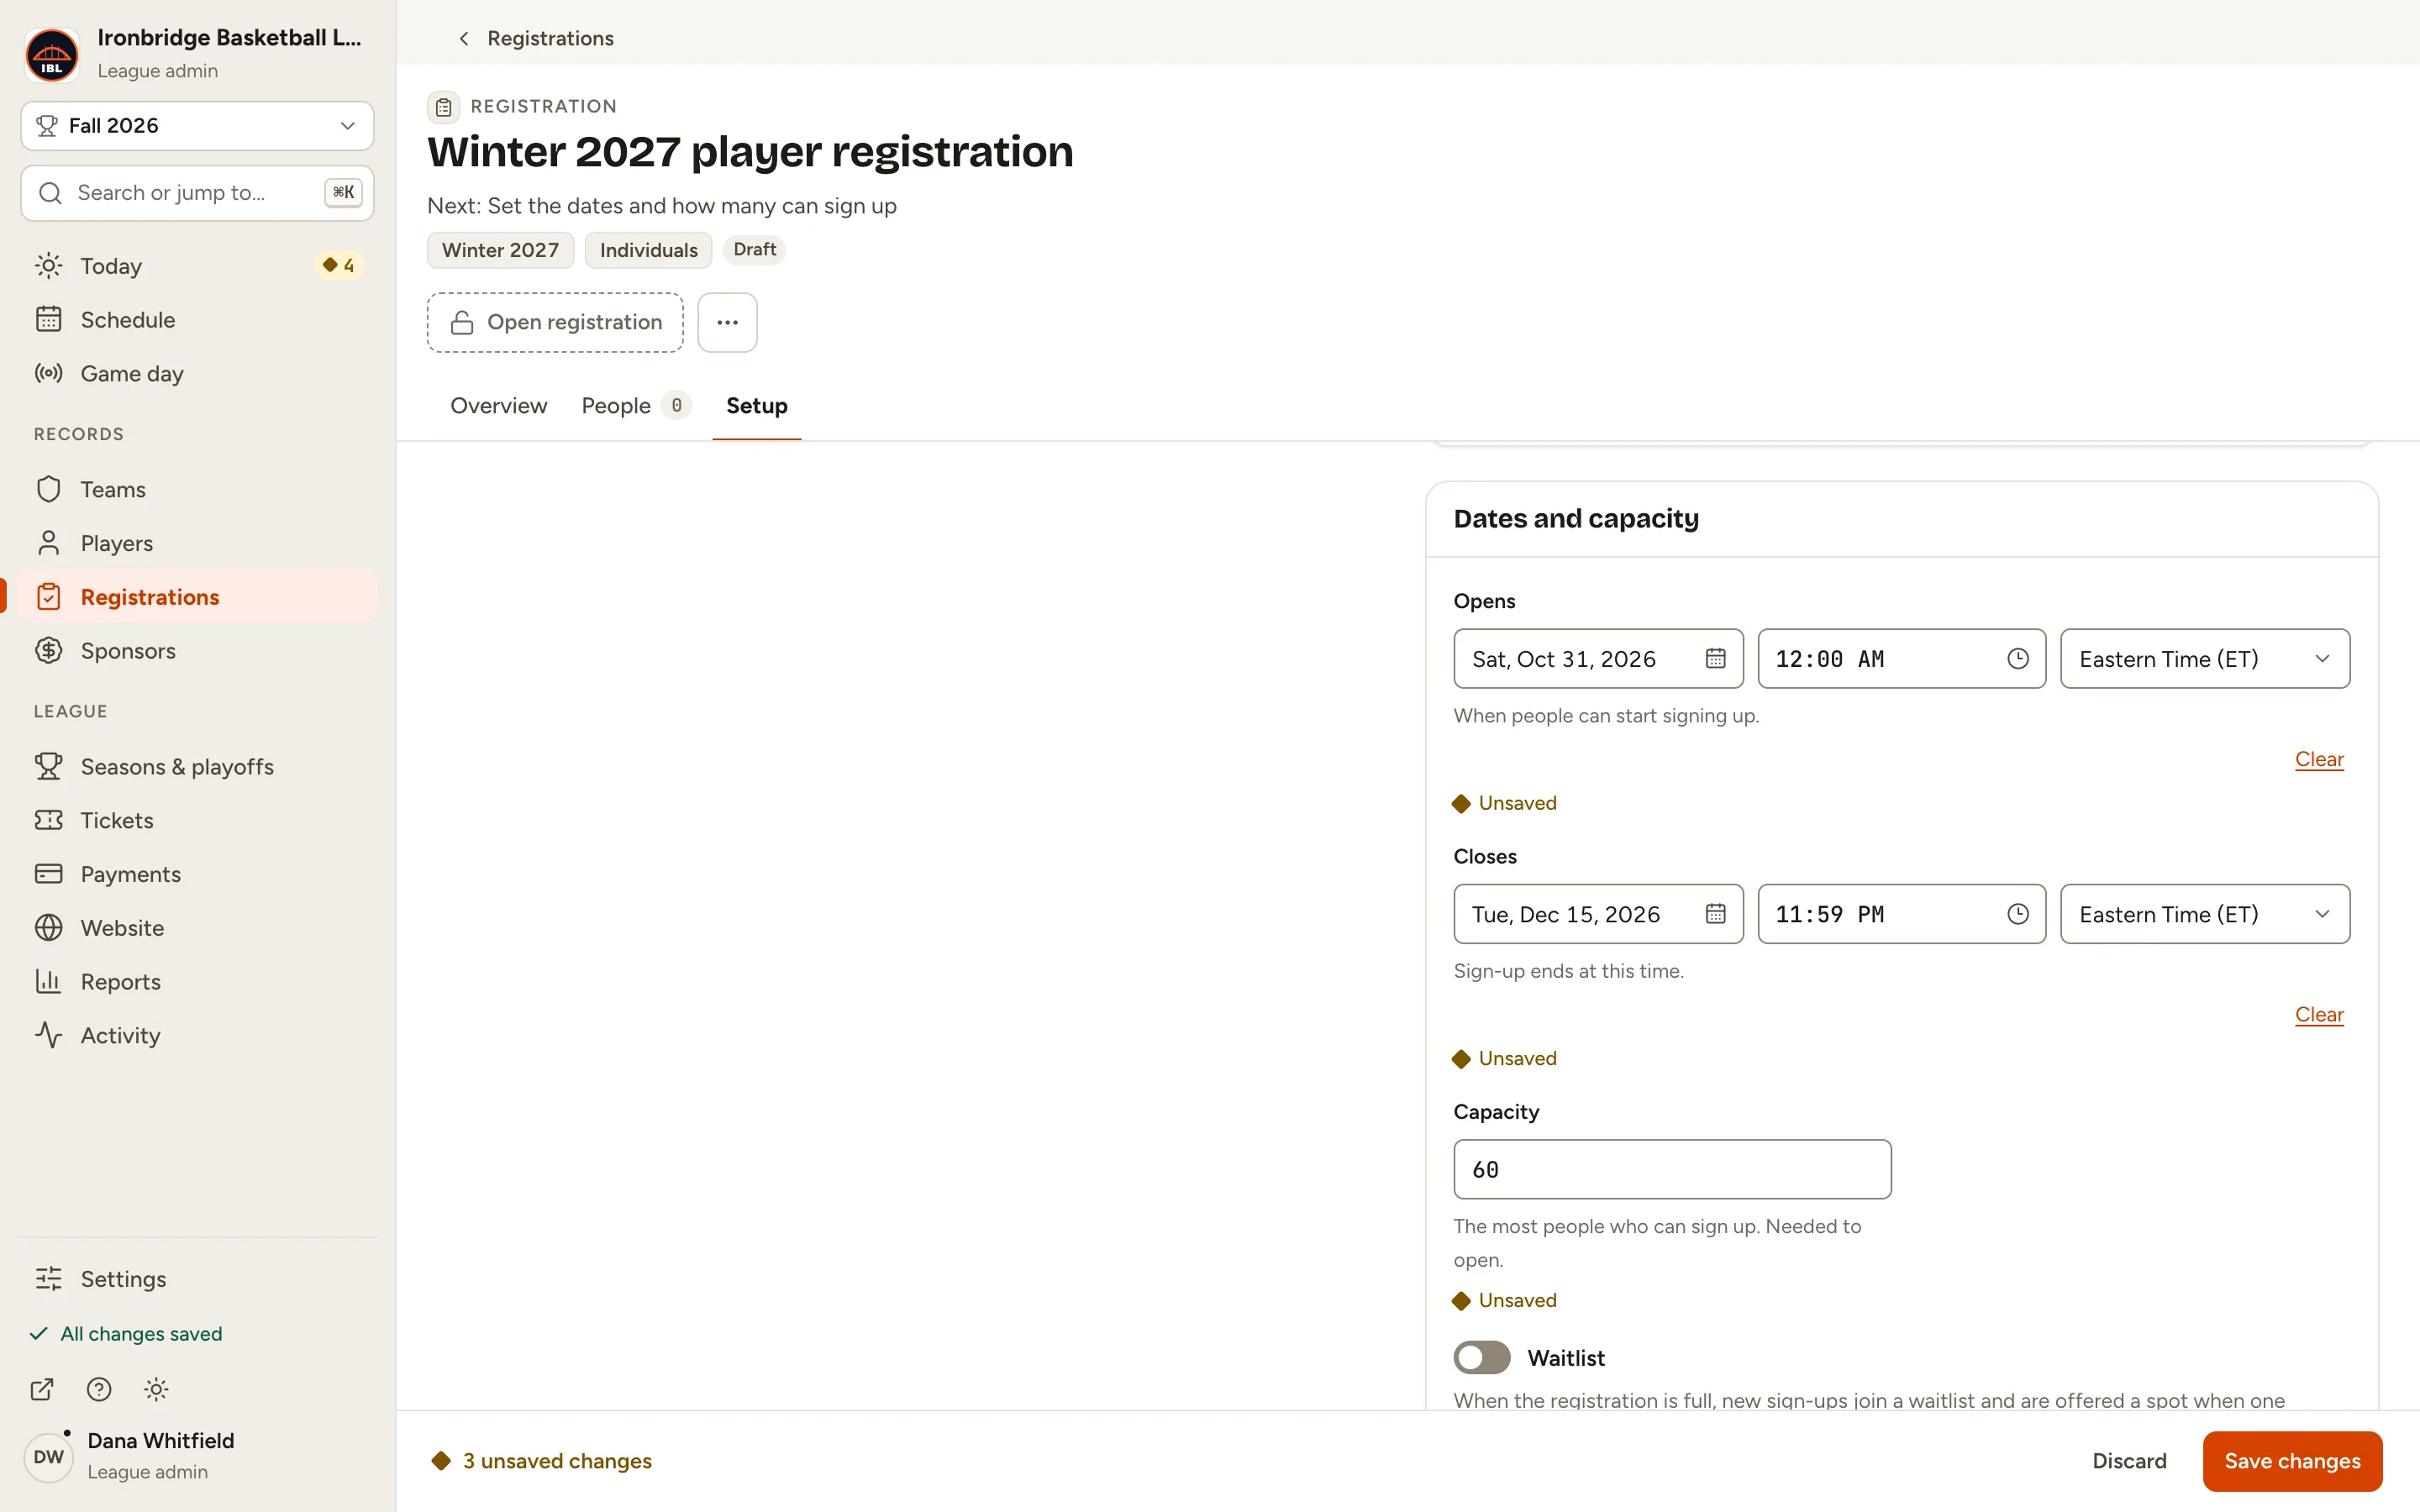
Fig. 7Up to 60 people. -
Step 8: Under Price, choose Charge a price and type a Price (USD), like 80.
The preview shows what each registrant pays, $86.82 with the service fee, and that you receive $80.00. Choose Free instead for no payment.
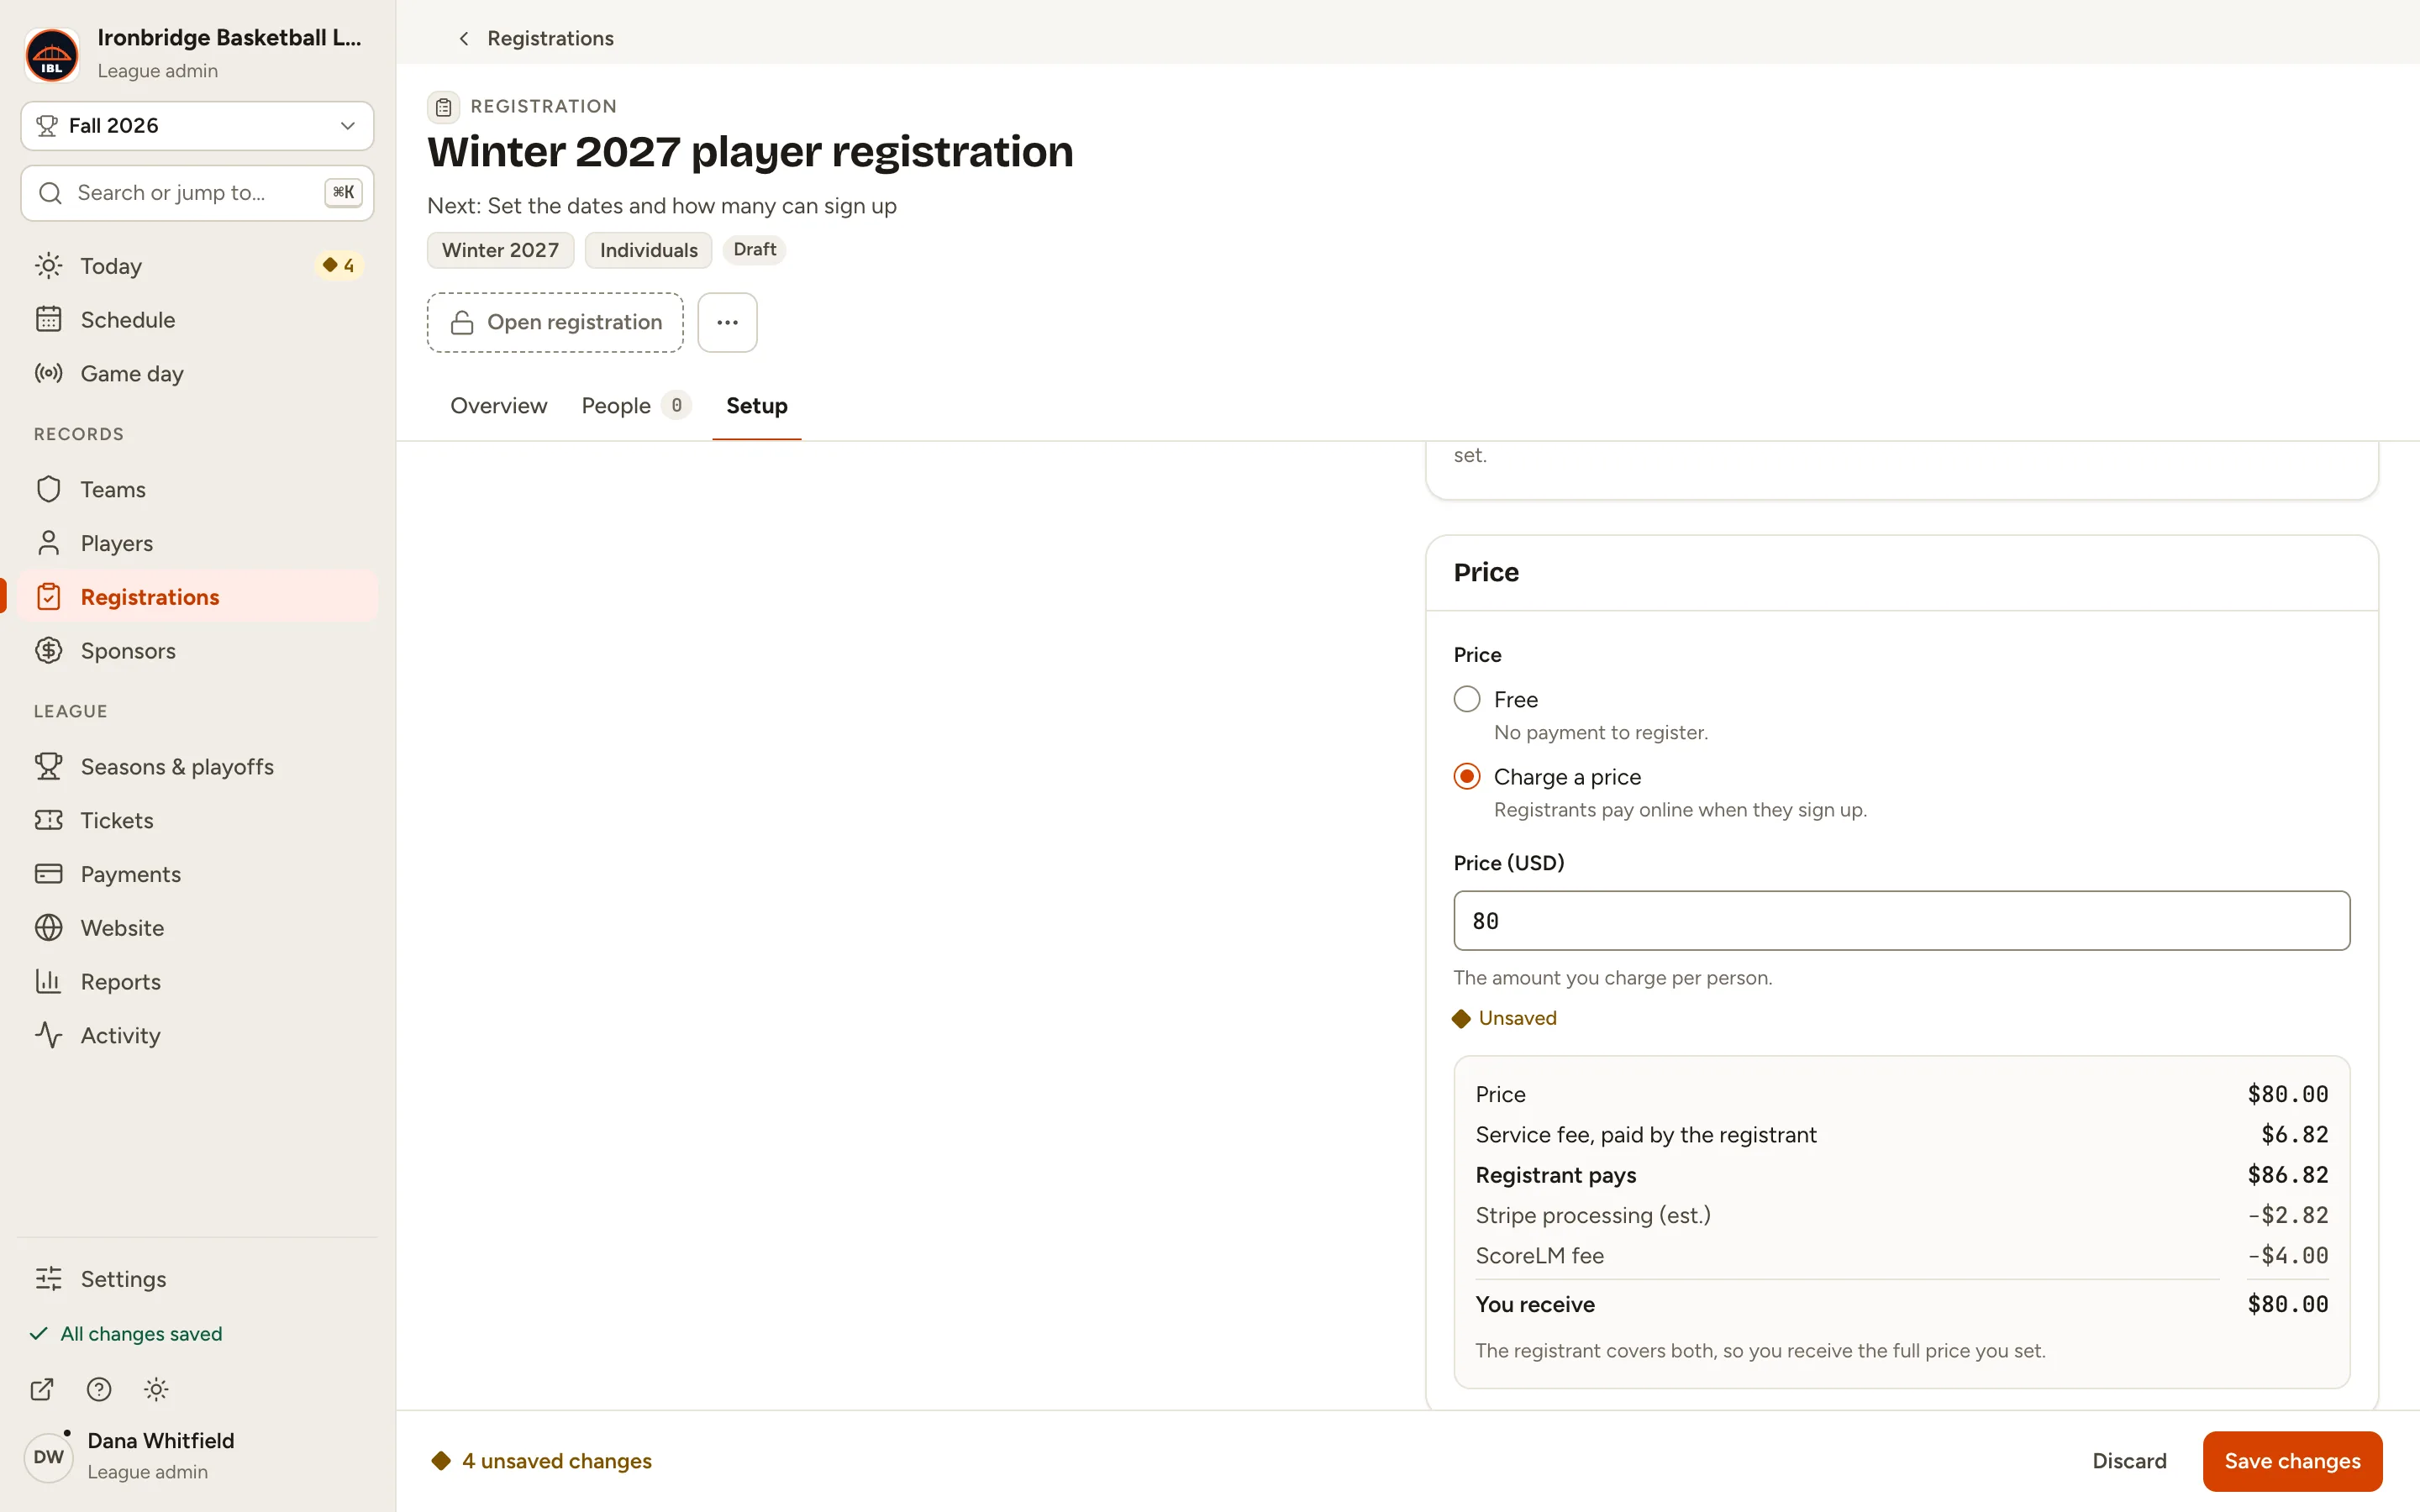
Fig. 8An $80 price, with what registrants pay and what you receive. -
Step 9: Under Questions, click Add question and type the Question, like Jersey size.
First name, last name, email and phone are always asked. Add your own for anything else.
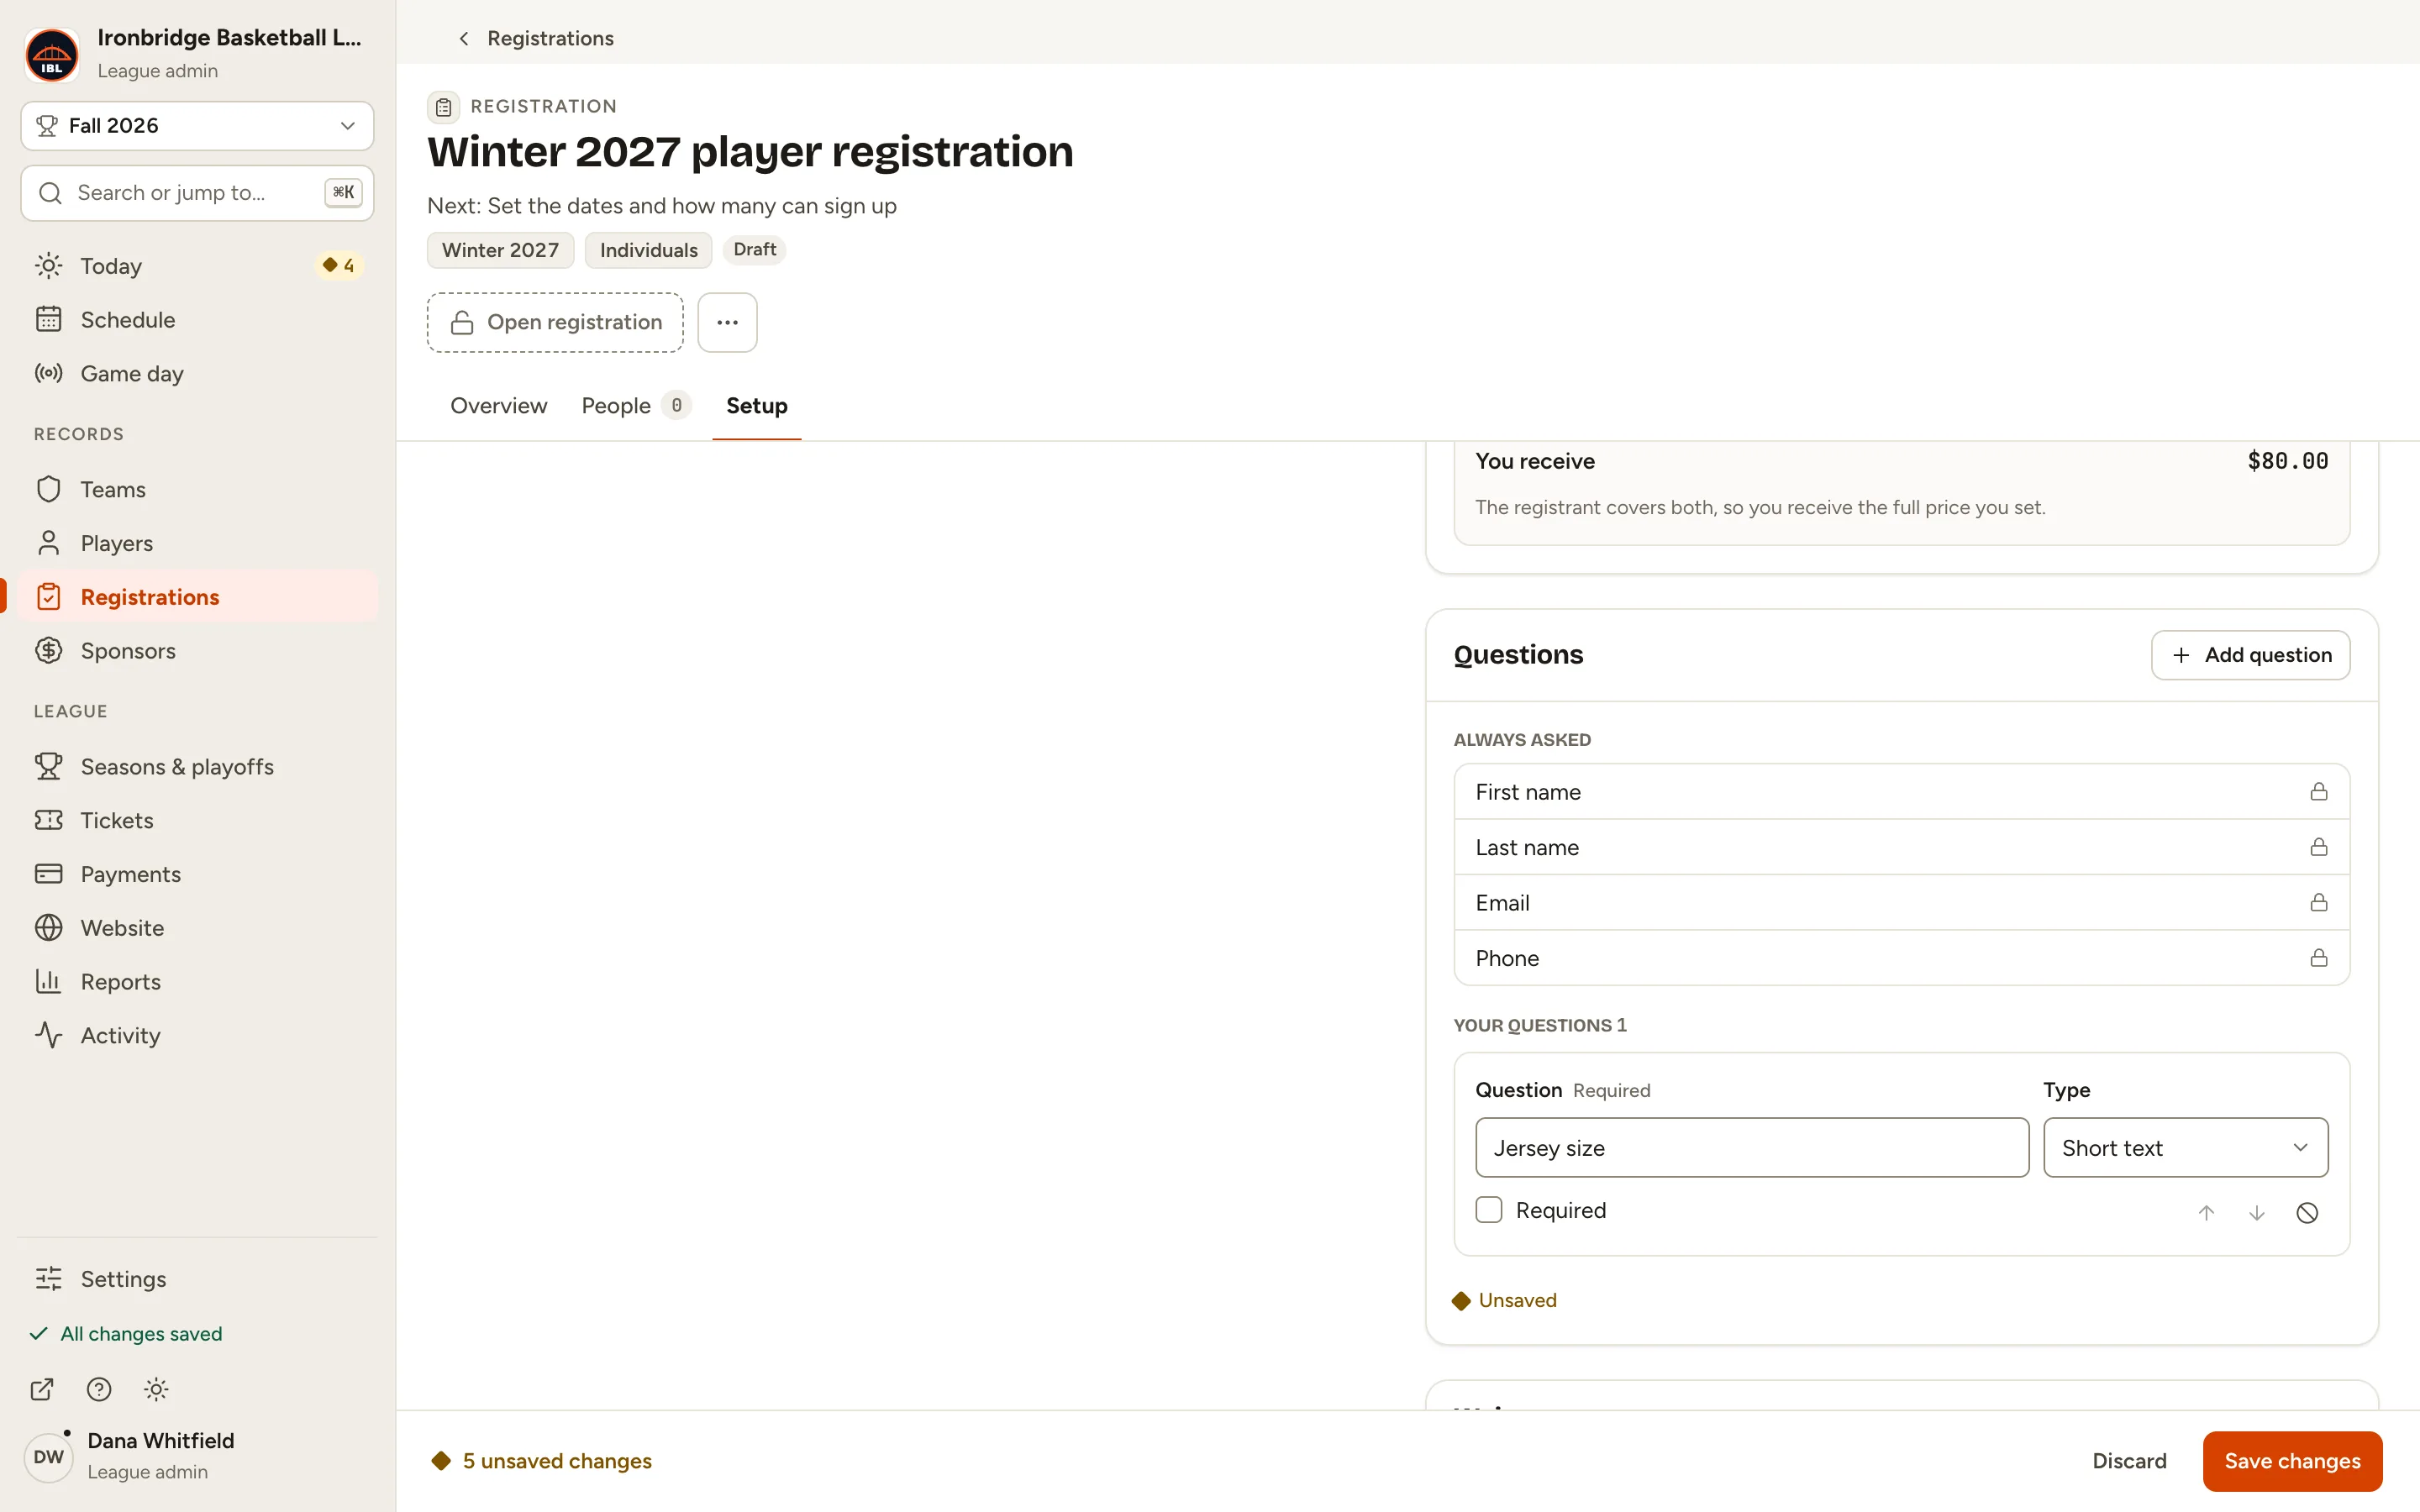
Fig. 9A question of your own. -
Step 10: Set Type to Choice list and type the Choices, separated by commas: S, M, L, XL.
People pick one from the list. Tick Required if everyone has to answer.
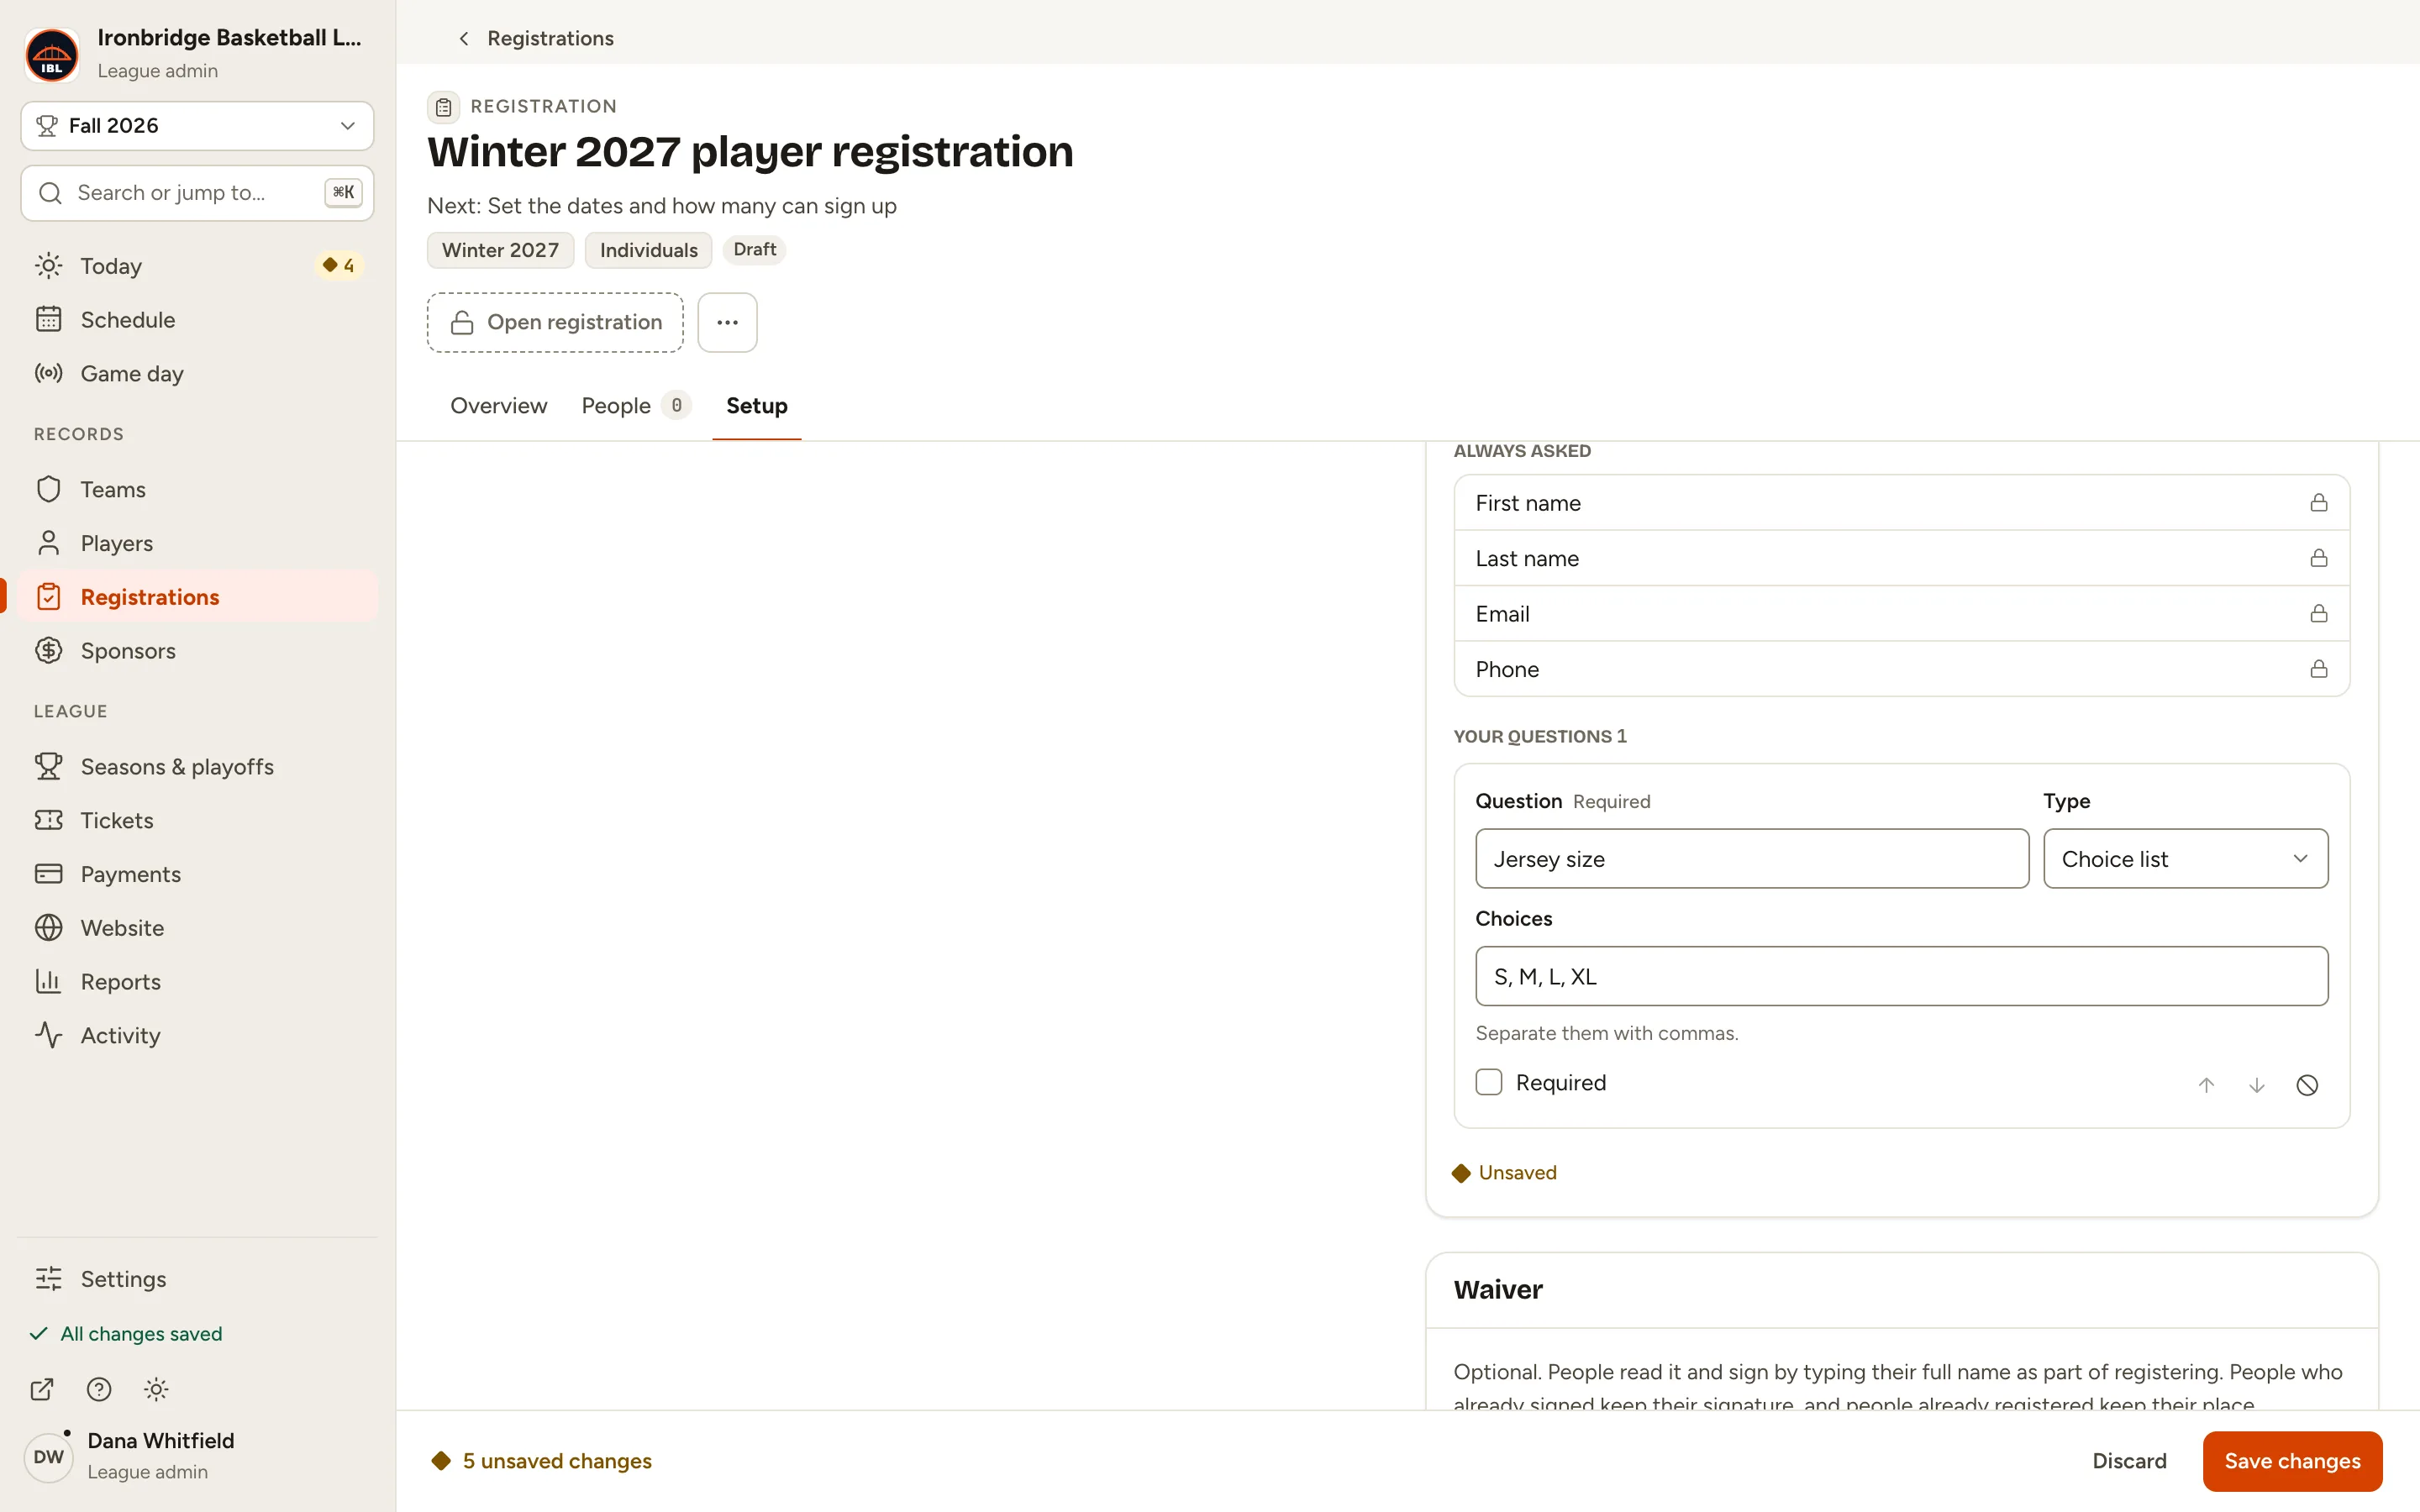
Fig. 10Jersey size as a Choice list. -
Step 11: Click Save changes in the bar at the bottom.
Nothing on the Setup tab is saved until you do. The checklist ticks off each step that’s done.
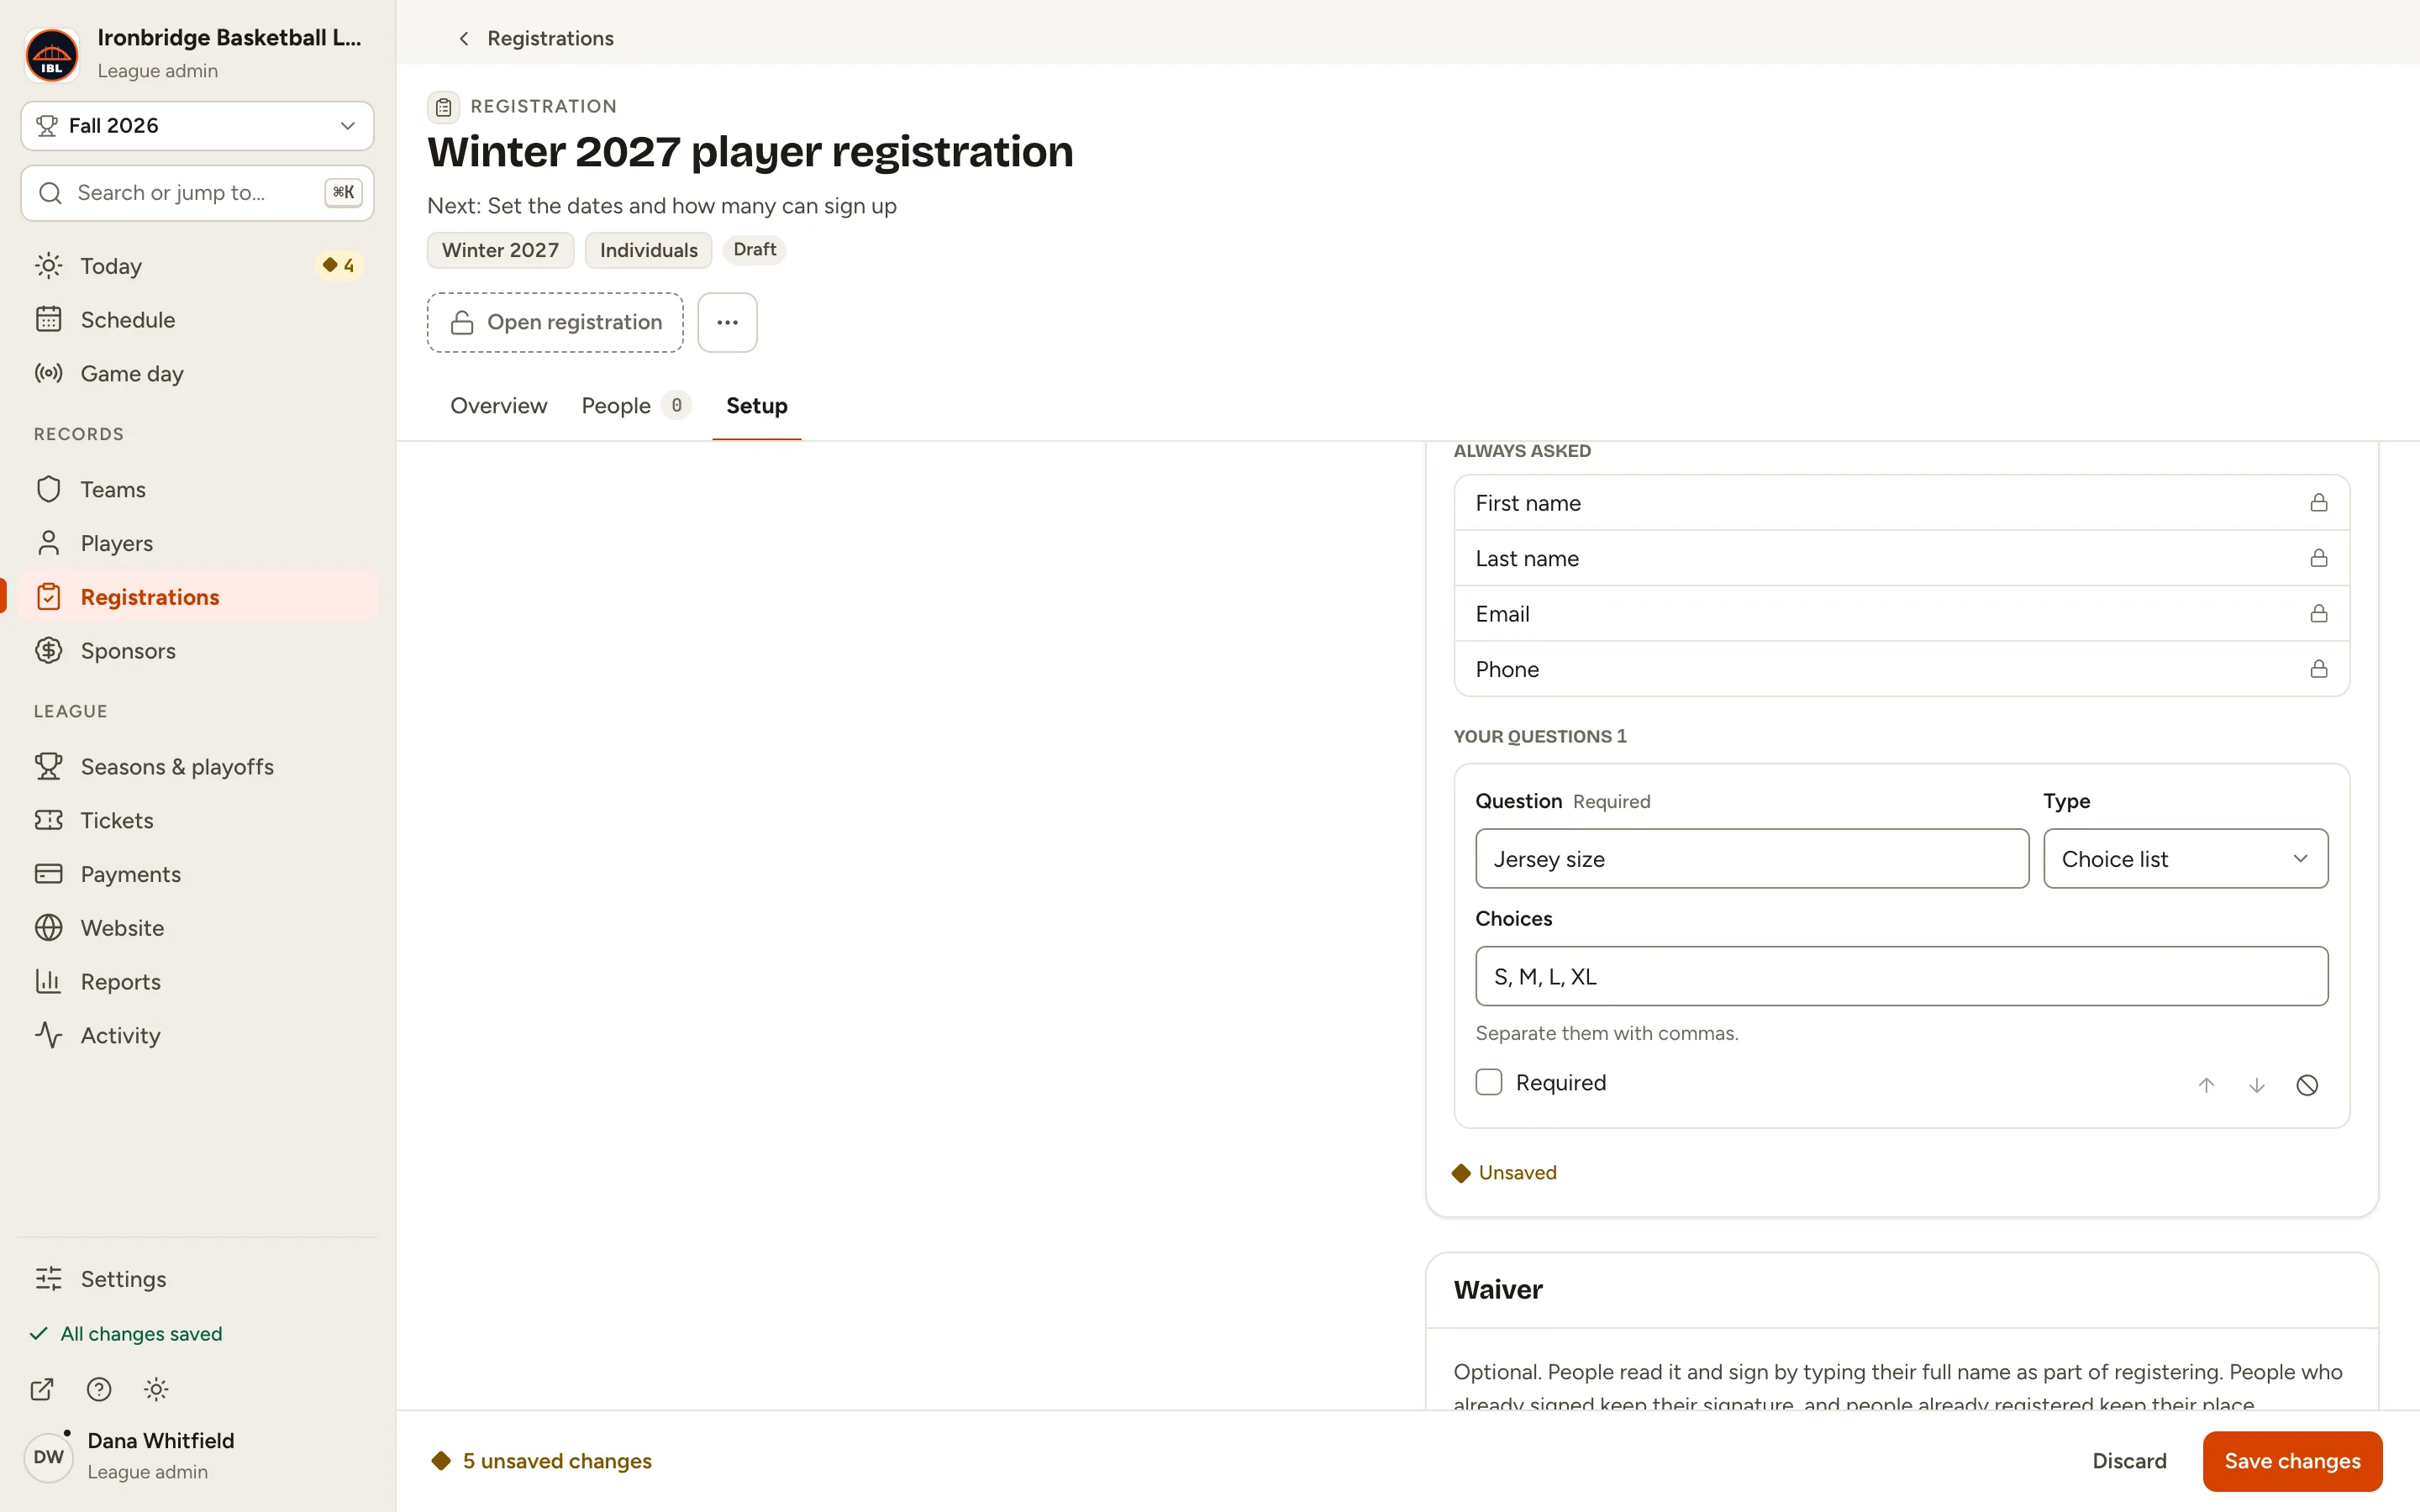
Fig. 11Save changes, in the bar at the bottom. -
Step 12: Click Open registration at the top.
The status changes to Open. People can sign up between the opening and closing times.
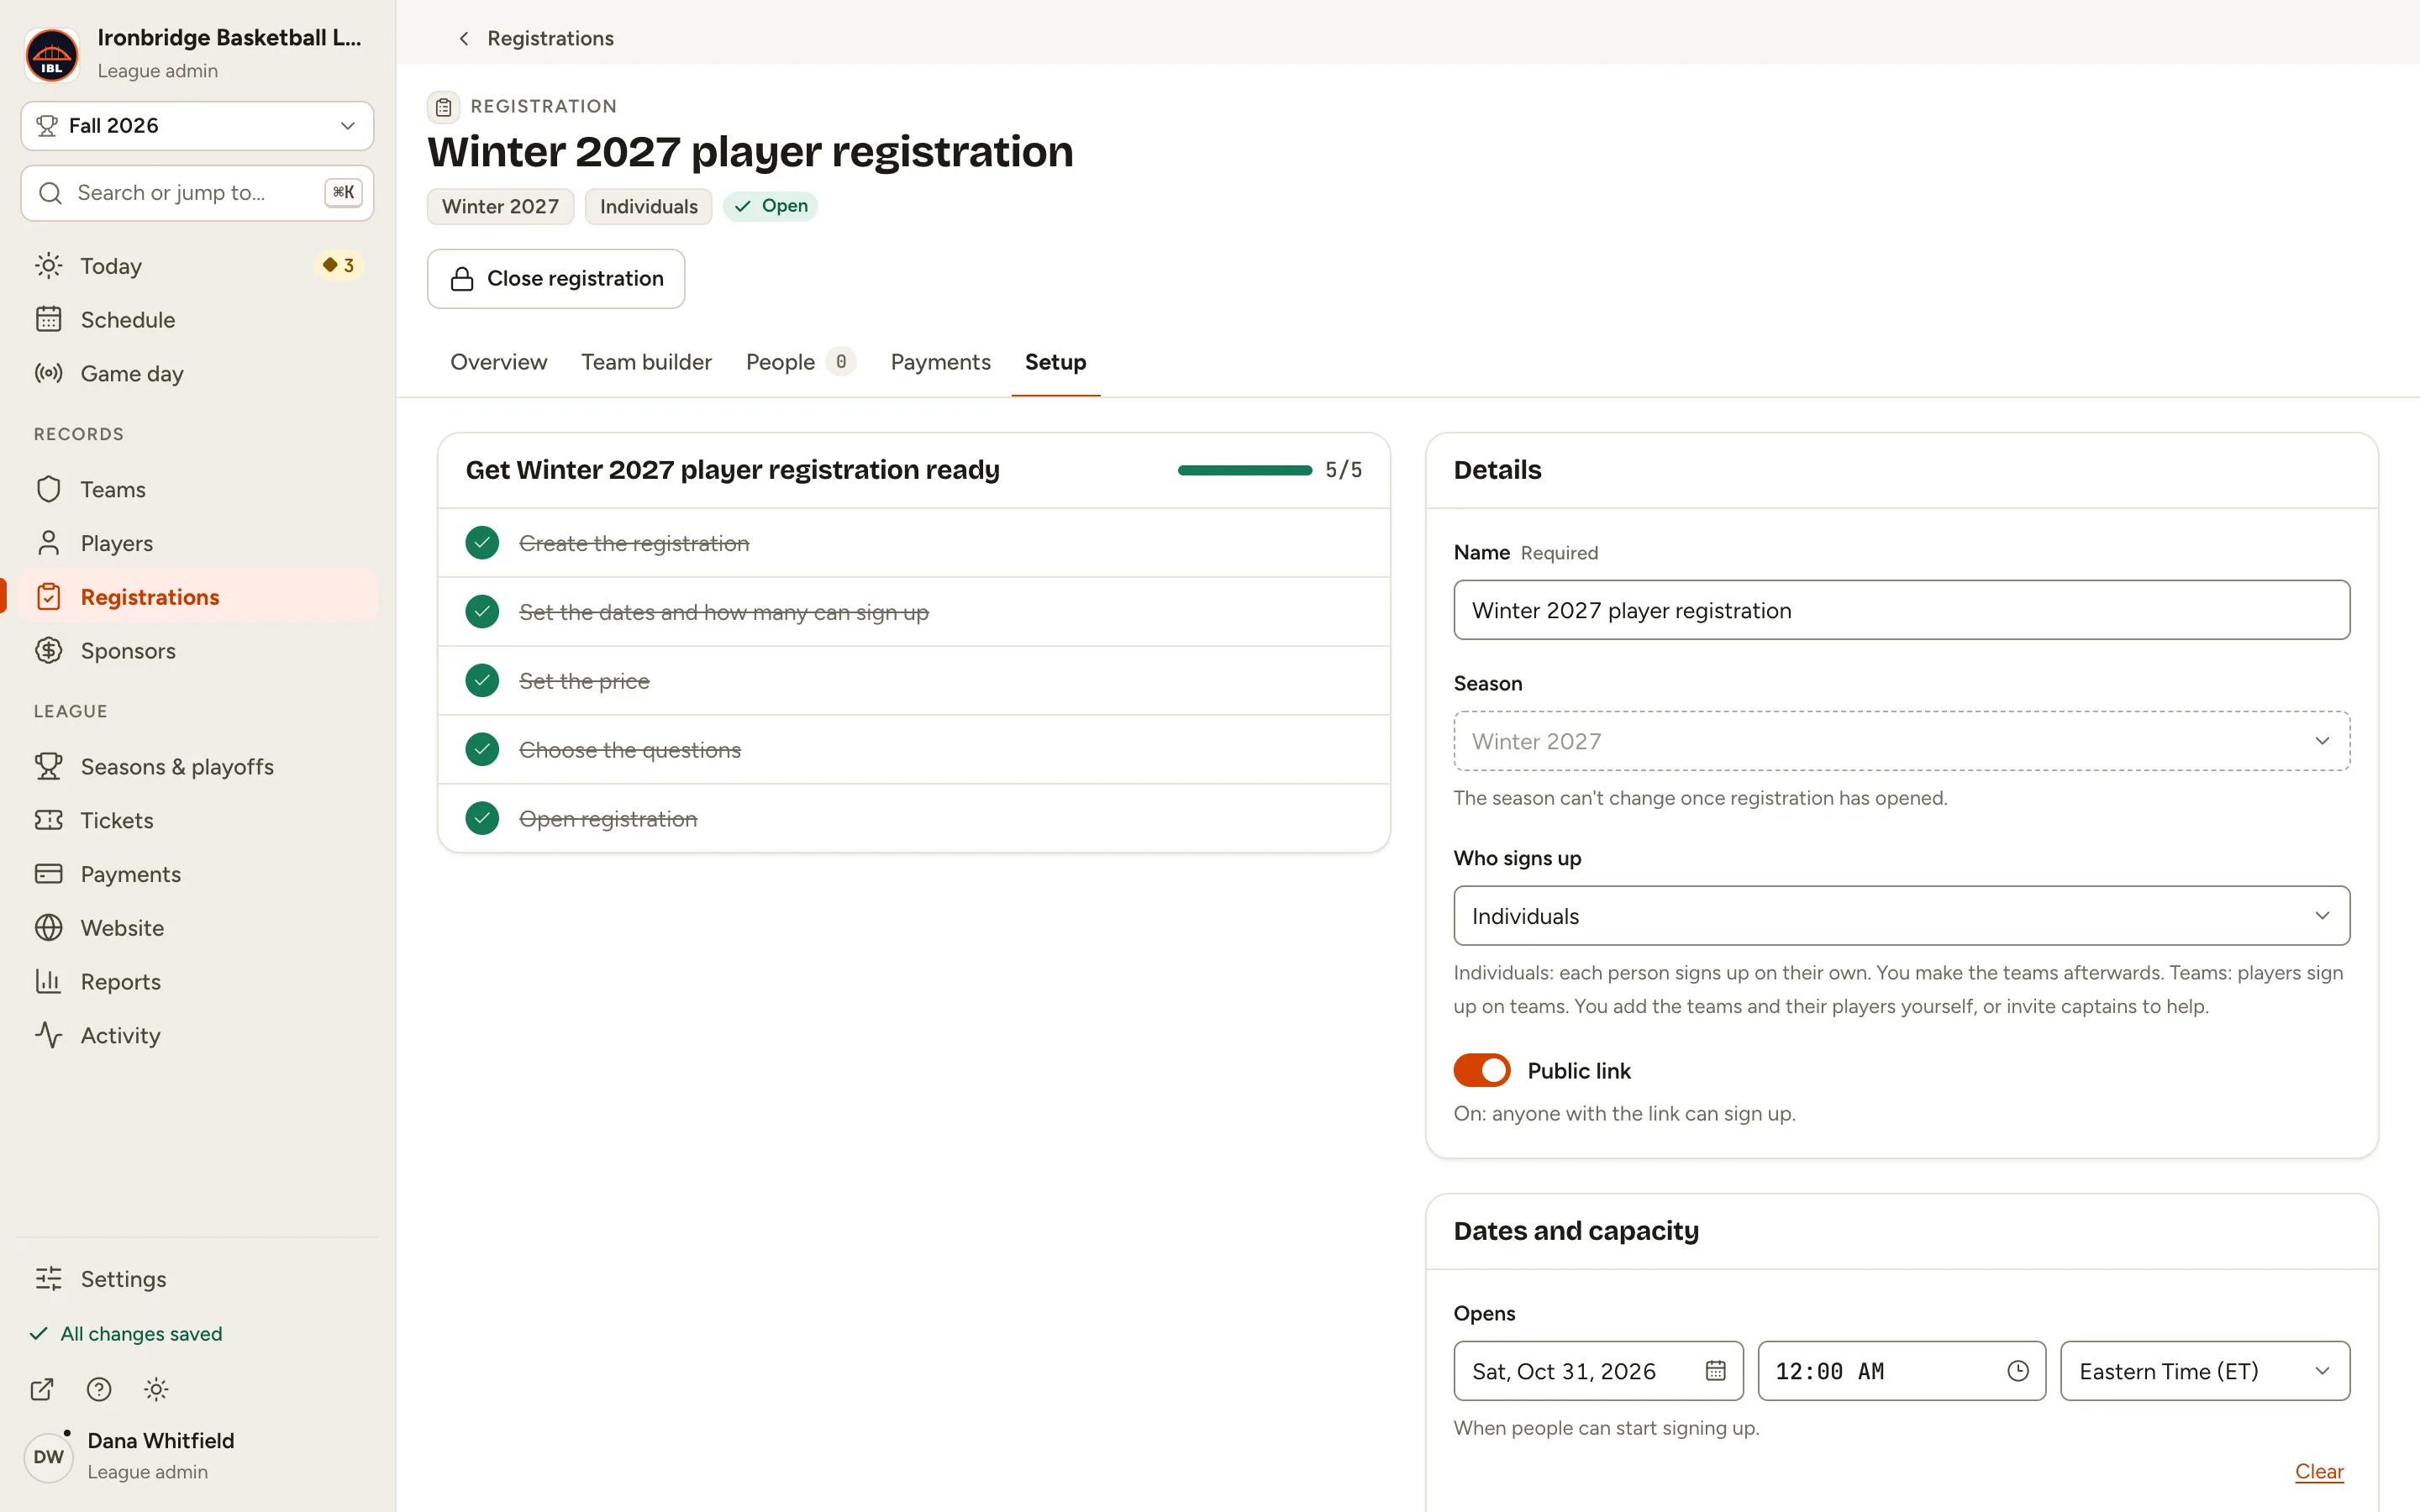
Fig. 12The registration is Open. -
Step 13: Click the Overview tab, then Copy link under Public link.
Share the link anywhere: an email, your group chat or social media. It opens this registration on your website.
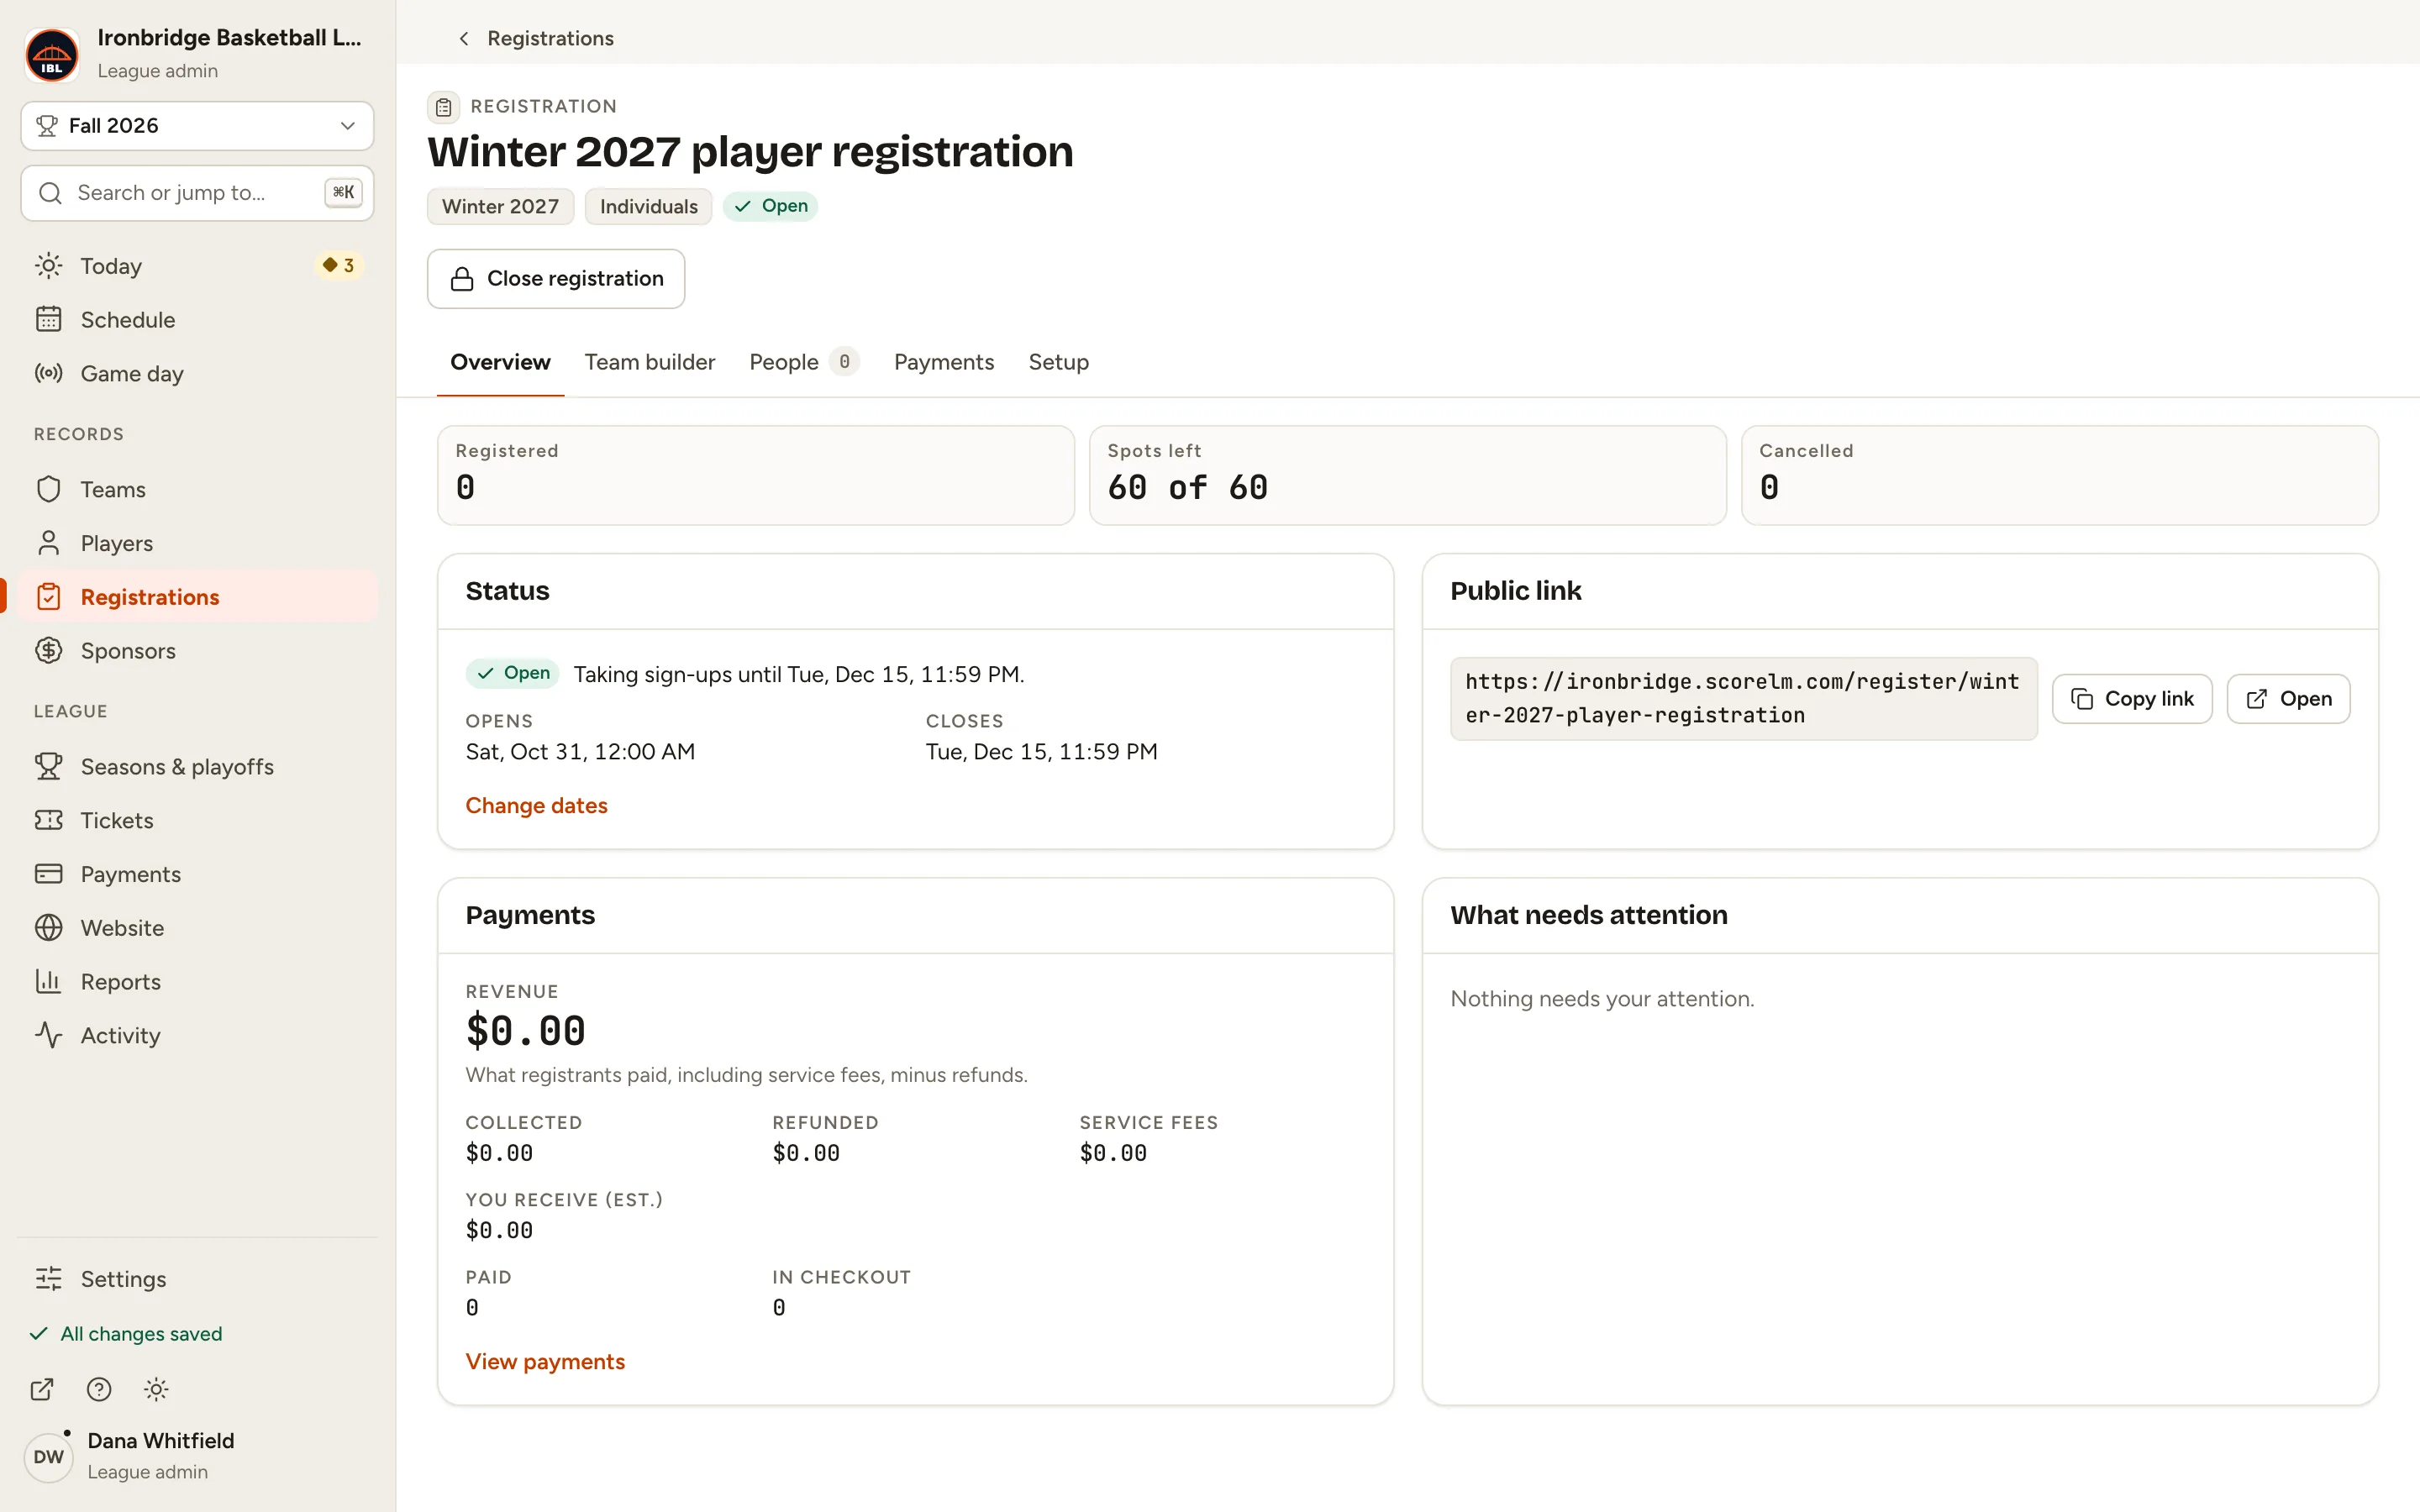
Fig. 13The registration’s public link. -
Step 14: Open your website and click Register in the menu.
From the admin, click ↗ (View public site) at the bottom of the sidebar; your website opens in a new tab. Register lists your open registrations. View and register opens this one: people create an account, confirm their email, answer your questions and pay $86.82 on a secure checkout page.
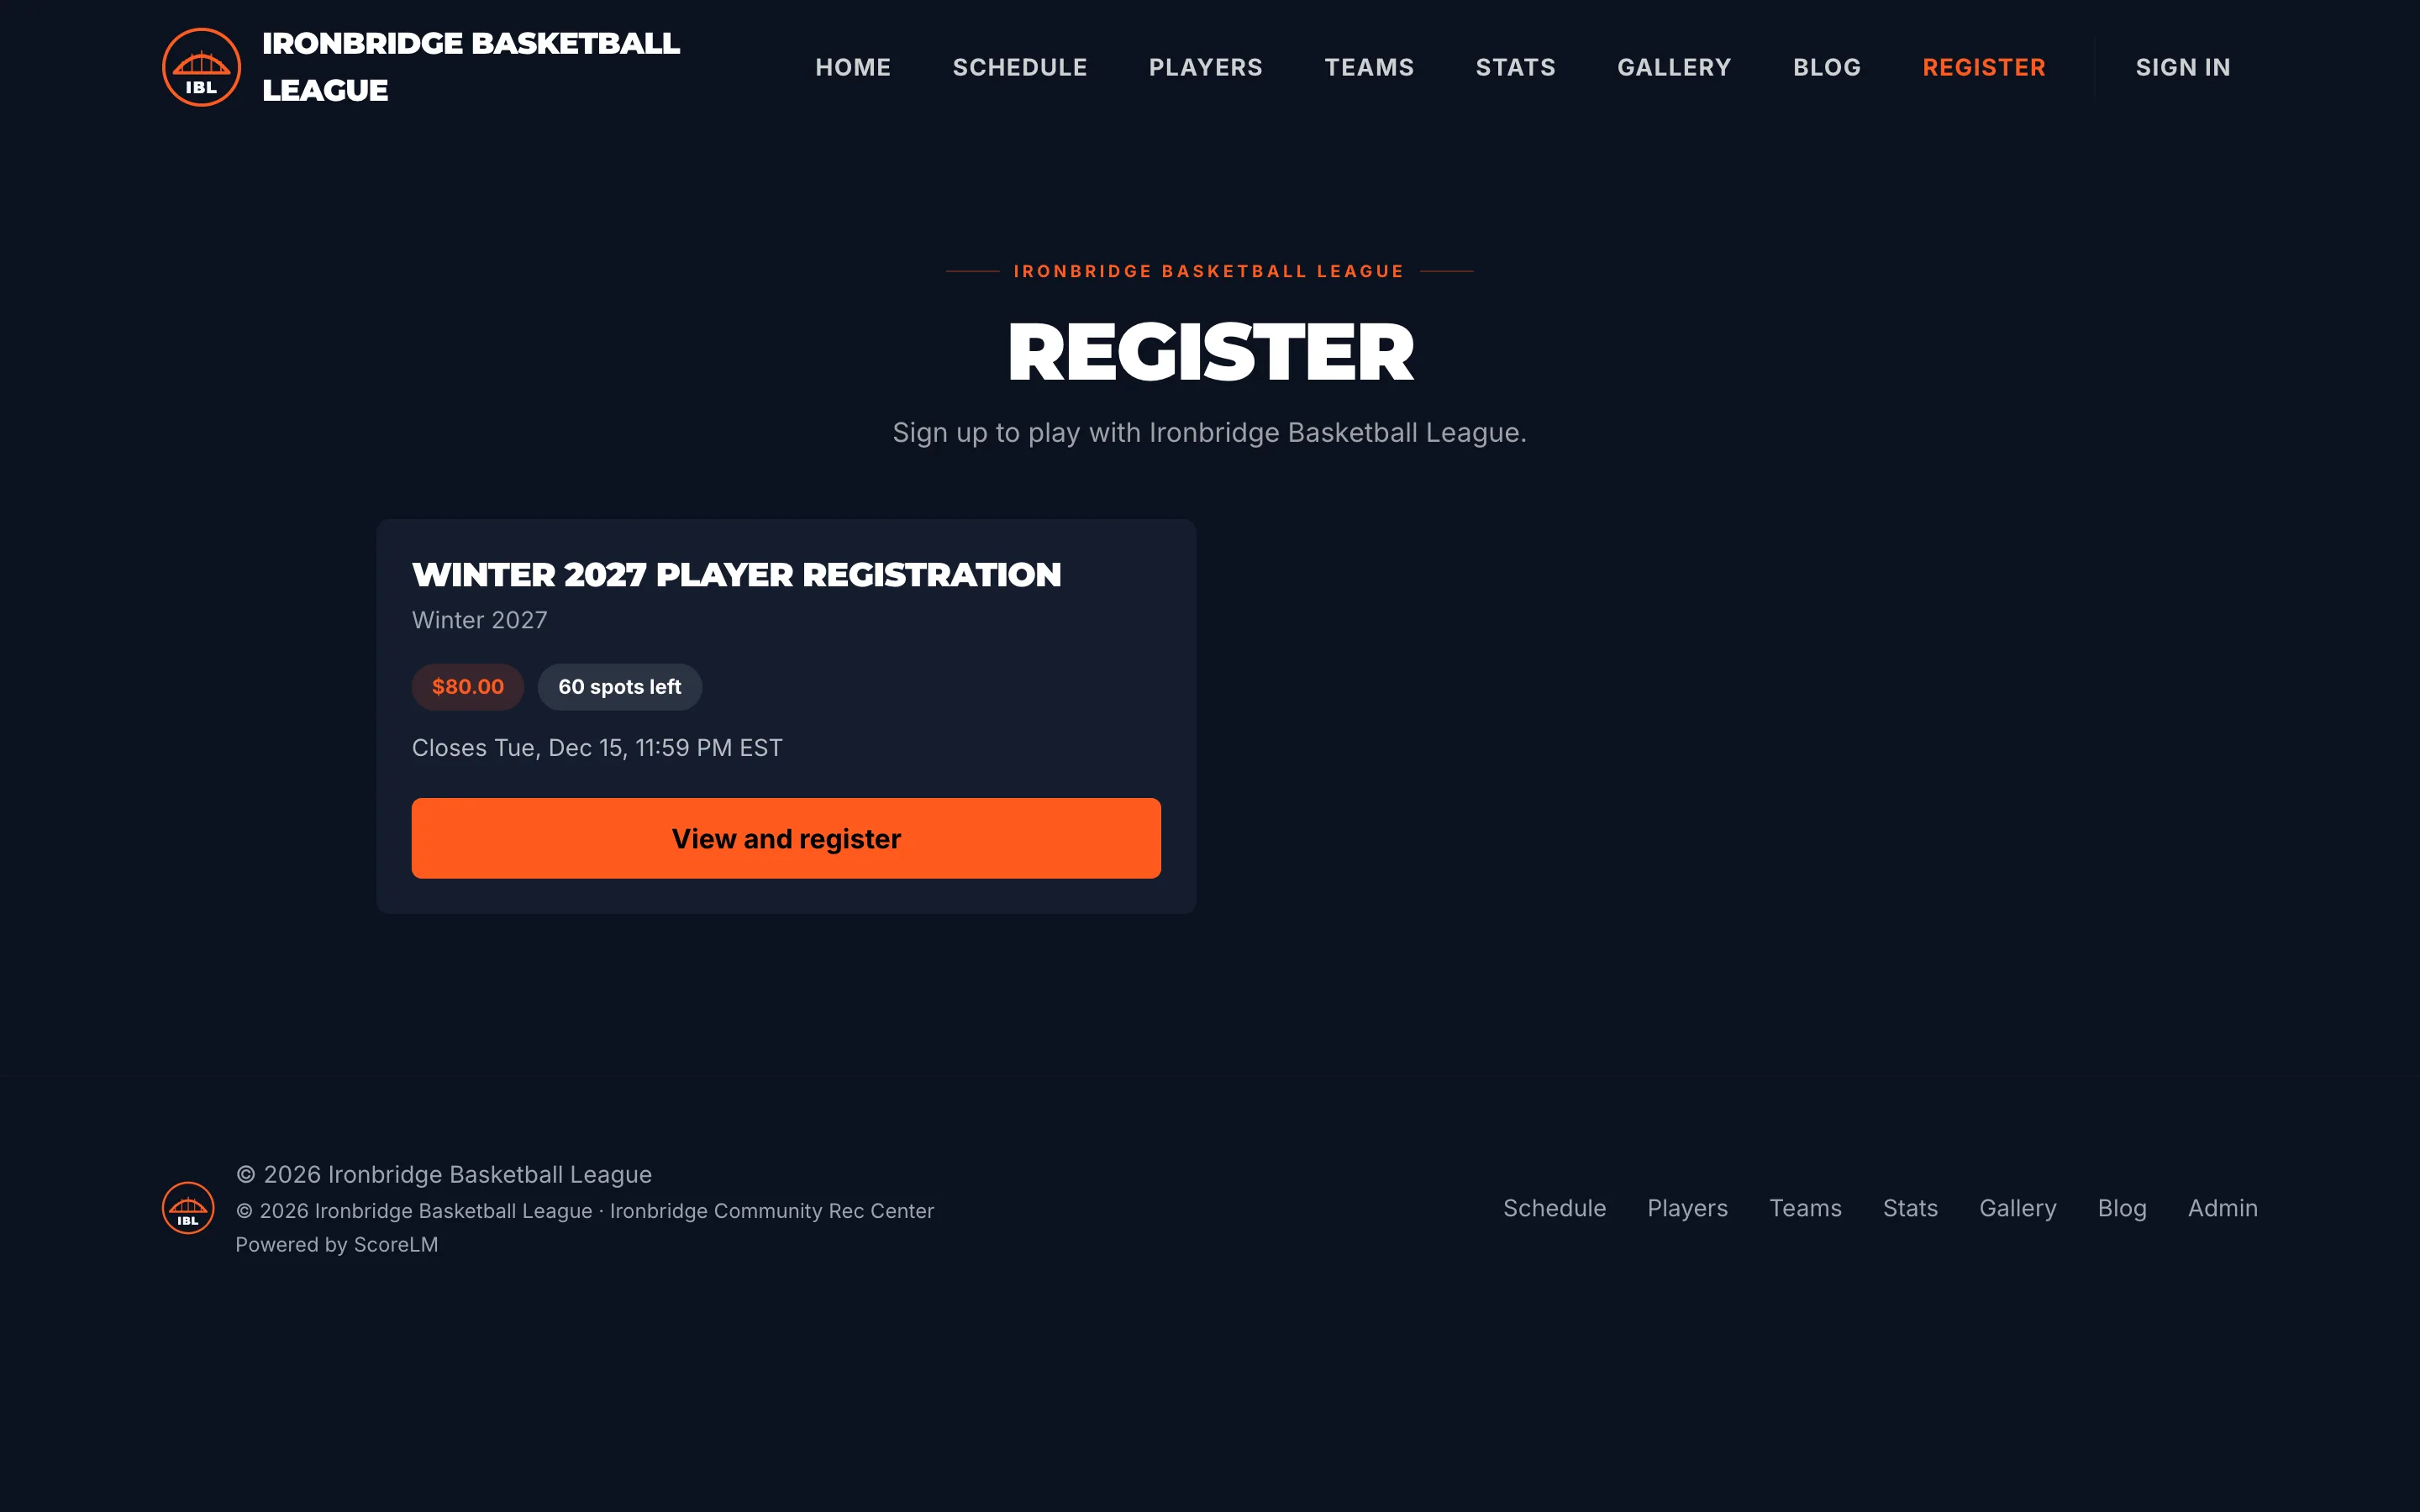
Fig. 14Register, in your website’s menu. Fig. 14bWhat people see before they sign up.
What you’ll see
Your player registration is open. People find it under Register on your website or at its link. Each sign-up shows on the registration’s People tab as soon as it’s complete and paid; there’s nothing to approve. When sign-up closes, split everyone into teams with the team builder.