Add your logo and brand colours
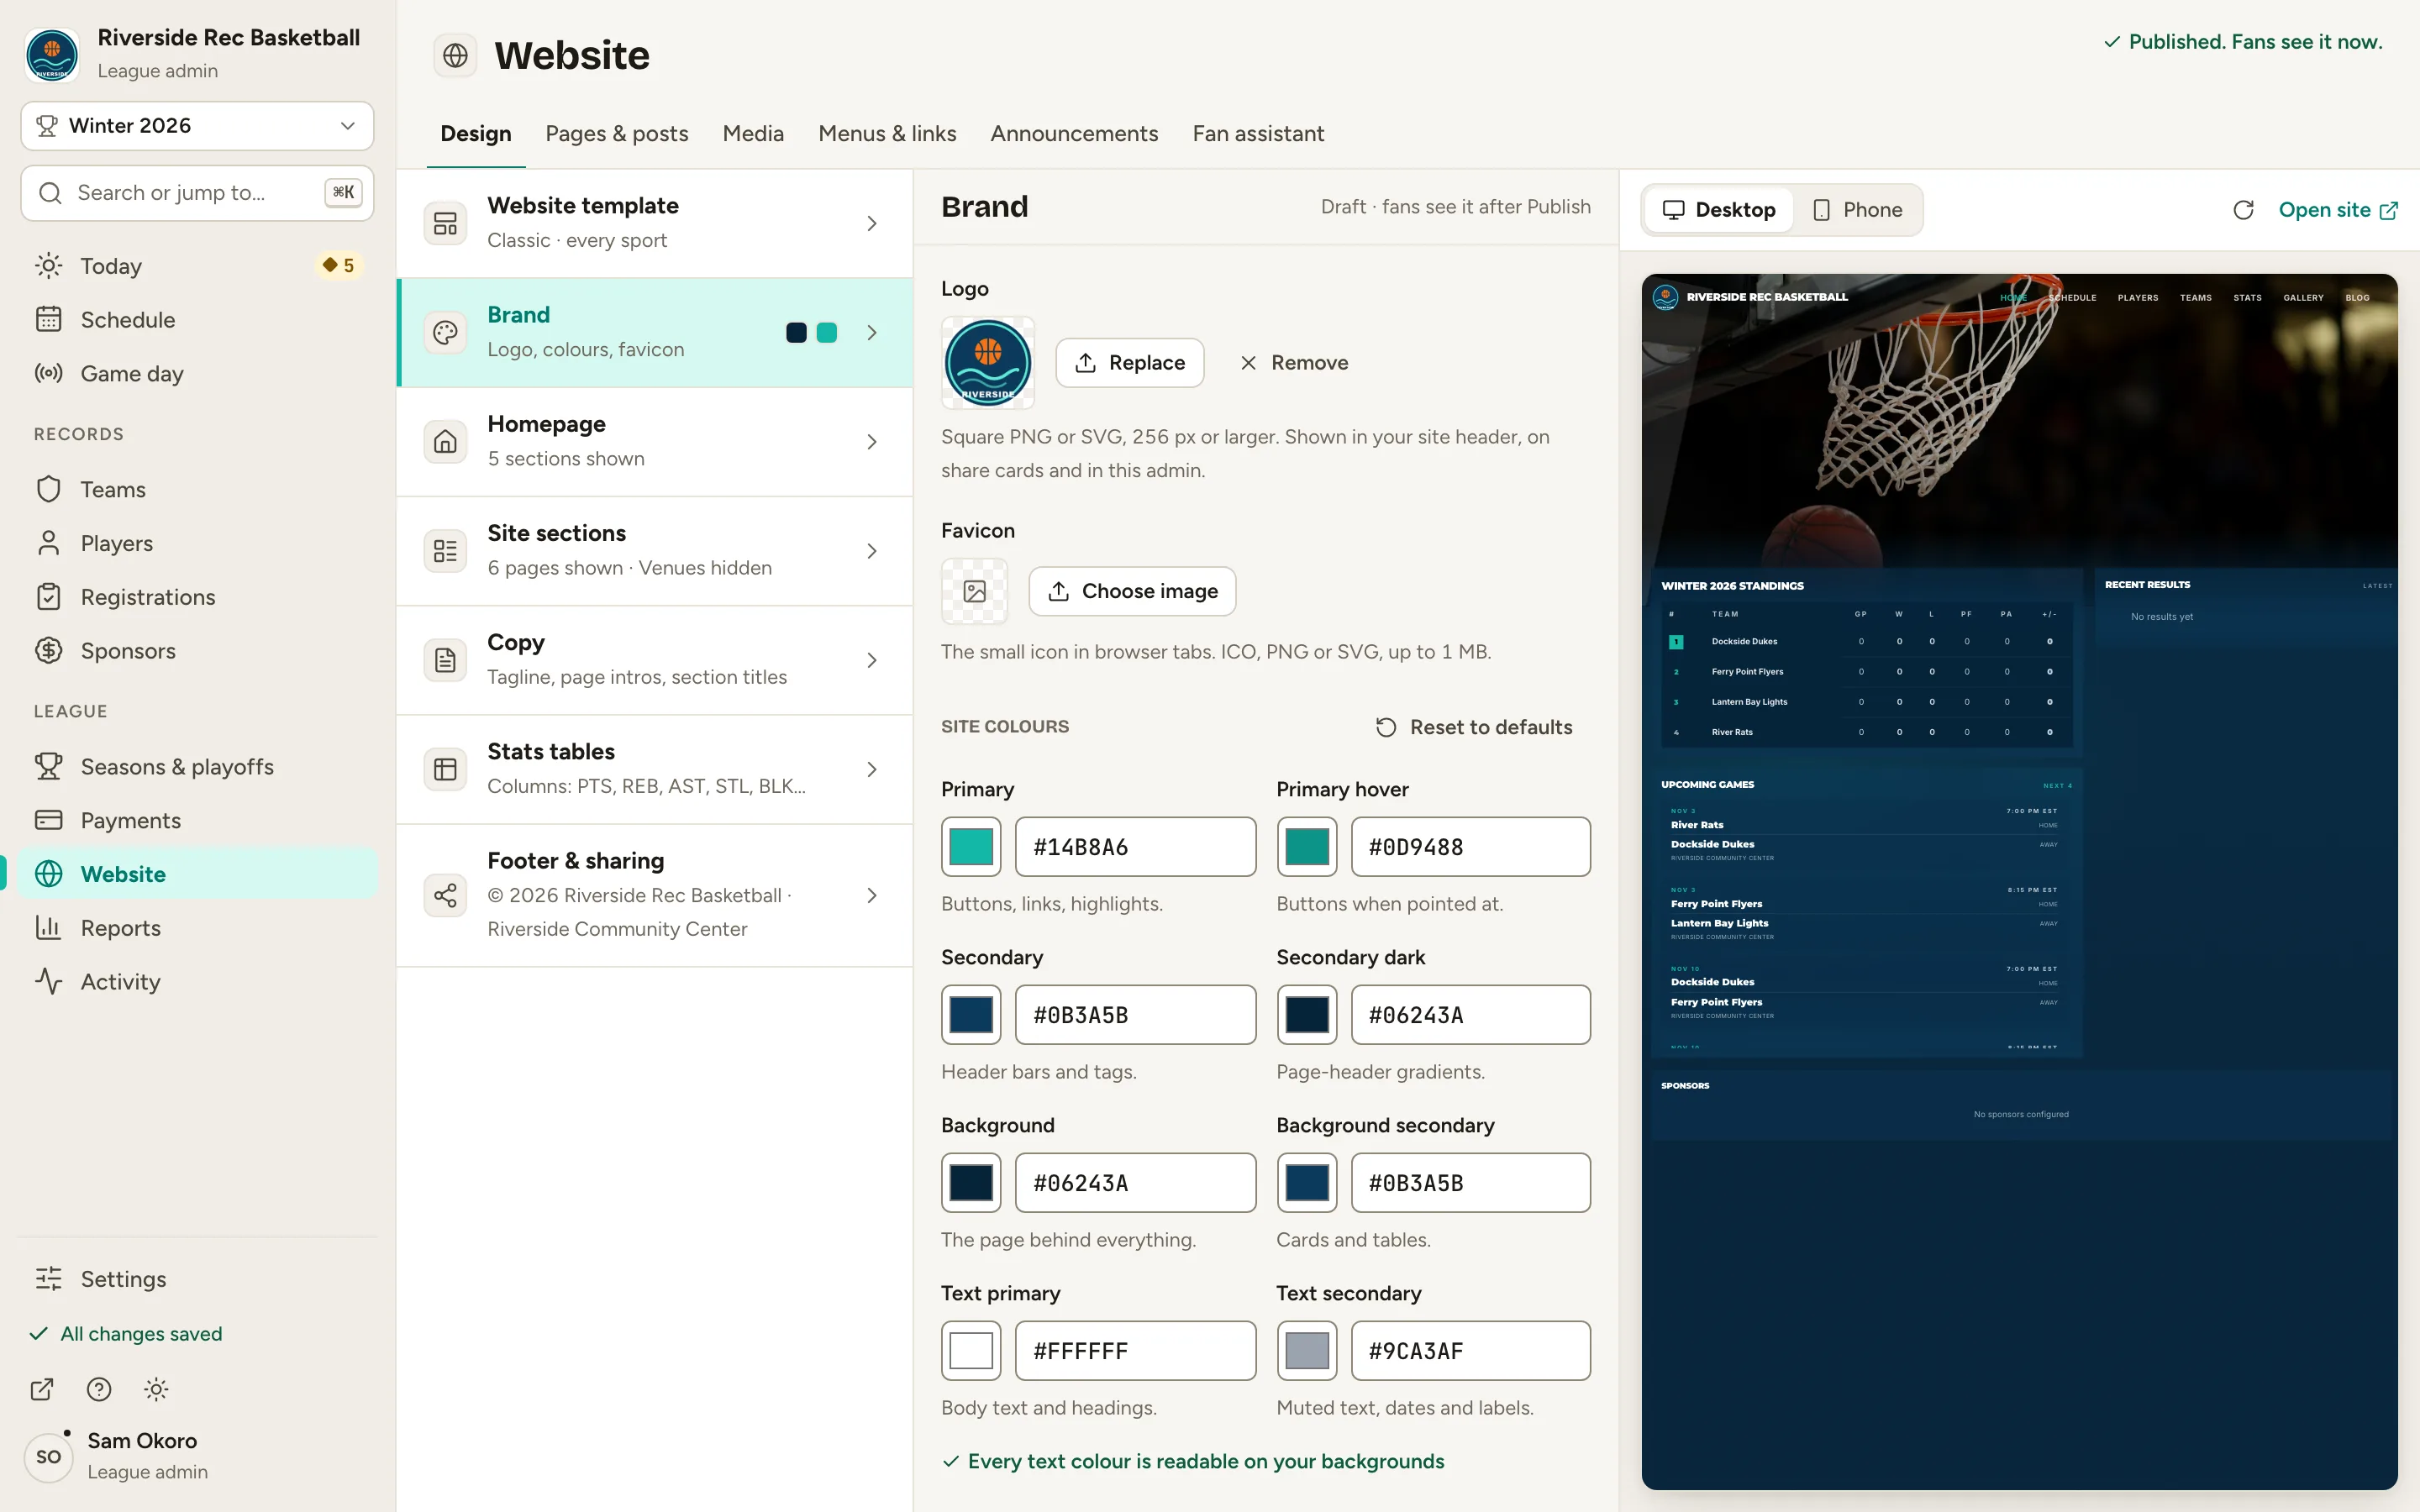
By the end you’ll have your logo in your website’s header and your colours on every page.
Before you start
- Have your logo ready as a square PNG, 256 px or larger. JPG and WebP work too.
- Have your colours as hex codes, like #14B8A6, if you know them. You can also pick them by eye.
- Use a computer or a tablet. On a phone, Brand can’t be changed.
Steps
-
Step 1: In the left menu, click Website.
Website opens on Design, where you set how your public site looks. Everything here is a draft until you publish, so fans see nothing until then.
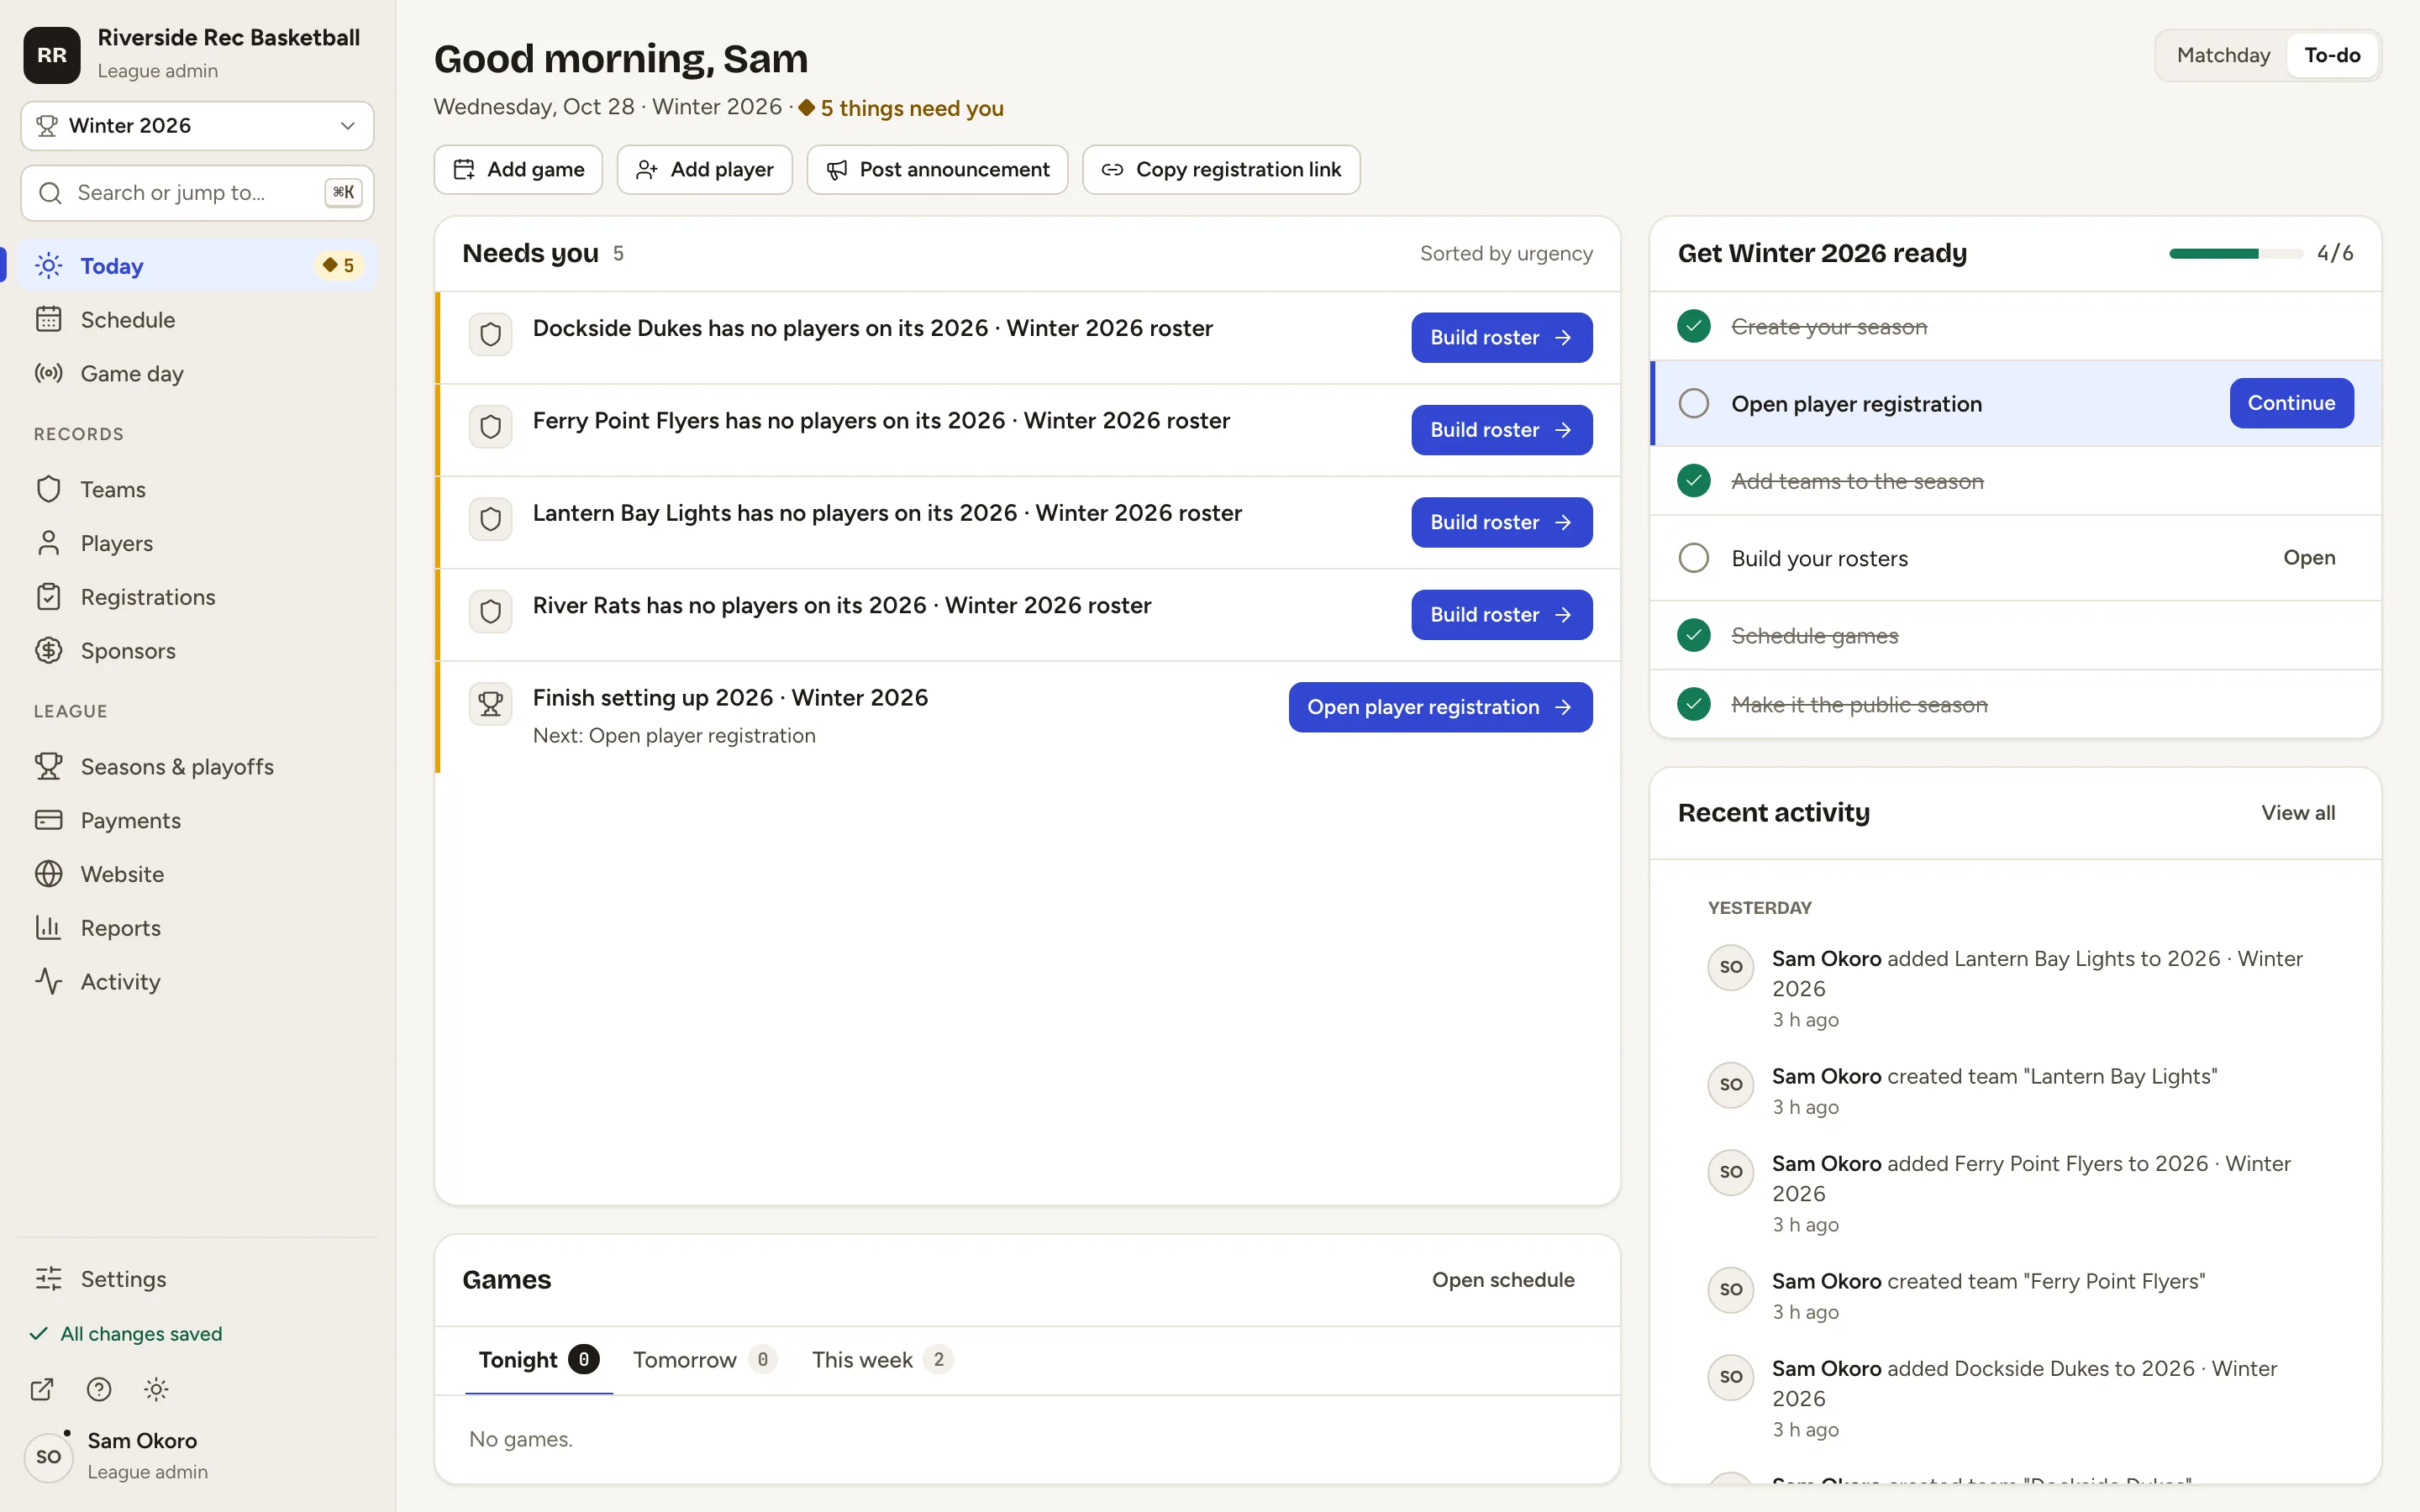
Fig. 1Website › Design, with its sections on the left and a live preview on the right. -
Step 2: Click Brand (Logo, colours, favicon).
The Brand editor opens in the middle. The preview on the right shows your site with your draft changes.
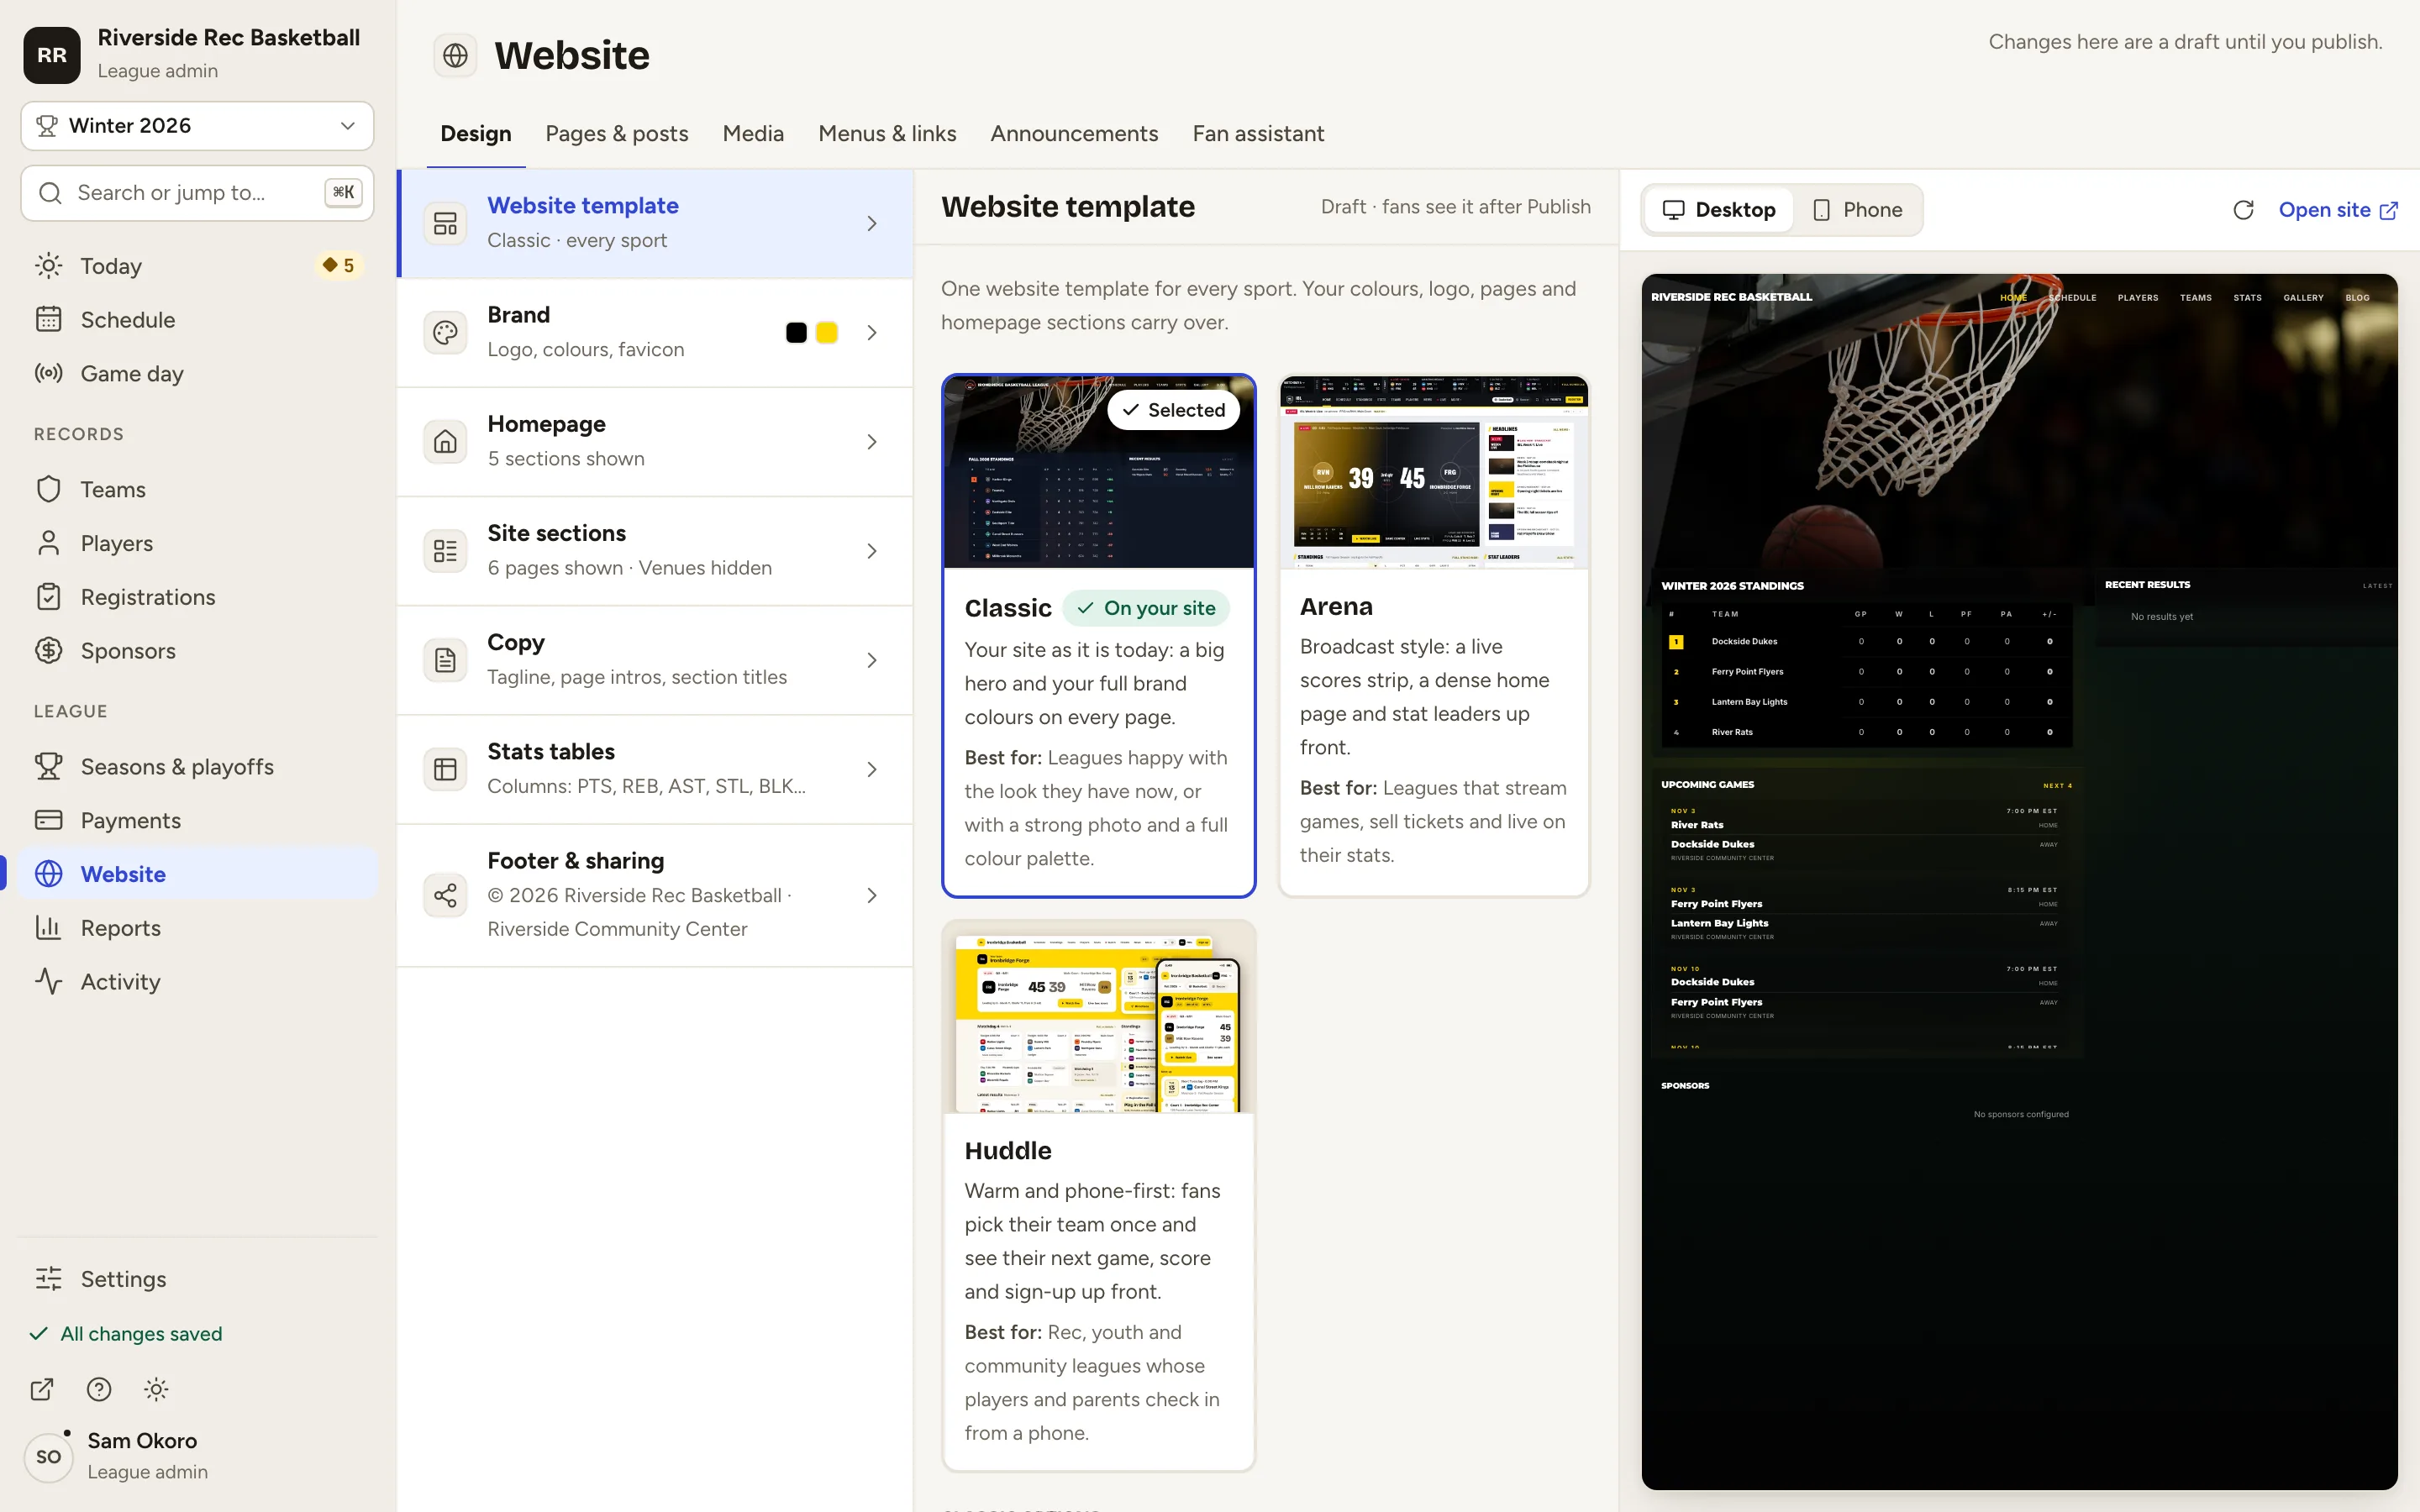
Fig. 2Brand, in the list of Design sections. -
Step 3: Under Logo, click Choose image and pick your logo file.
Your logo appears in the editor and in the preview. Once published, it shows in your site header, on share cards and in the admin.
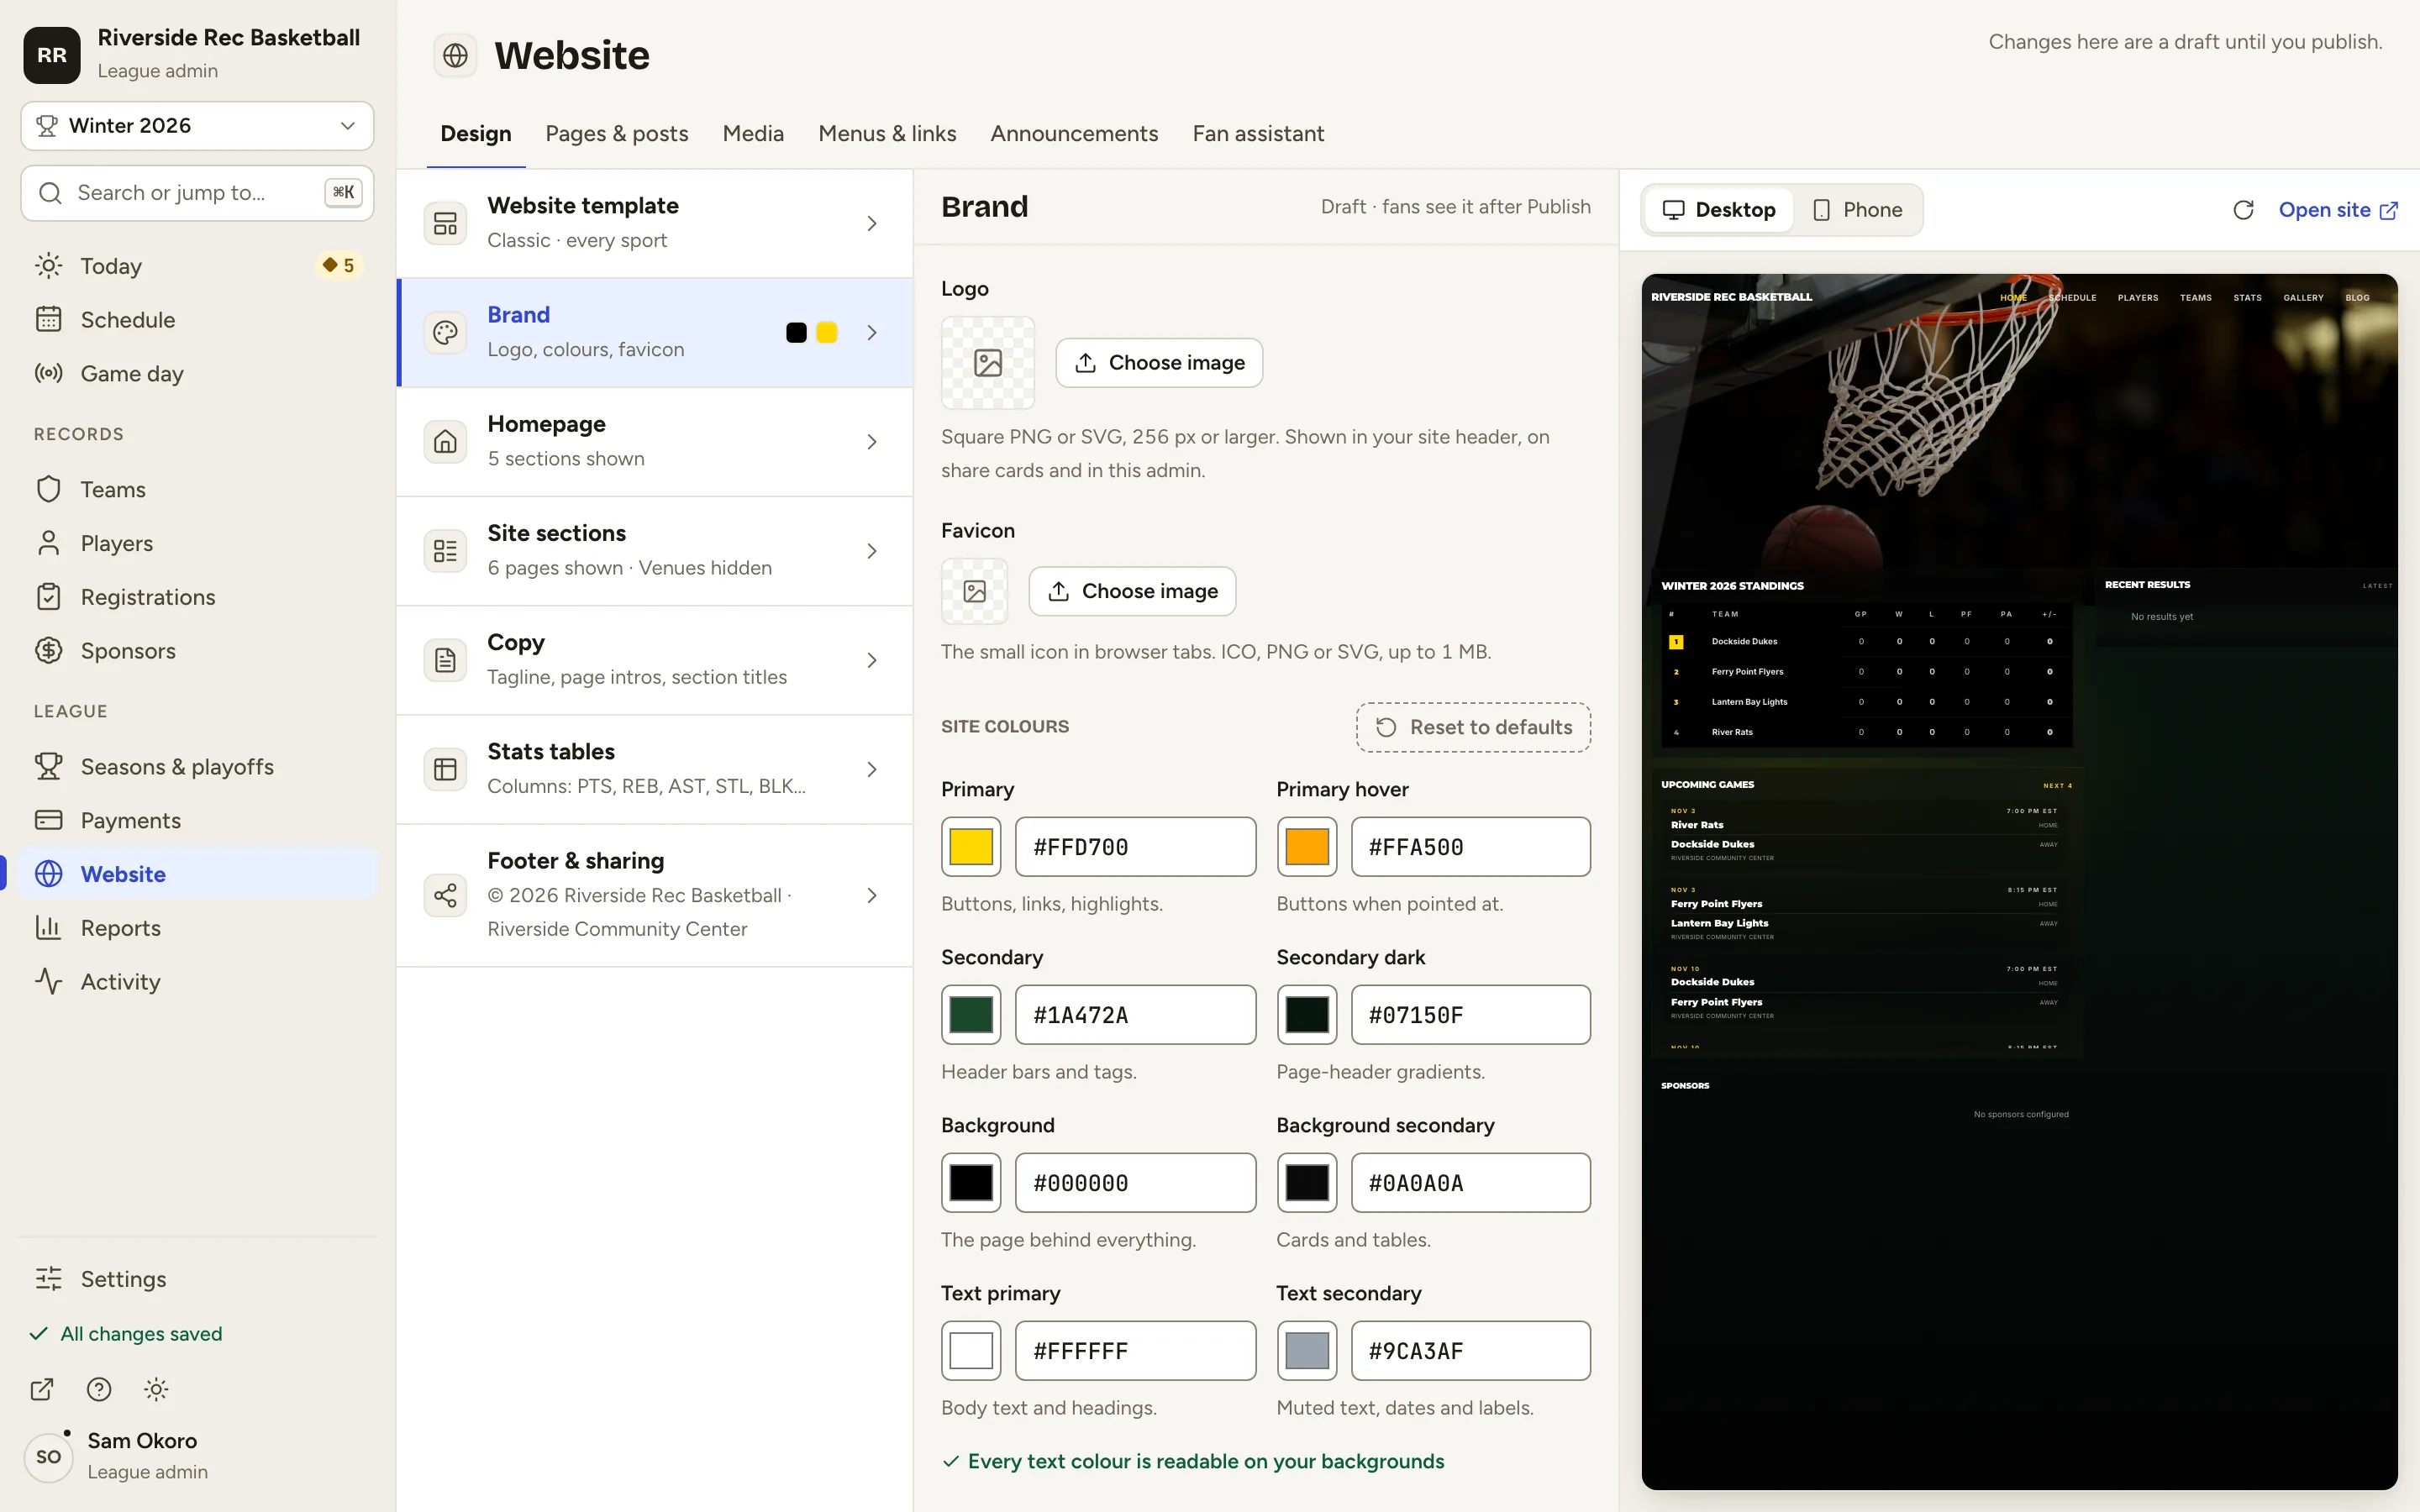
Fig. 3Choose image, under Logo. -
Step 4: Under Site colours, type your main colour in Primary, like #14B8A6.
Primary colours buttons, links and highlights. To pick a colour by eye instead, click the colour square next to the code.
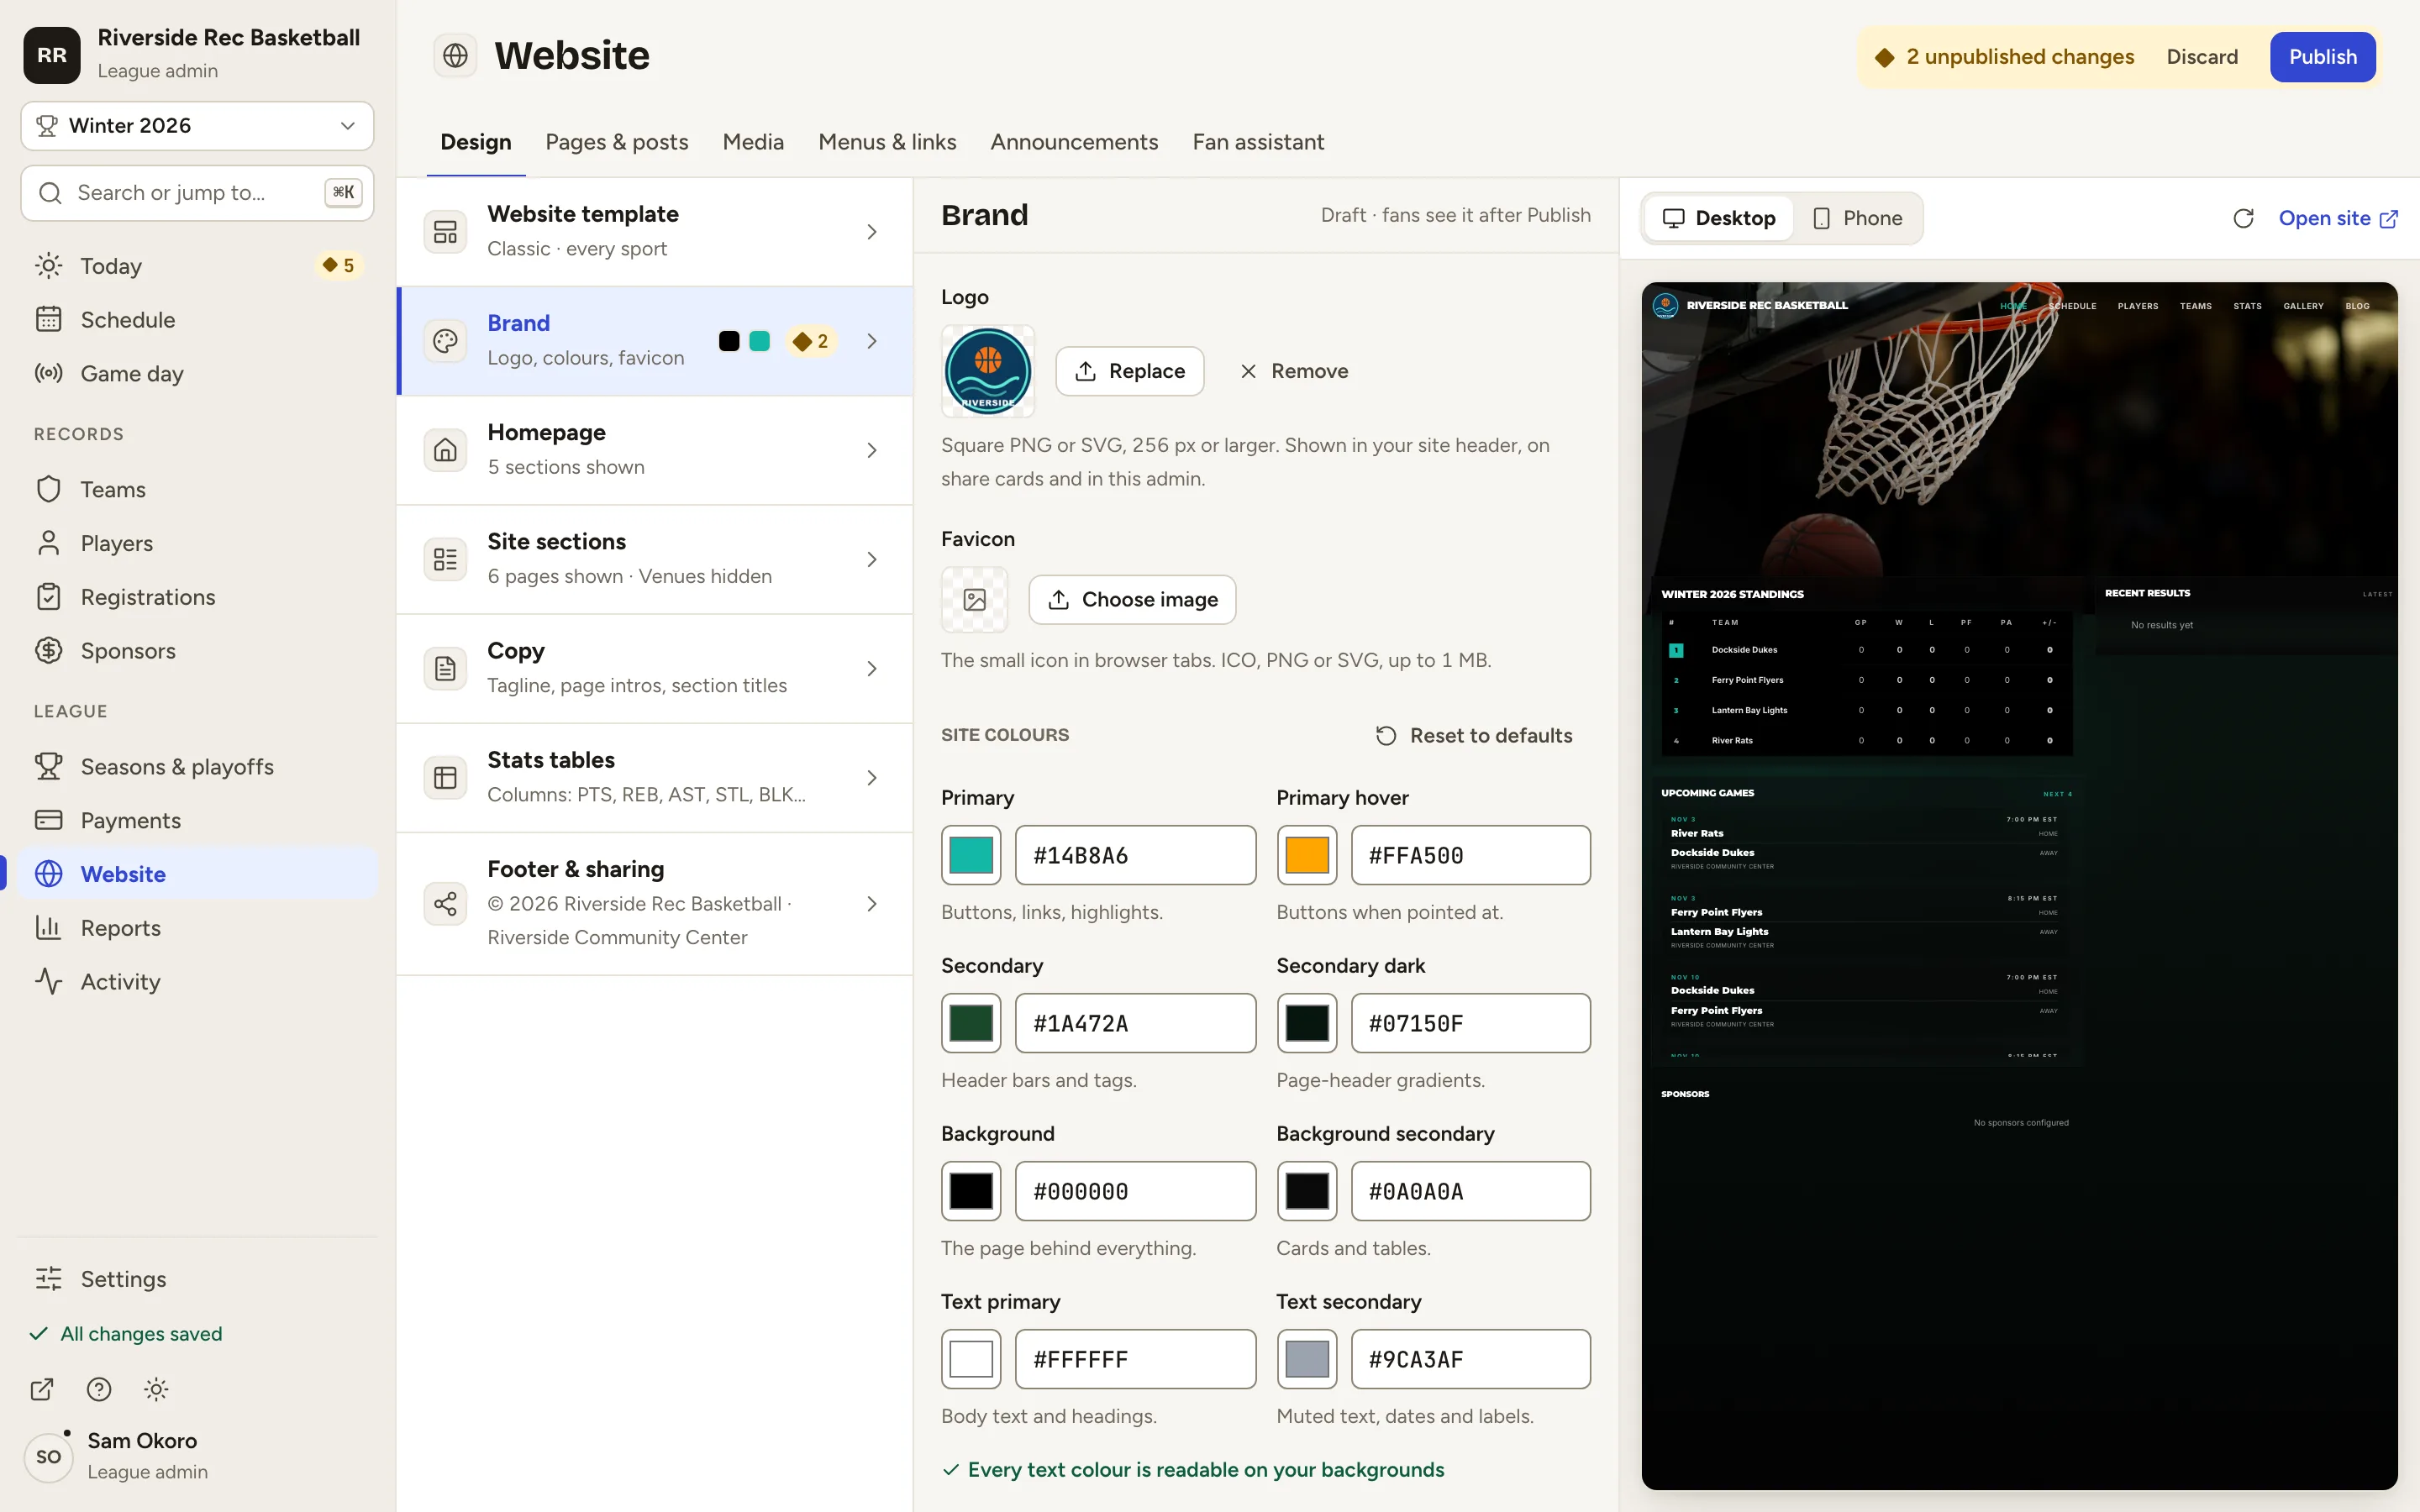
Fig. 4Primary: buttons, links, highlights. -
Step 5: Type your page colour in Background, like #06243A.
Background is the page behind everything. The preview changes as you type.
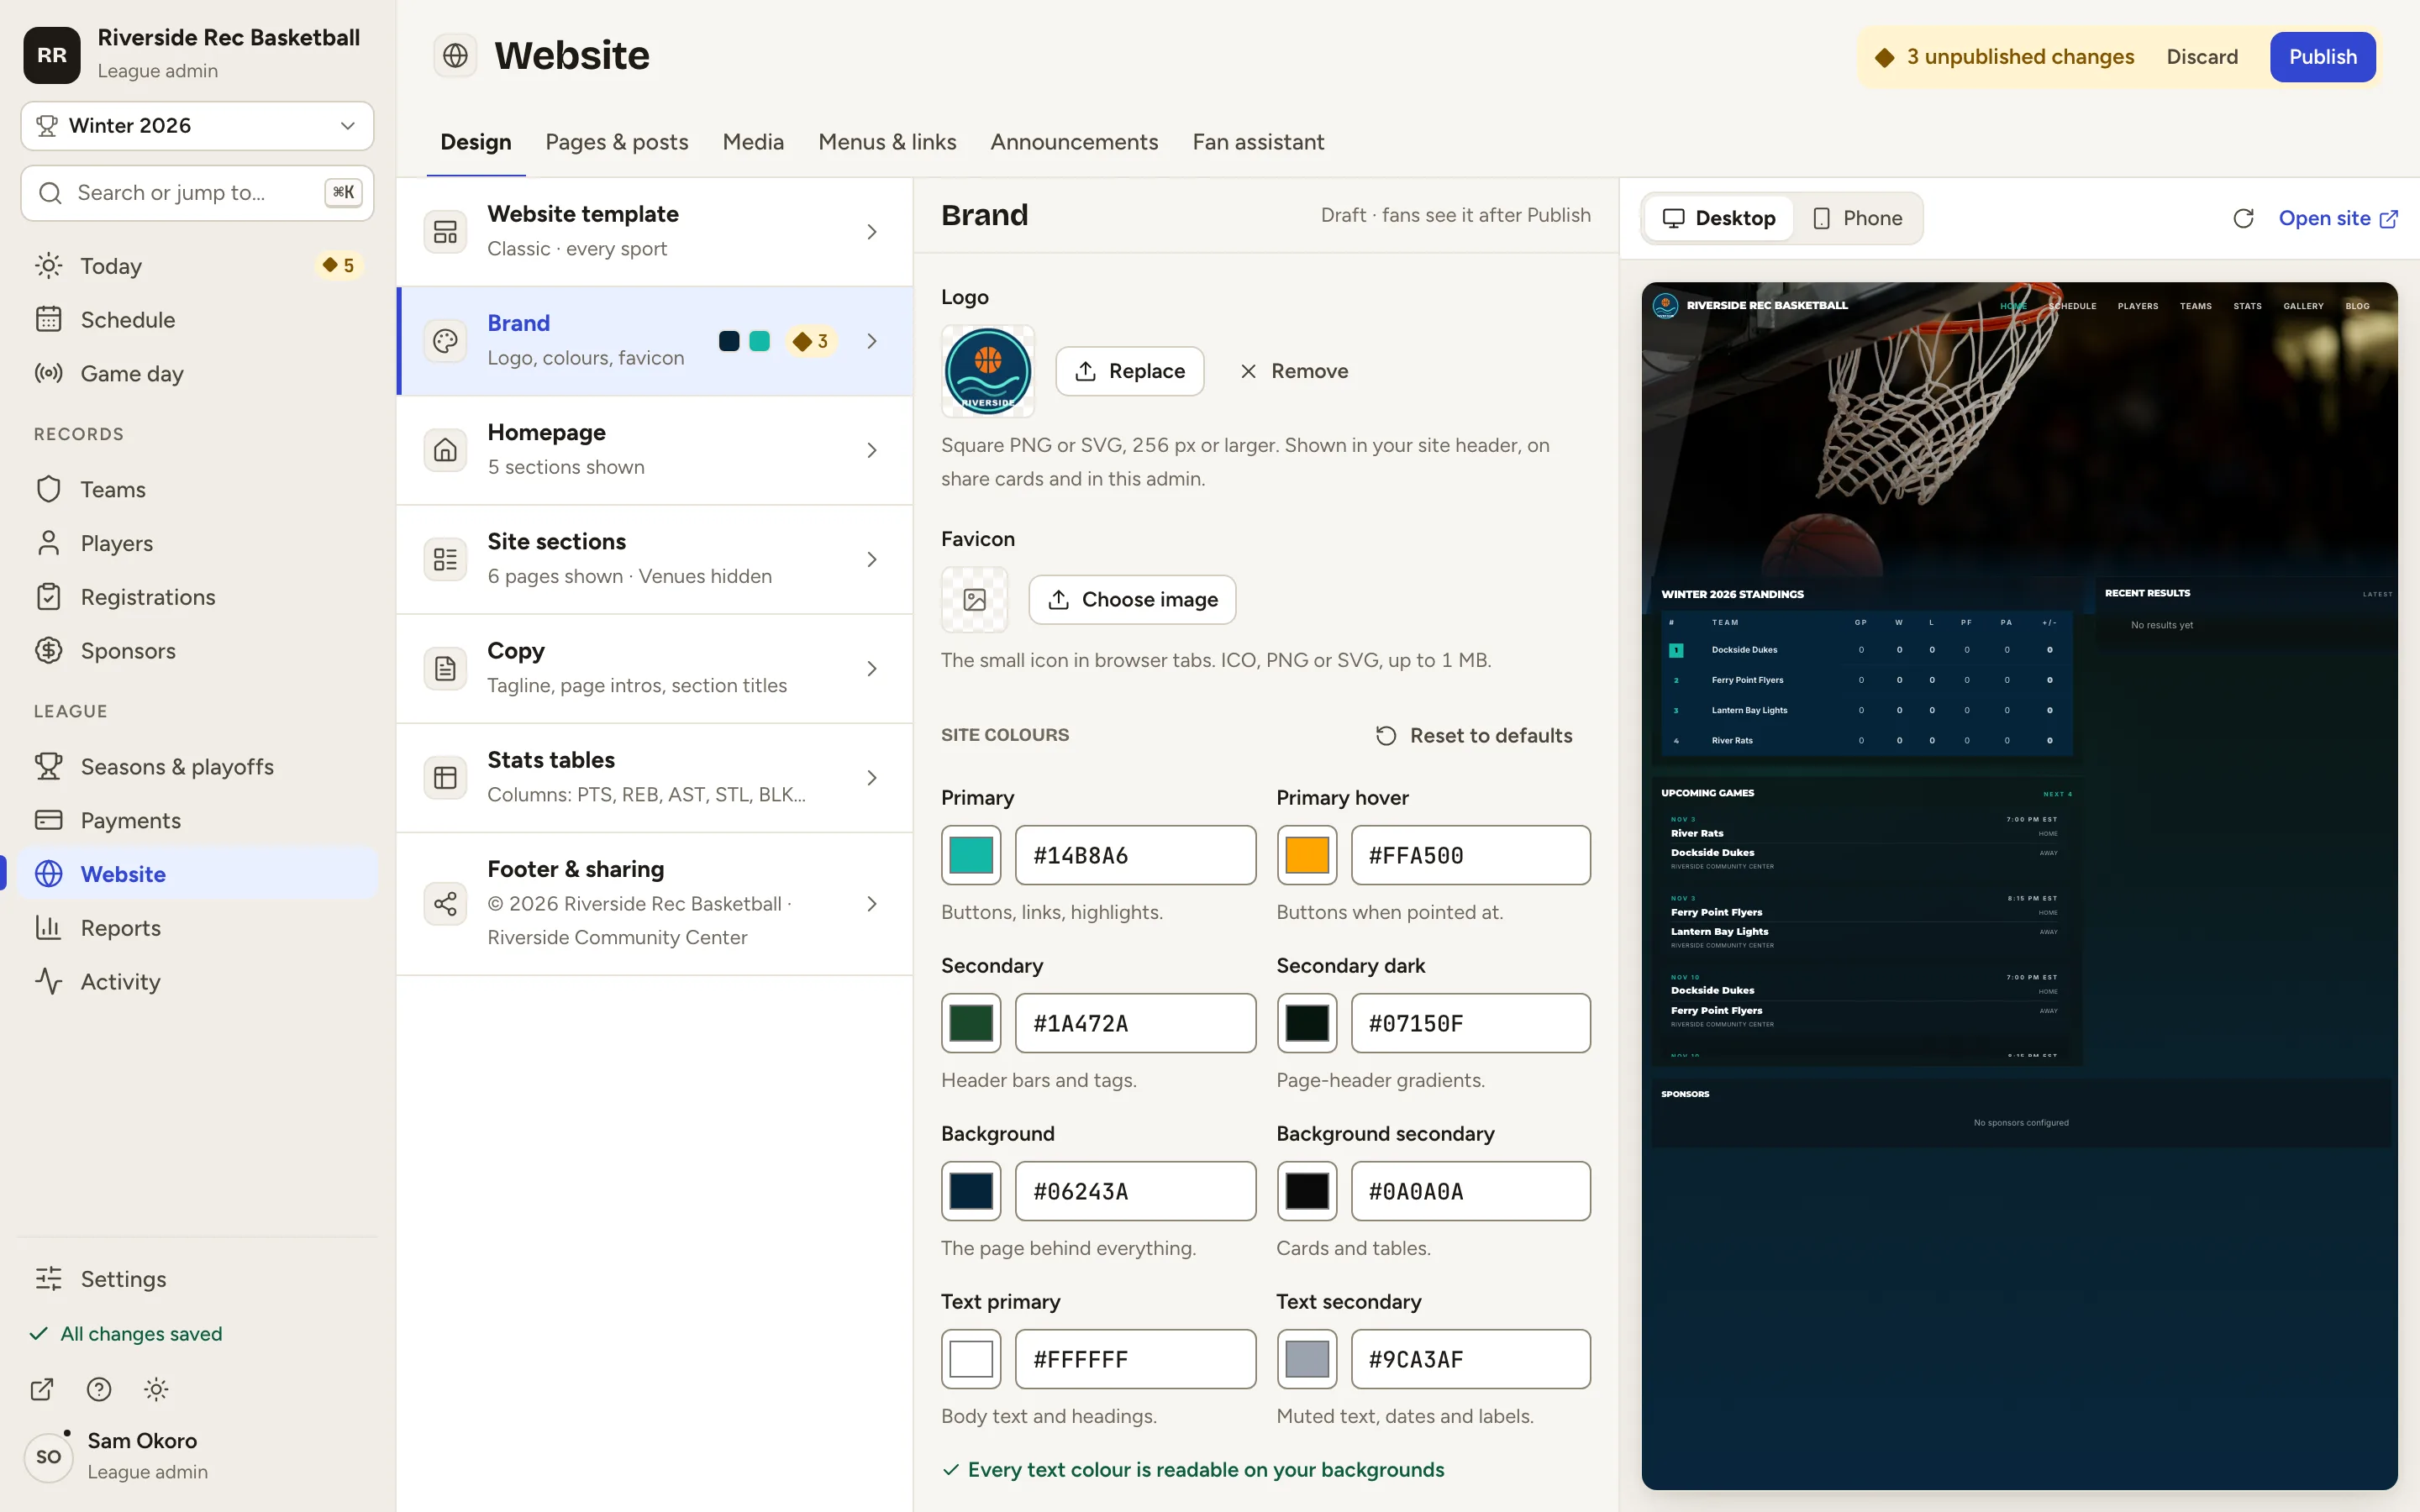
Fig. 5Background: the page behind everything. -
Step 6: Set the other colours the same way.
Each colour says what it’s for: Secondary for header bars and tags, Background secondary for cards and tables, and so on. You don’t have to change them all. To start again, click Reset to defaults.
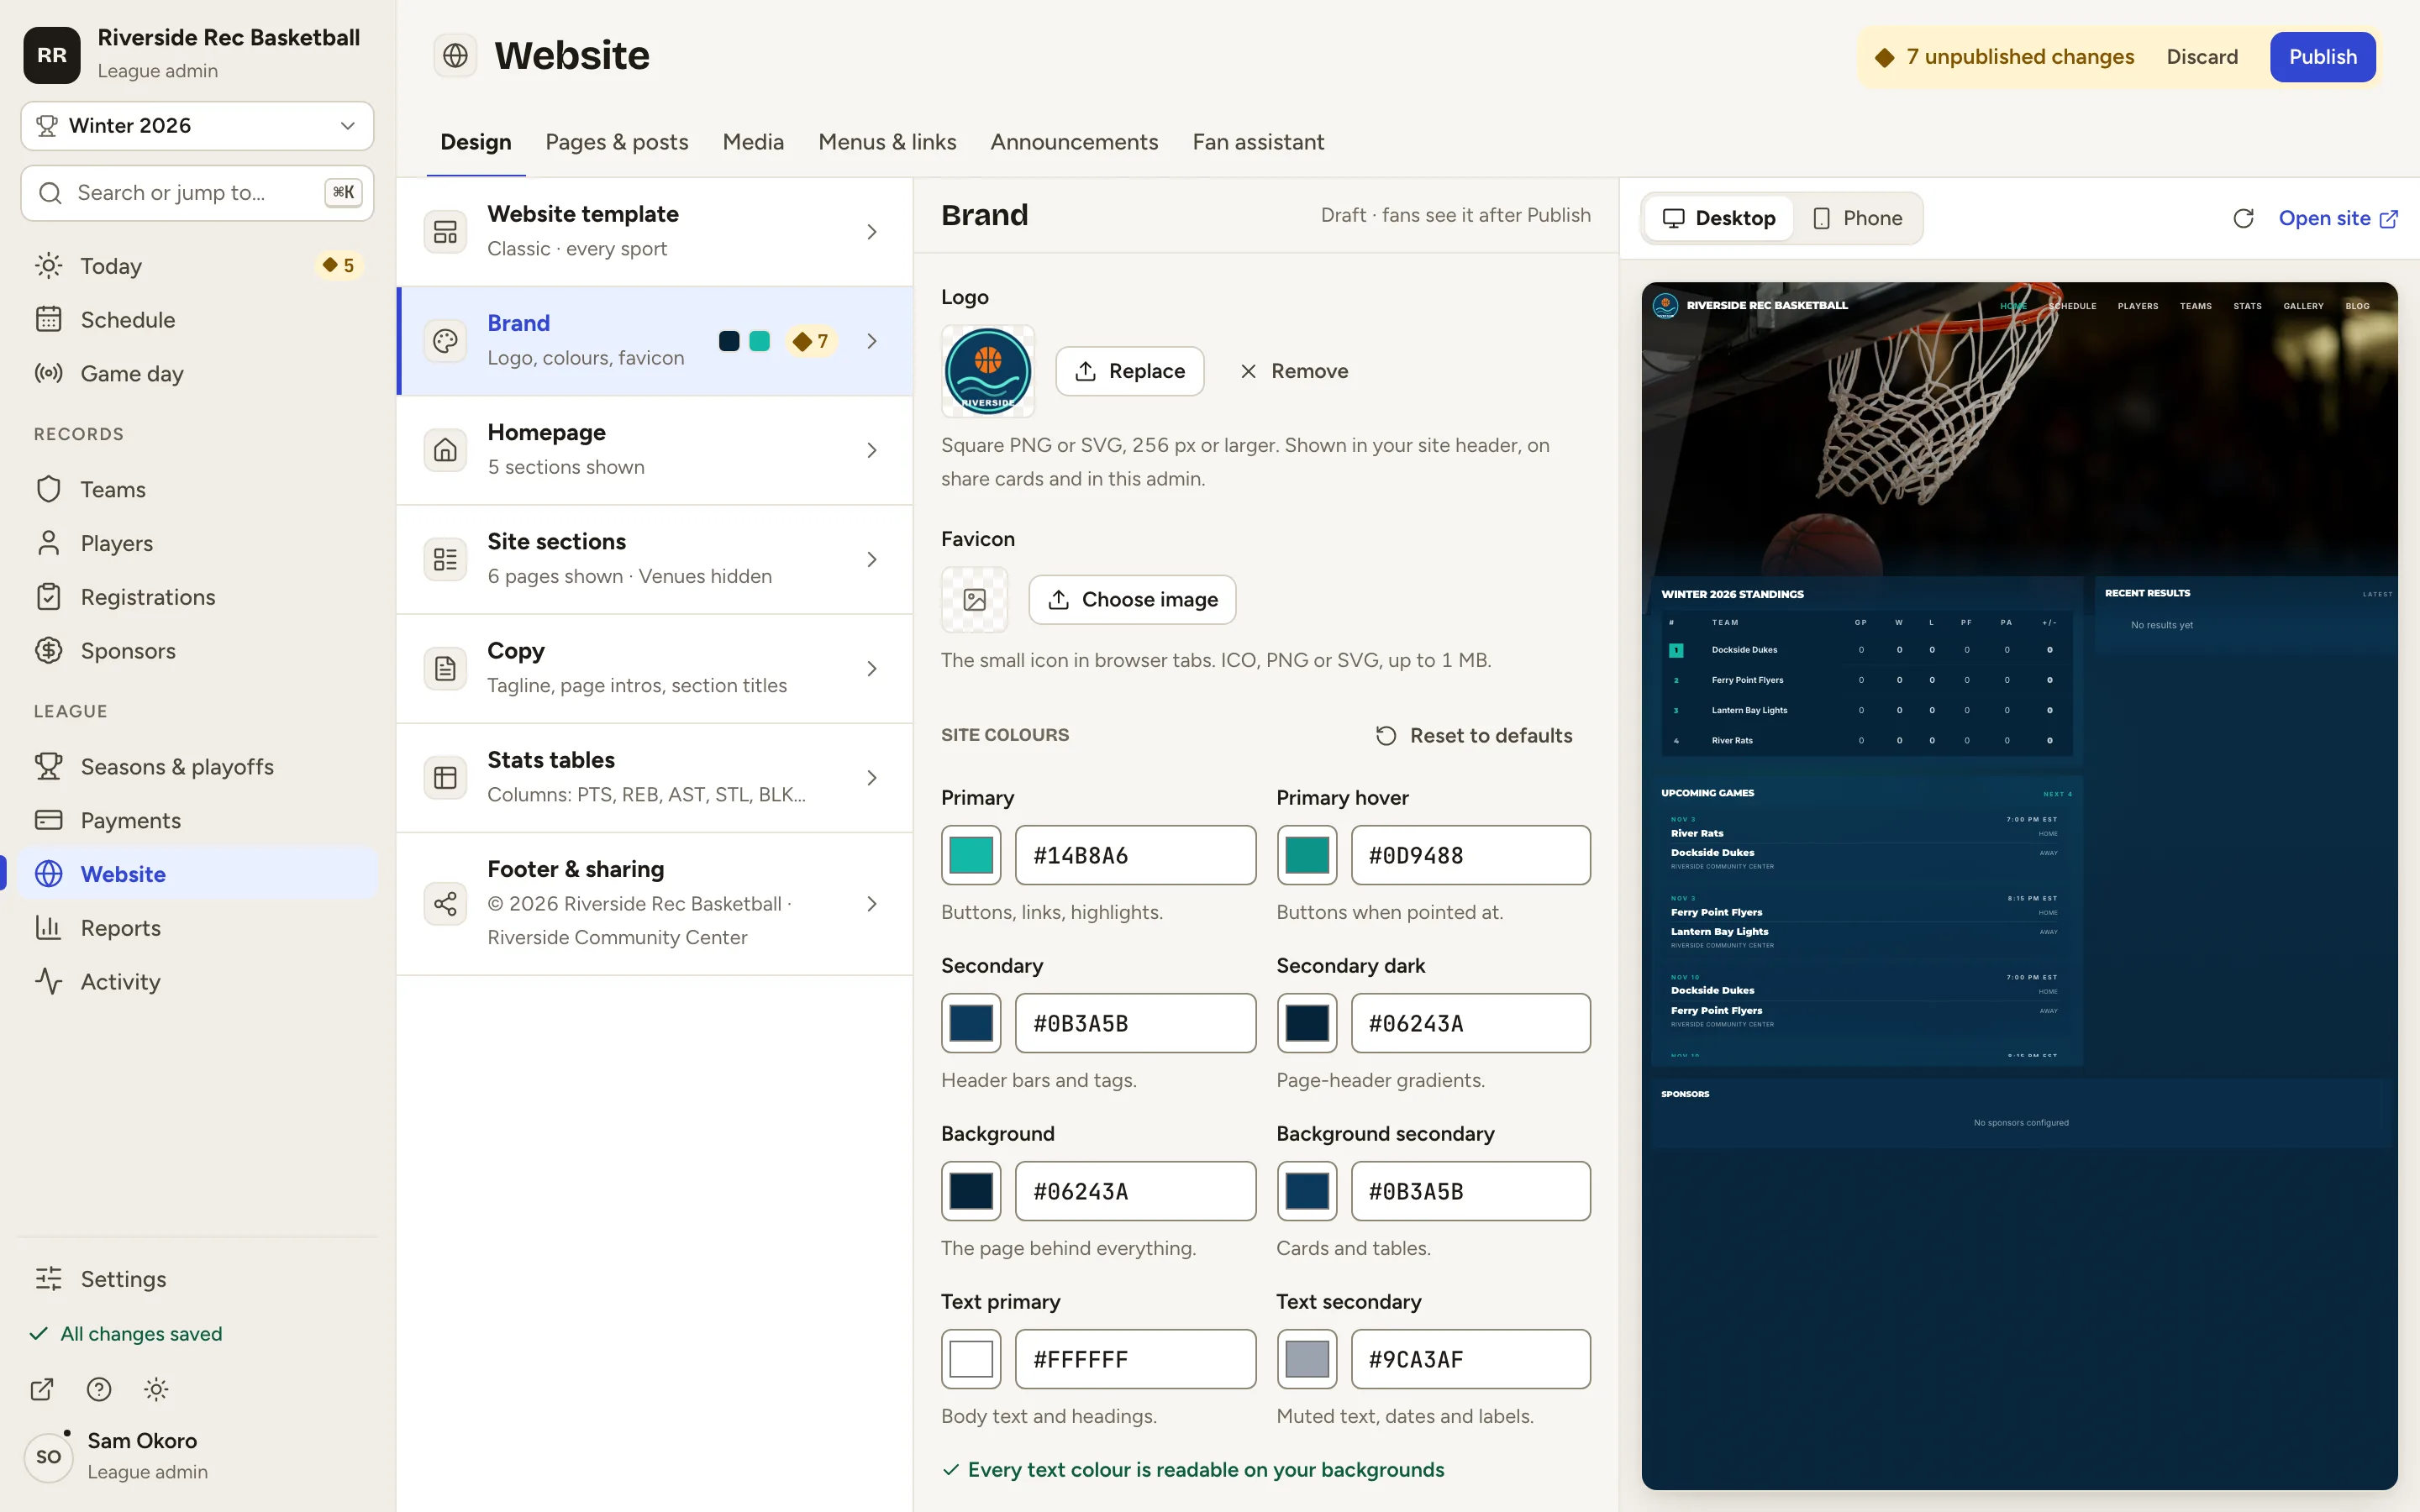
Fig. 6All eight site colours, each with a note on what it colours. -
Step 7: Check the line under the colours.
Every text colour is readable on your backgrounds means you’re set. If a text colour is hard to read on one of your backgrounds, a warning lists that pair instead, so you can change one of them. It doesn’t stop you publishing.
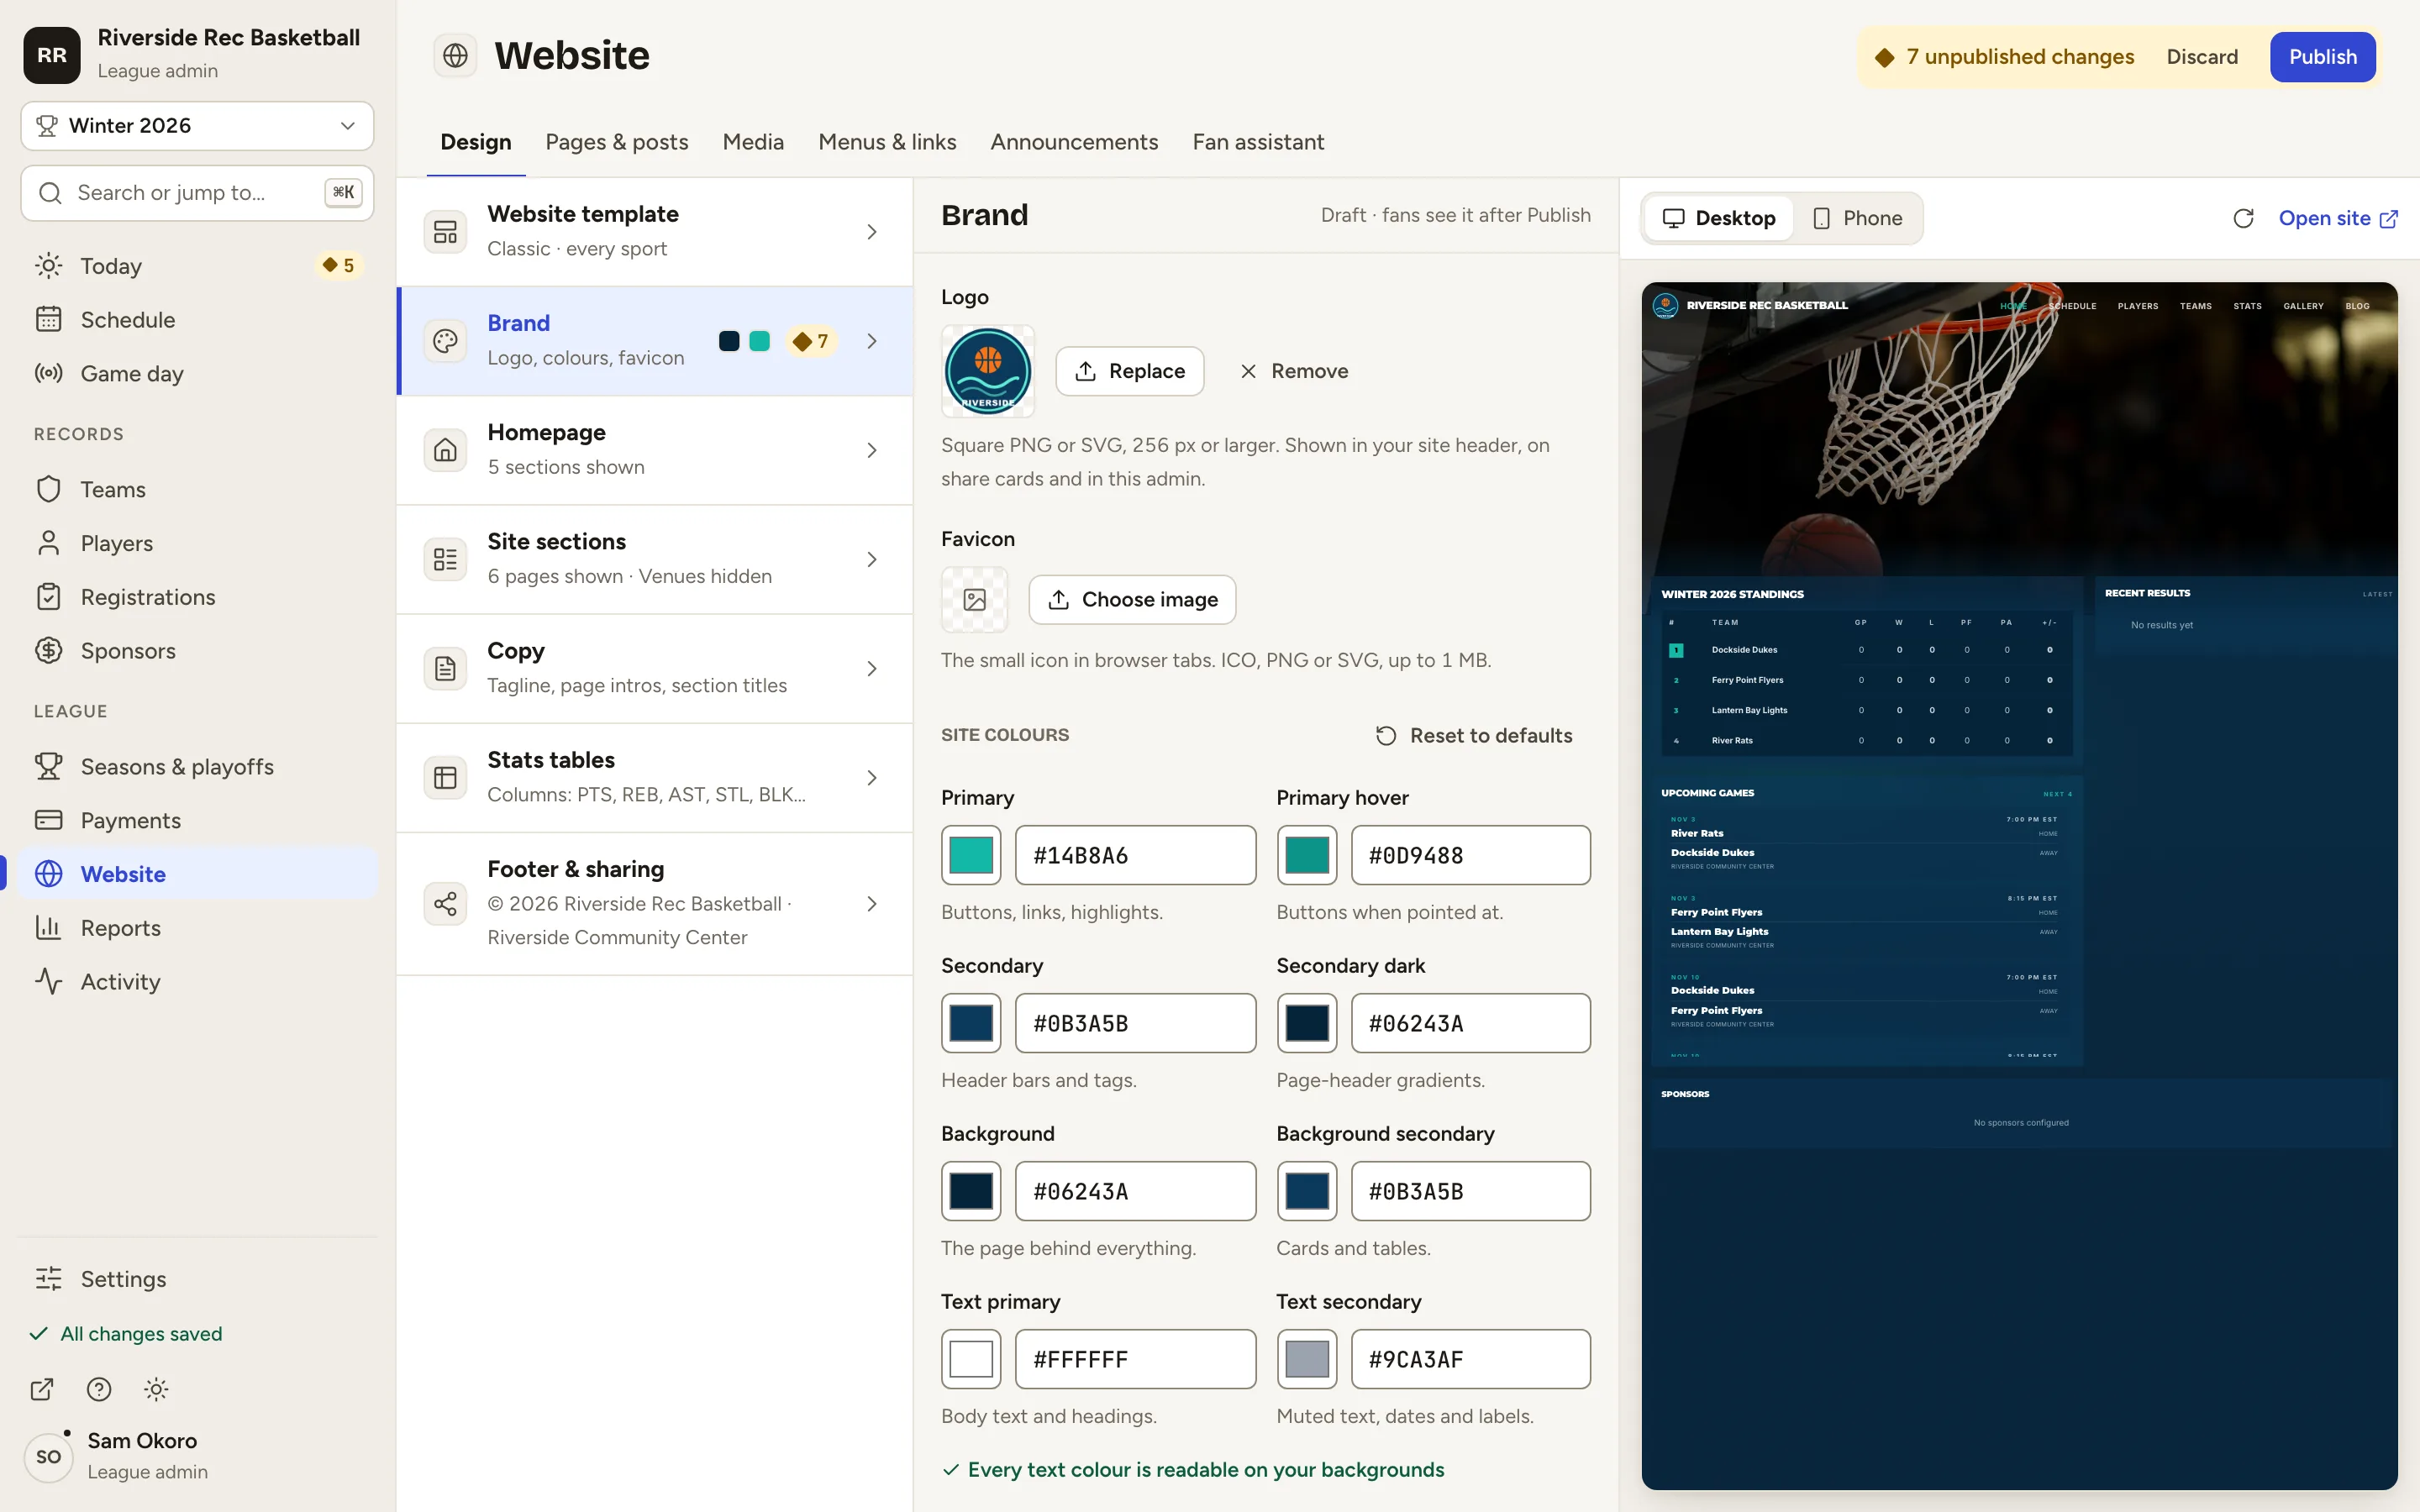
Fig. 7The readability check under the colours. -
Step 8: Click Publish at the top right.
The bar beside it counts your unpublished changes. After a moment it says Published. Fans see it now. The admin takes on your primary colour too, for its buttons and links.
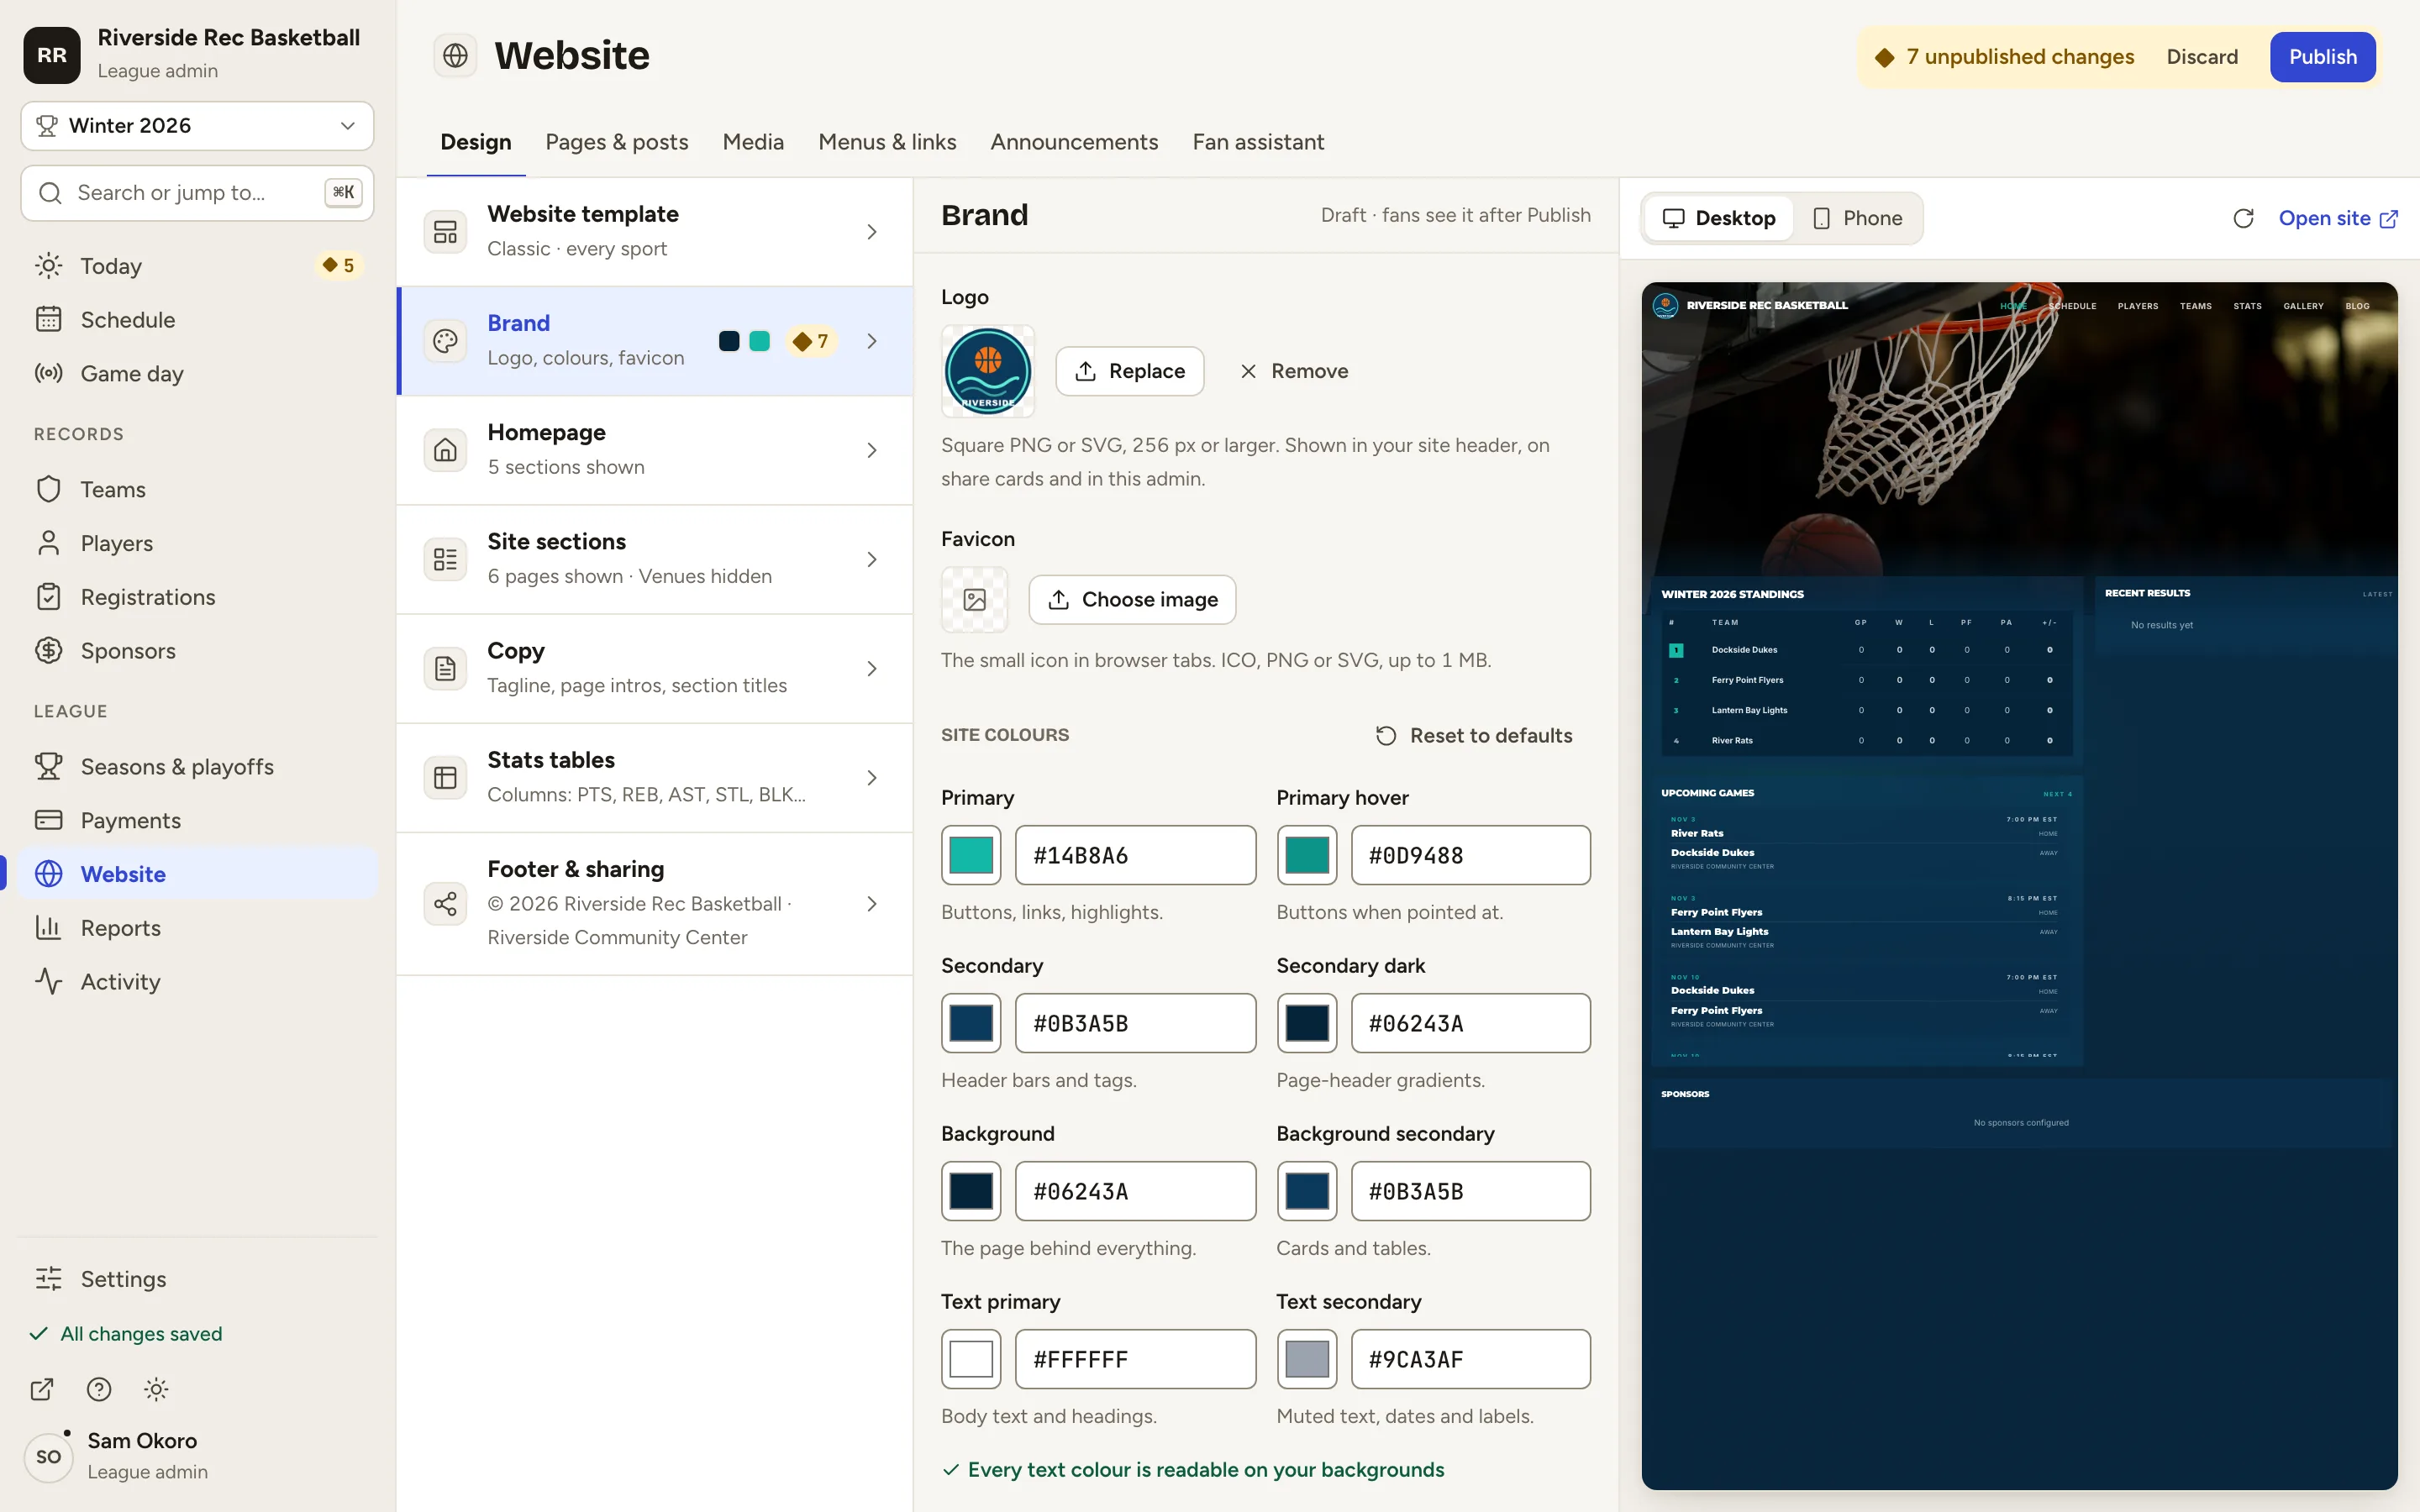
Fig. 8Publish, next to the count of unpublished changes. -
Step 9: Open your website.
From the admin, click ↗ (View public site) at the bottom of the sidebar; your website opens in a new tab. Your logo is in the header, and your colours are on every page.
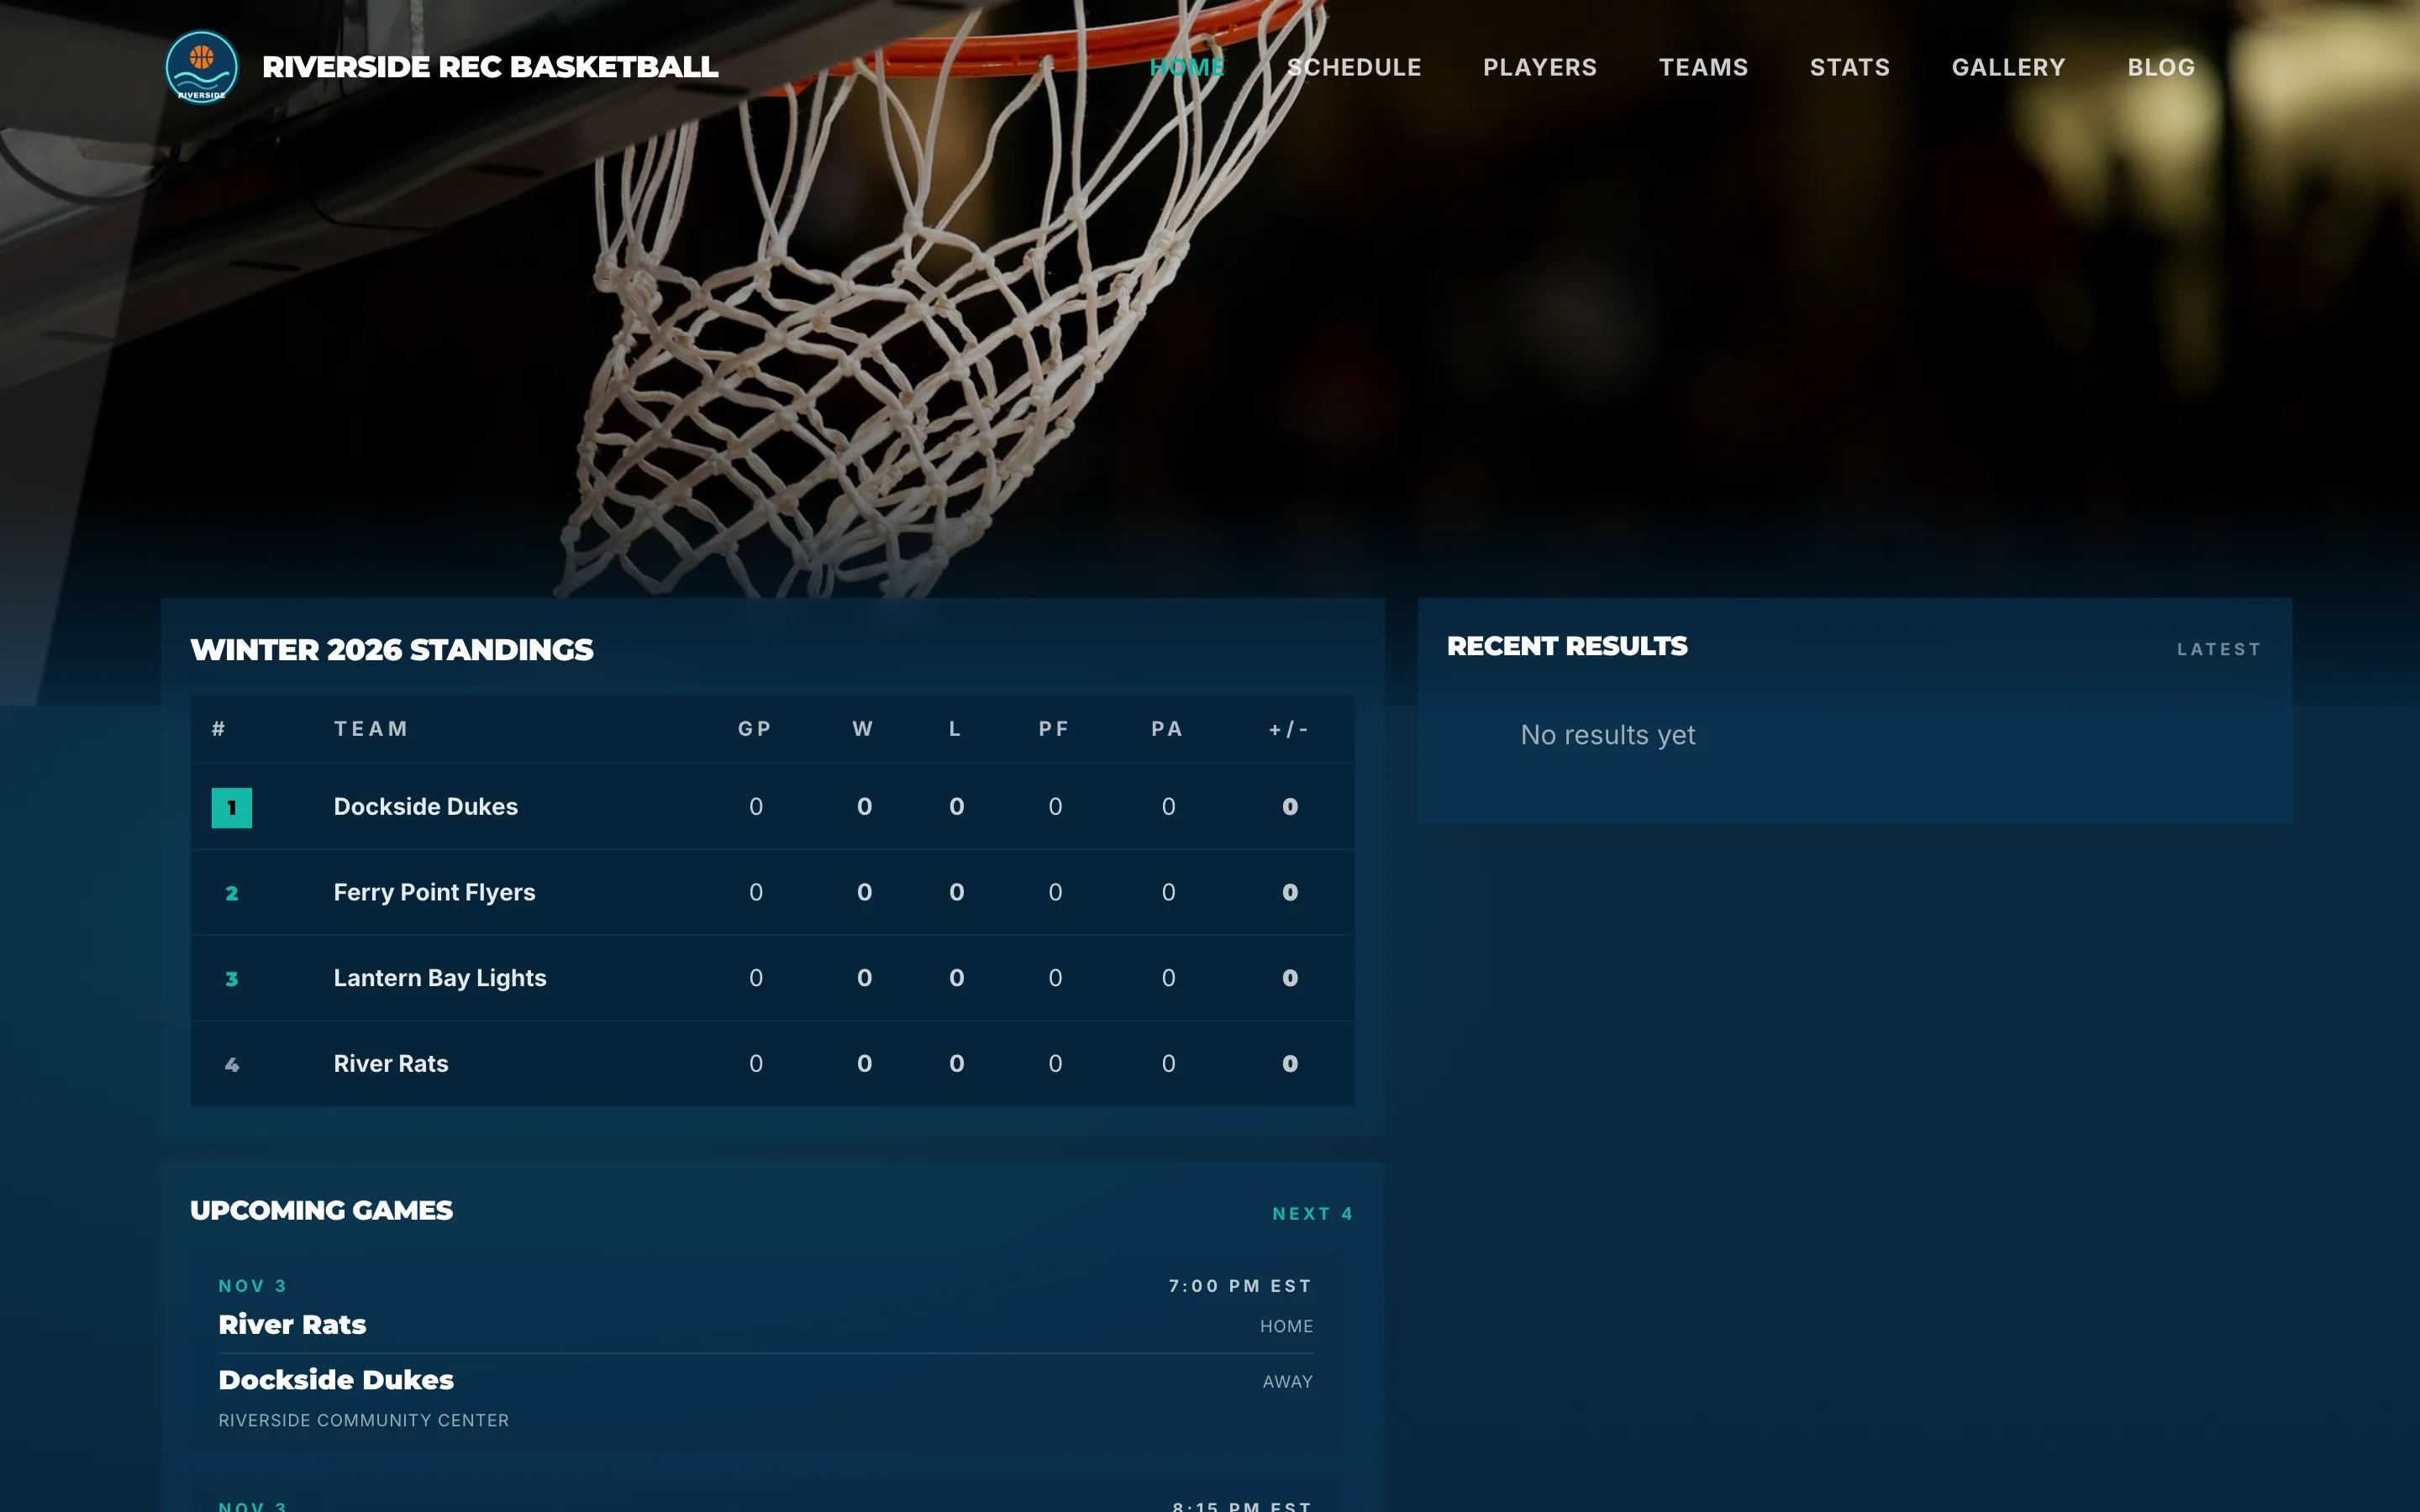
Fig. 9Your website with your logo and colours.
What you’ll see
Your website carries your brand: your logo in the header and your colours on every page. The admin uses your primary colour too. To change anything, go back to Website › Design › Brand and publish again.