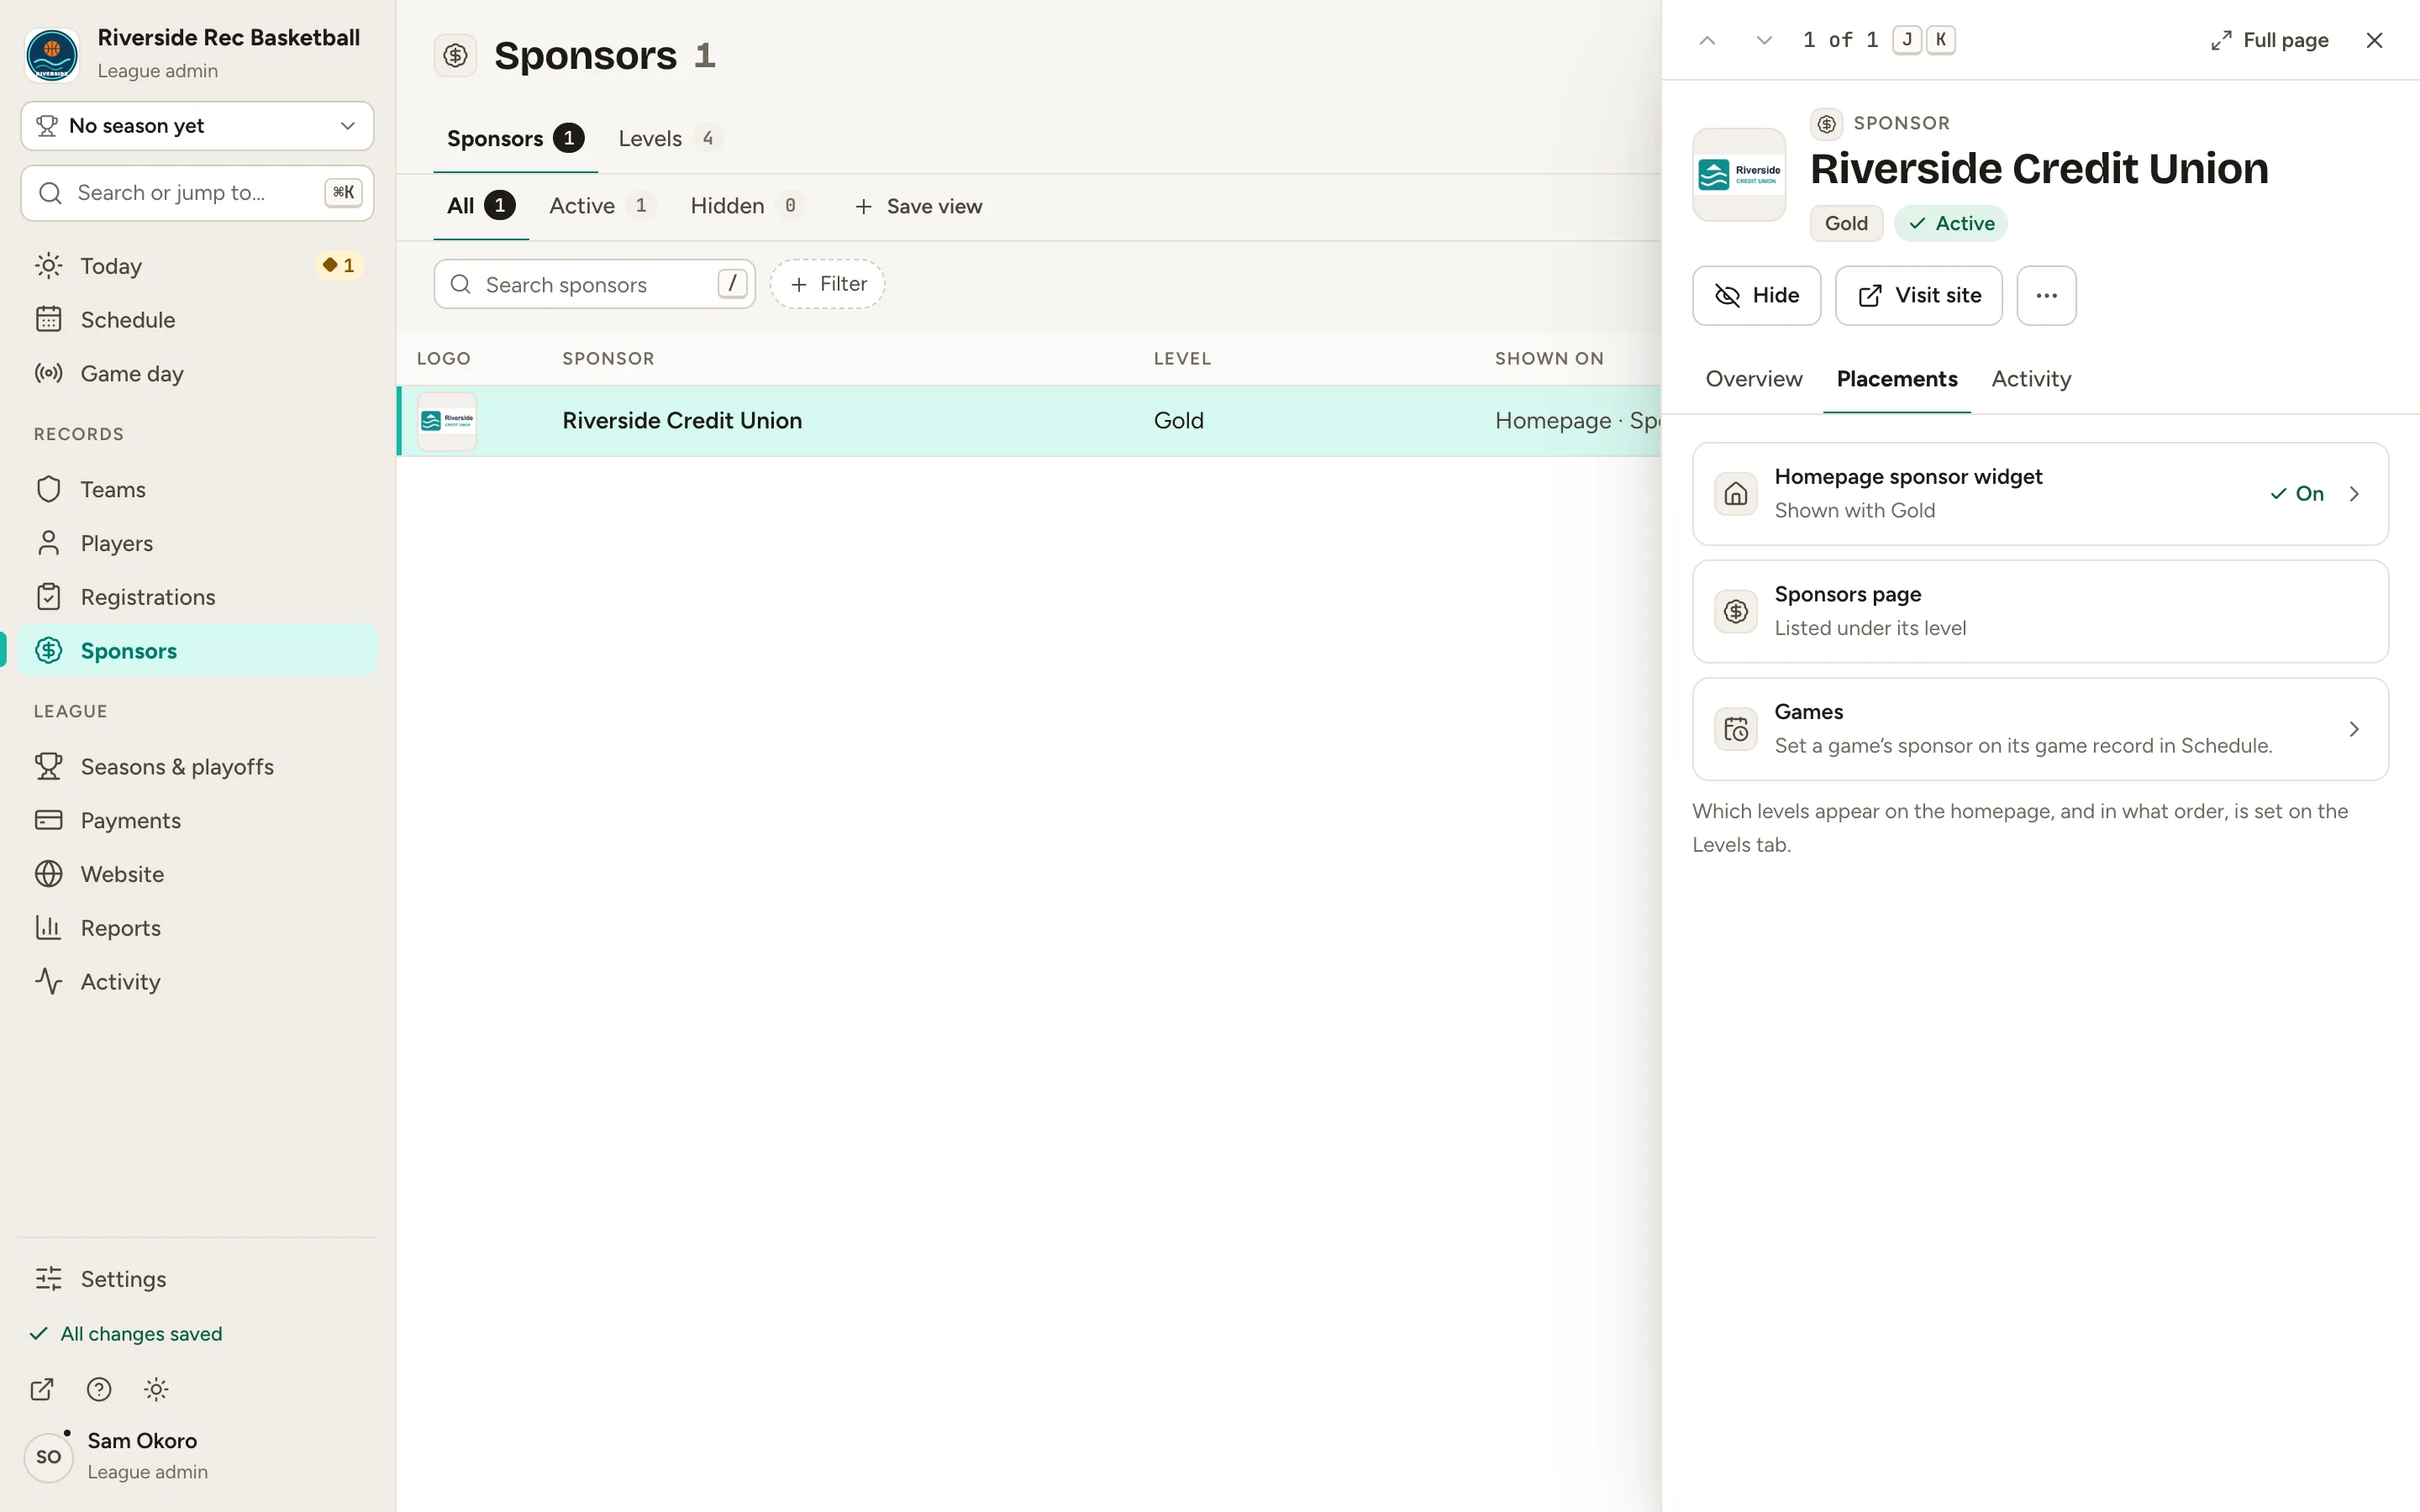
Add sponsors and sponsor levels
By the end you’ll have a sponsor with its level, website and logo, shown on your website’s homepage.
Before you start
- Have the sponsor’s logo ready as a JPG, PNG, HEIC or WebP file, up to 50 MB.
Steps
-
Step 1: In the left menu, click Sponsors.
Your sponsors are listed here. Sponsors show on your homepage, your sponsors page and on game pages.
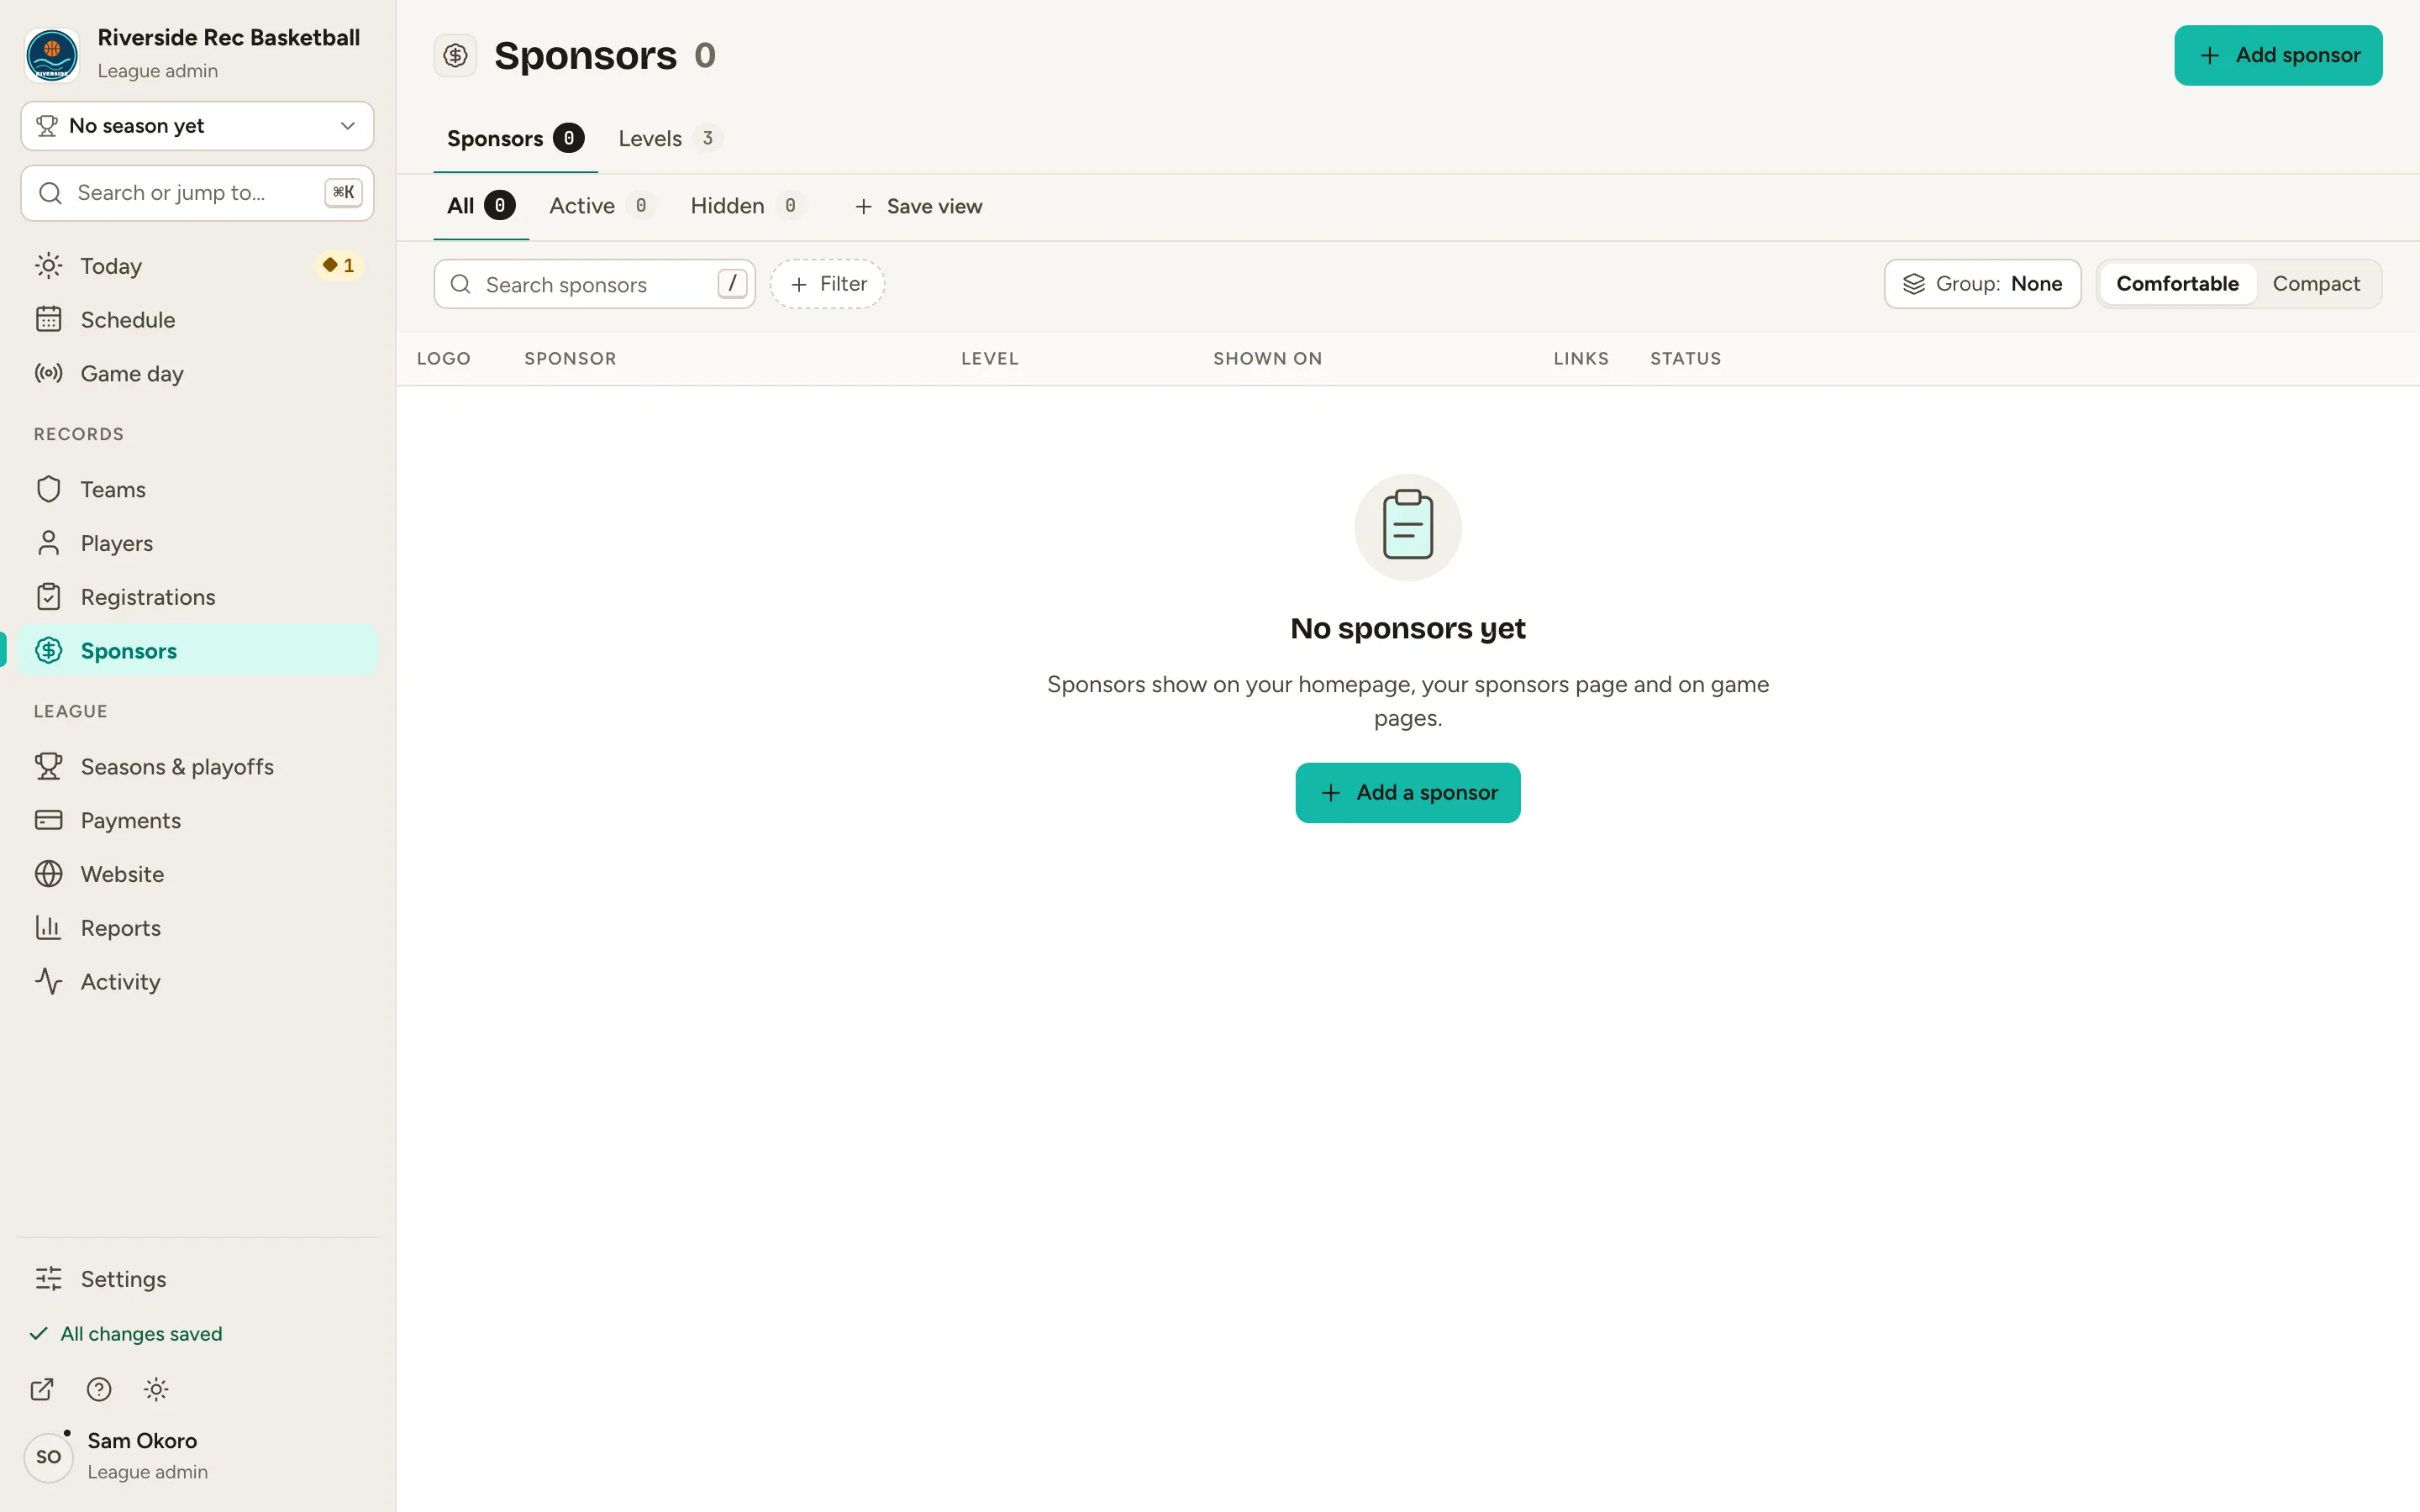
Fig. 1Sponsors, with none yet. -
Step 2: Click the Levels tab.
A new league starts with Platinum, Gold and Silver. The top level is your highest tier: it shows first, with the biggest logos. On the homepage keeps a level in the homepage sponsor widget.
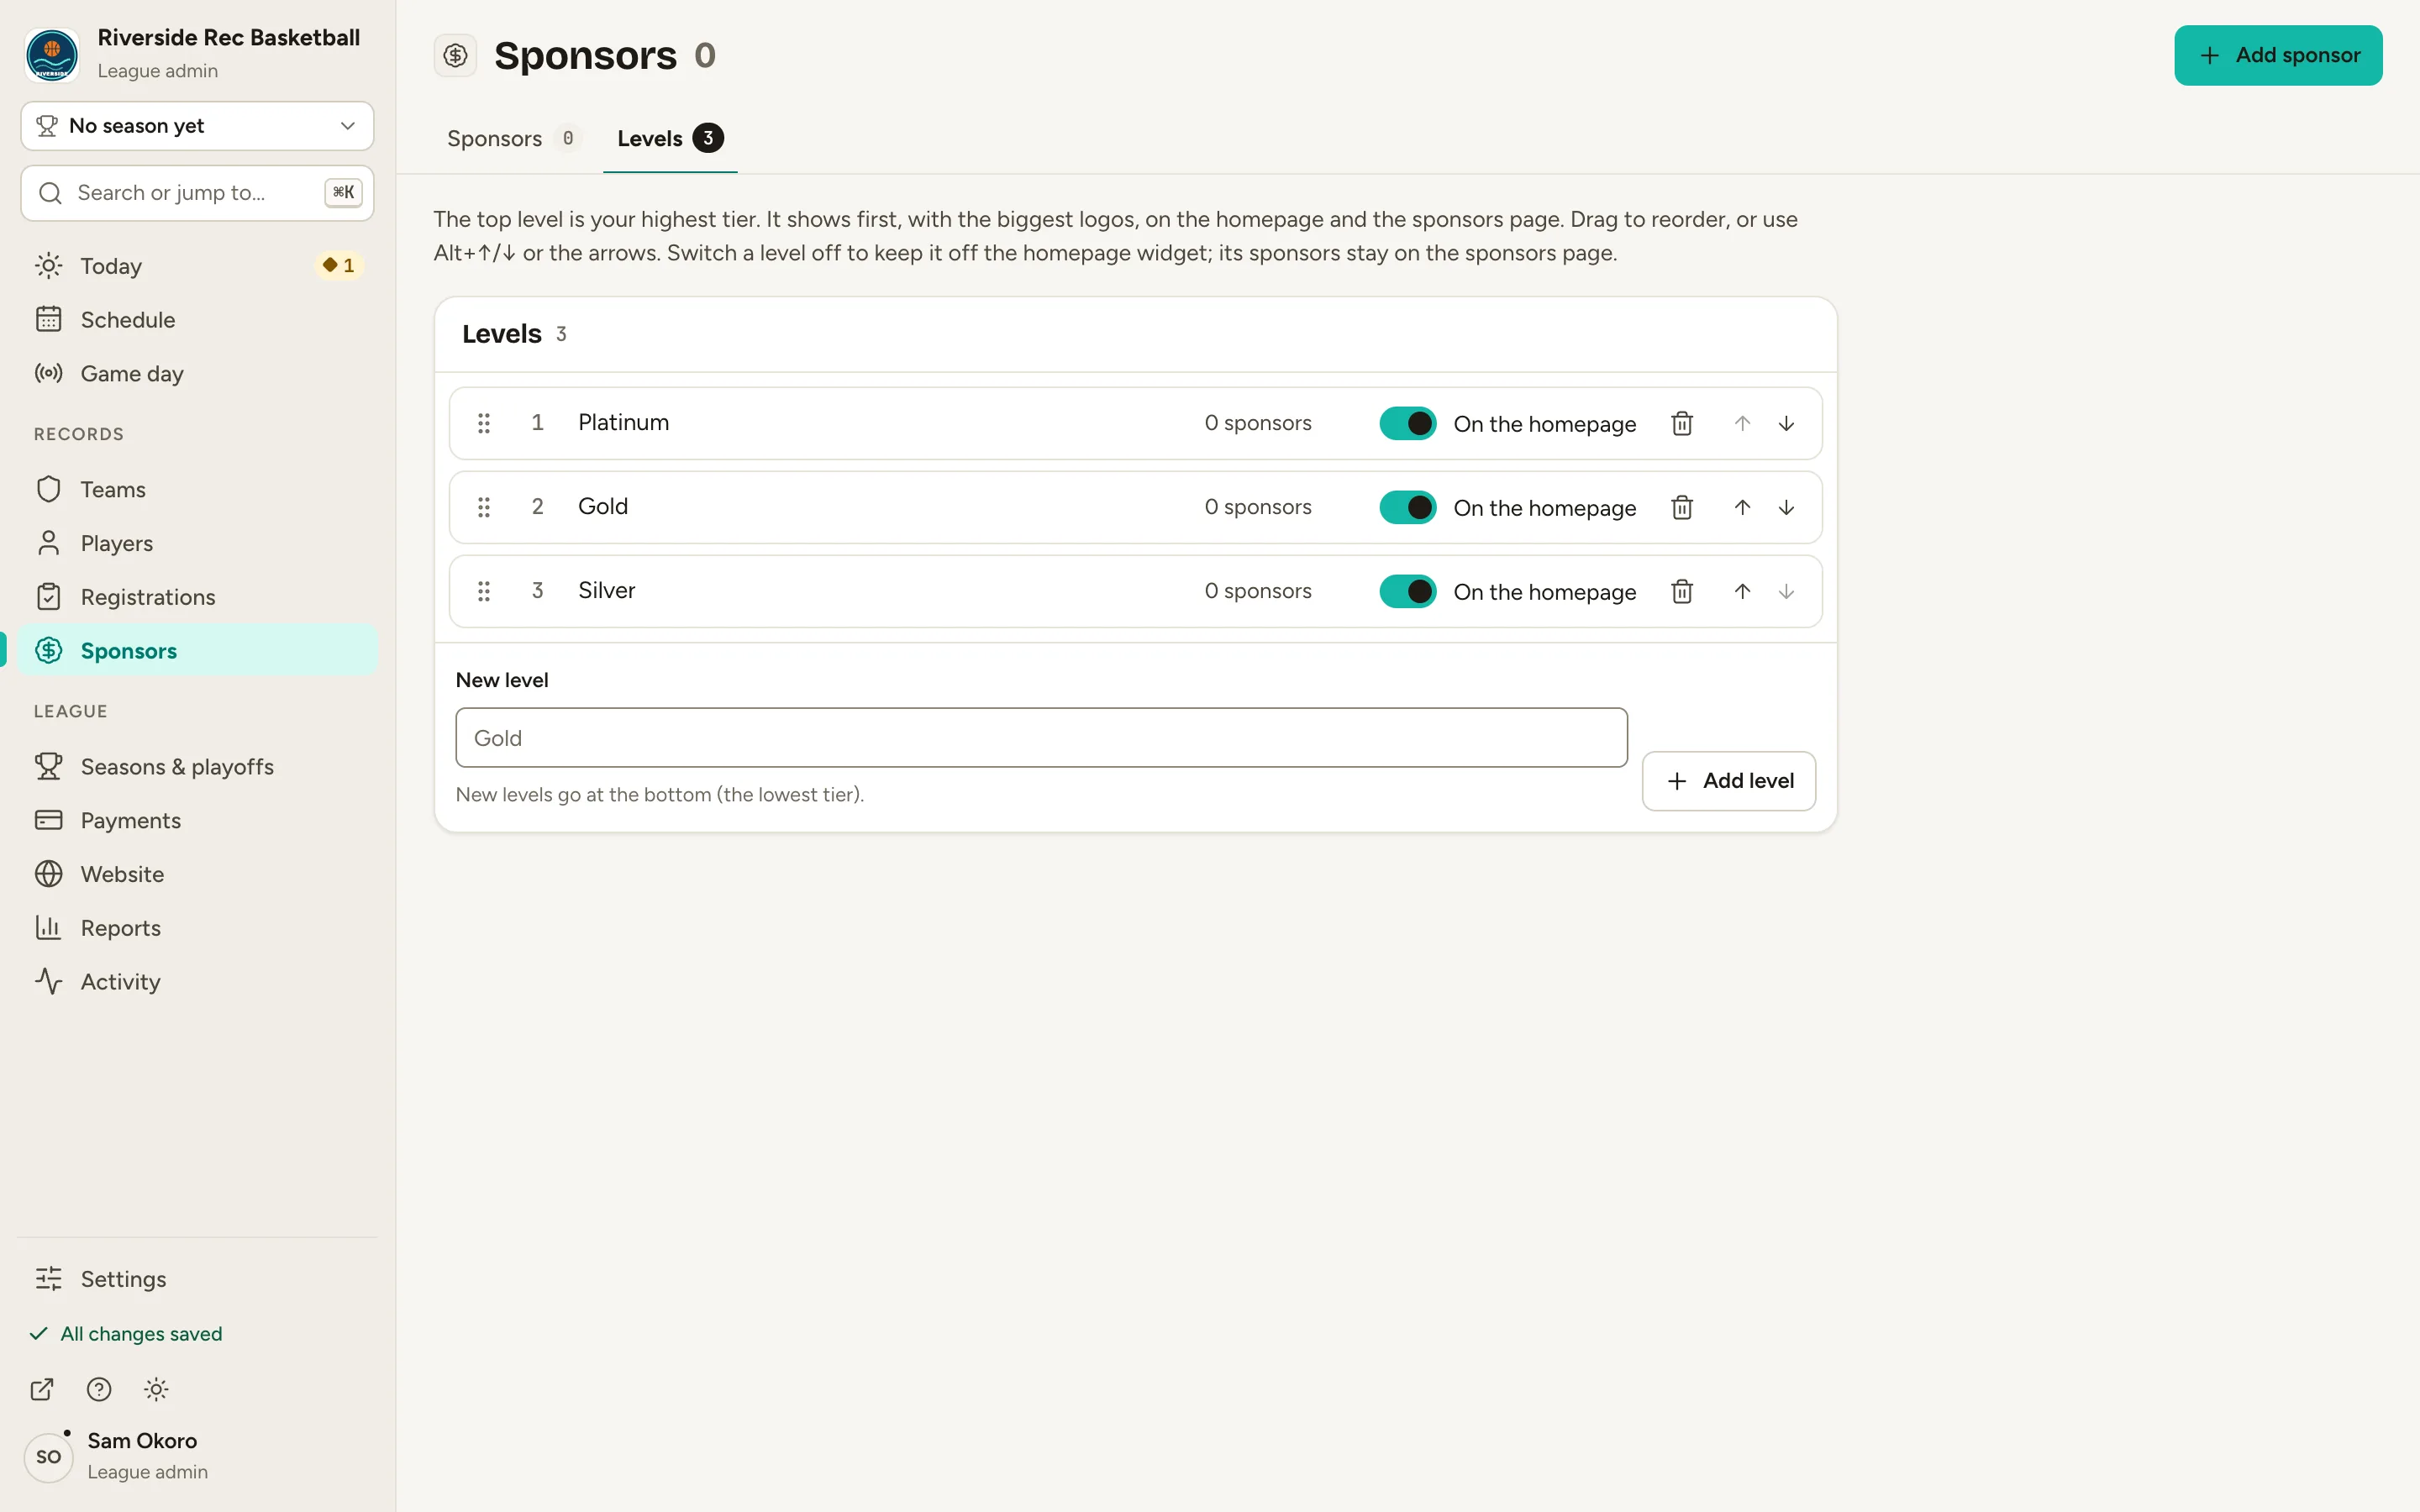
Fig. 2Levels: Platinum, Gold and Silver. -
Step 3: Type a New level, like Bronze, and click Add level.
New levels go at the bottom, the lowest tier. Drag a level, or use its arrows, to move it.
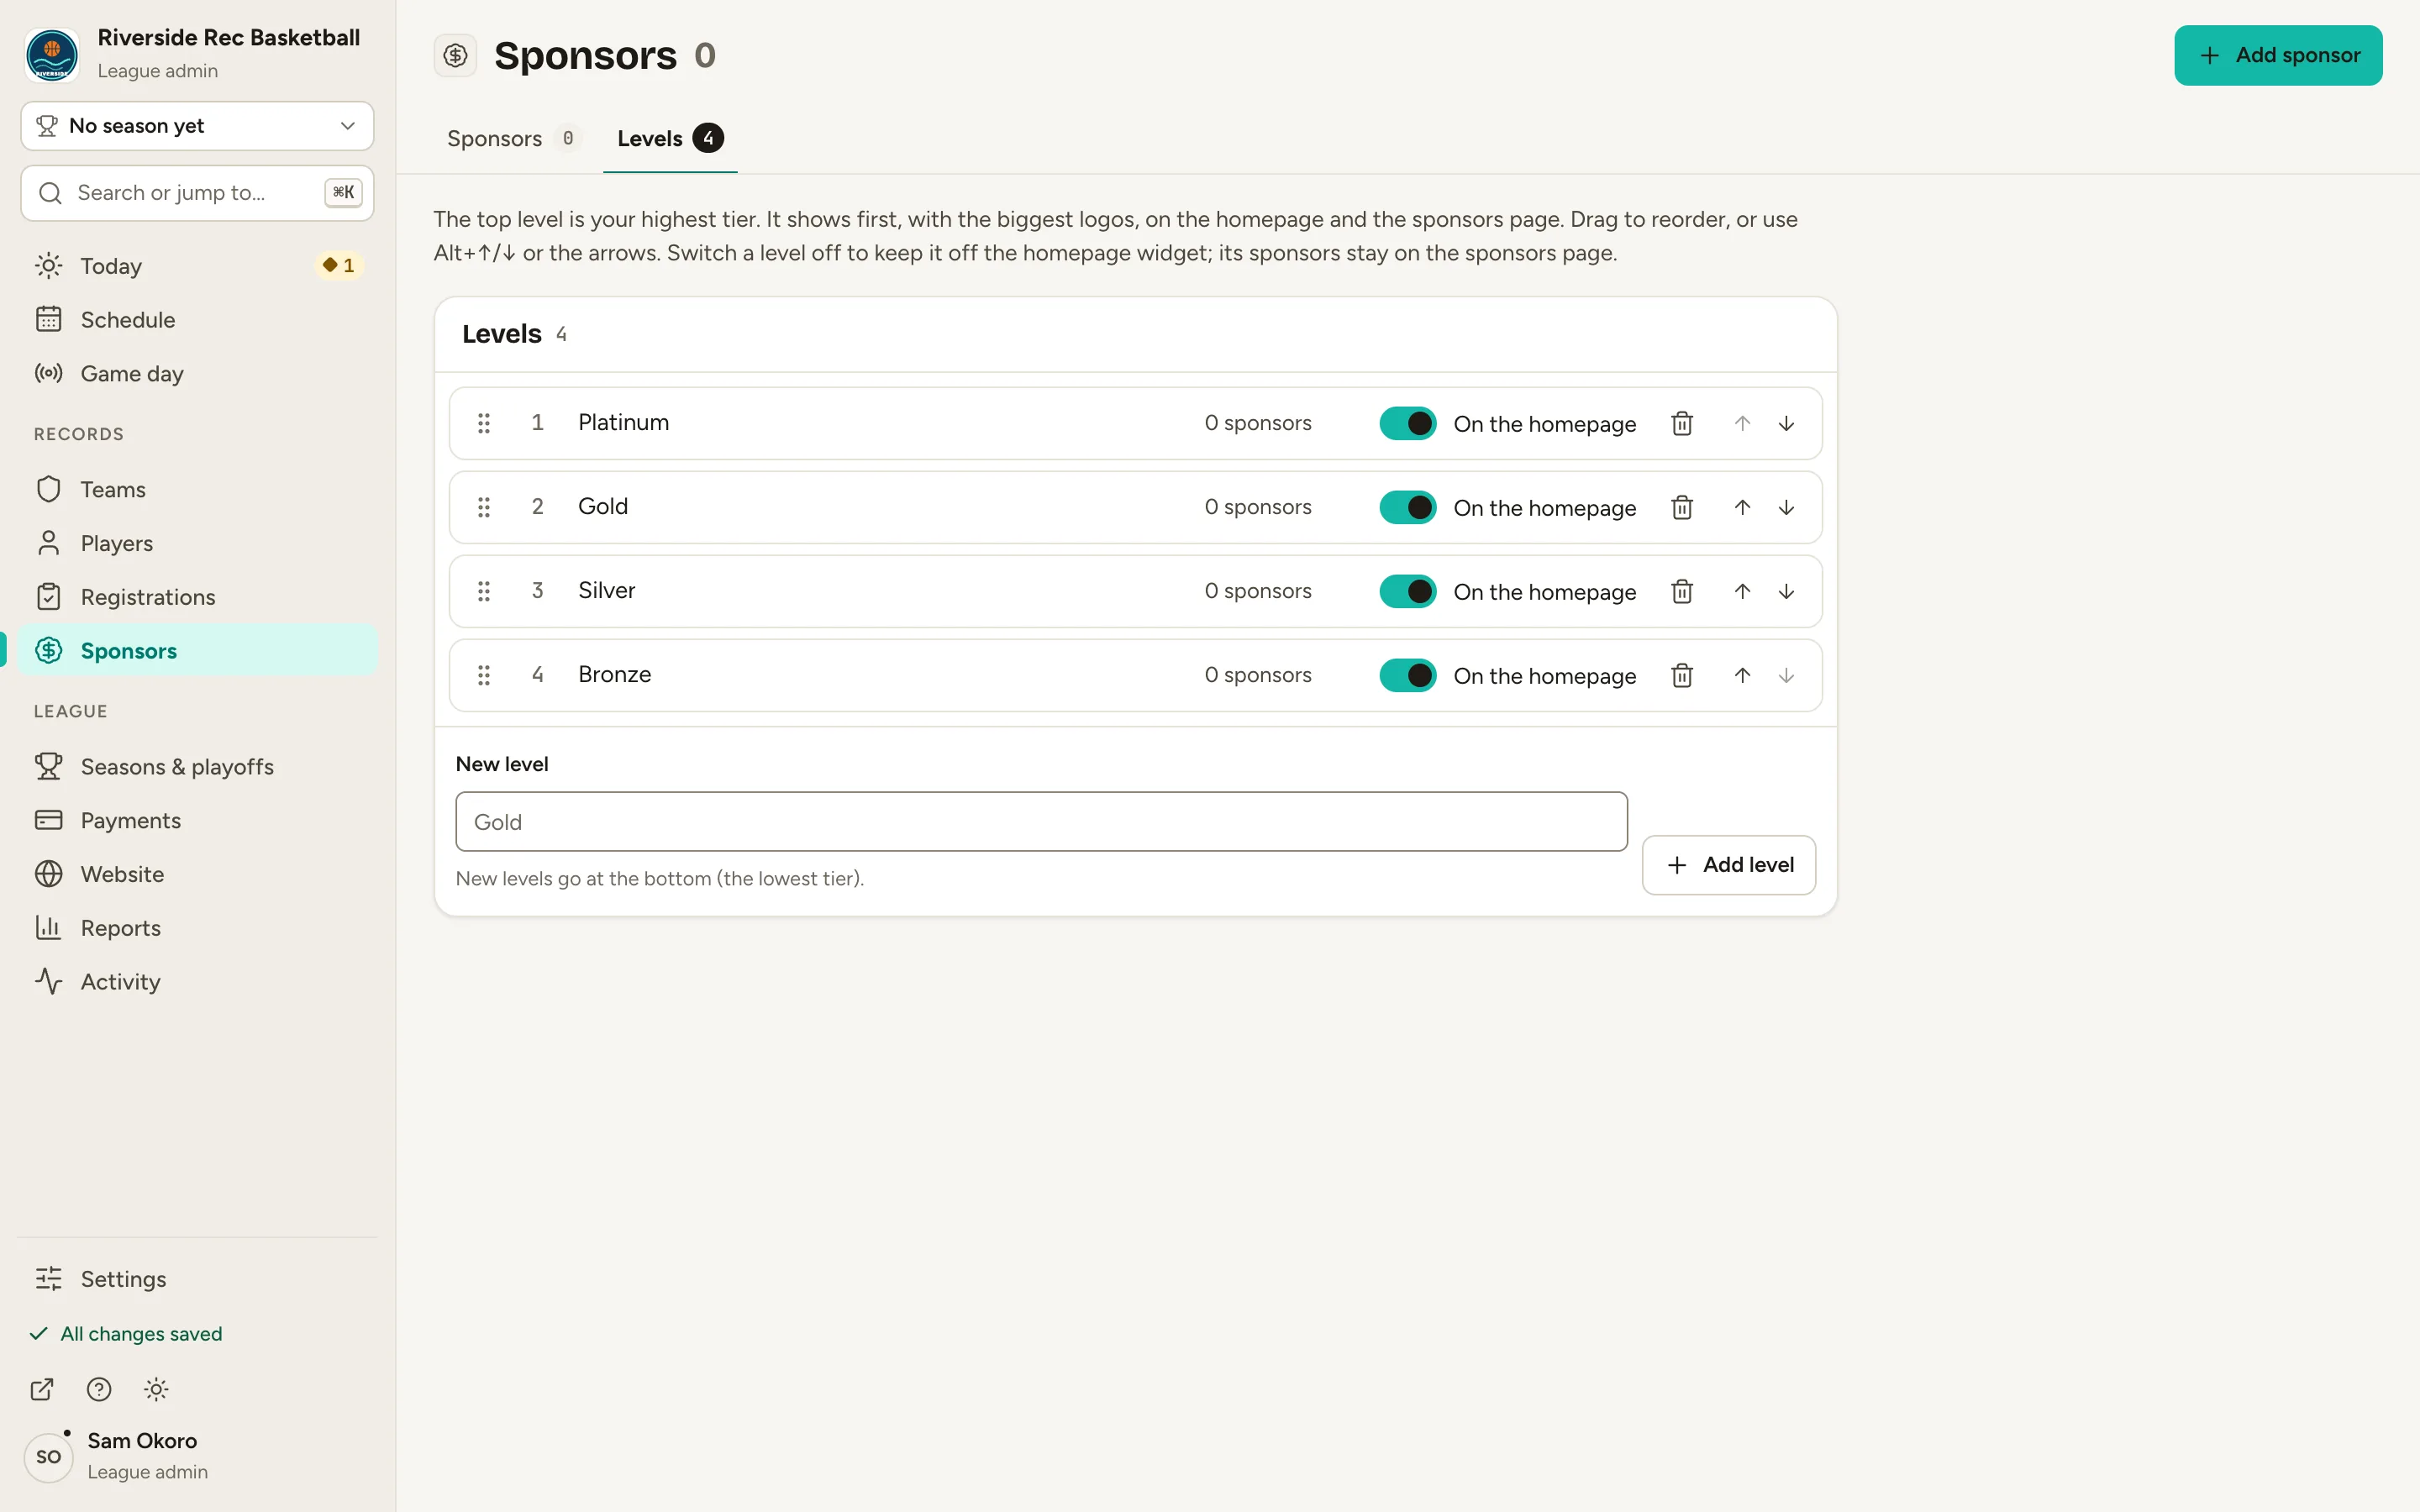
Fig. 3Bronze, added as the lowest tier. -
Step 4: Click Add sponsor at the top right.
The New sponsor panel opens.
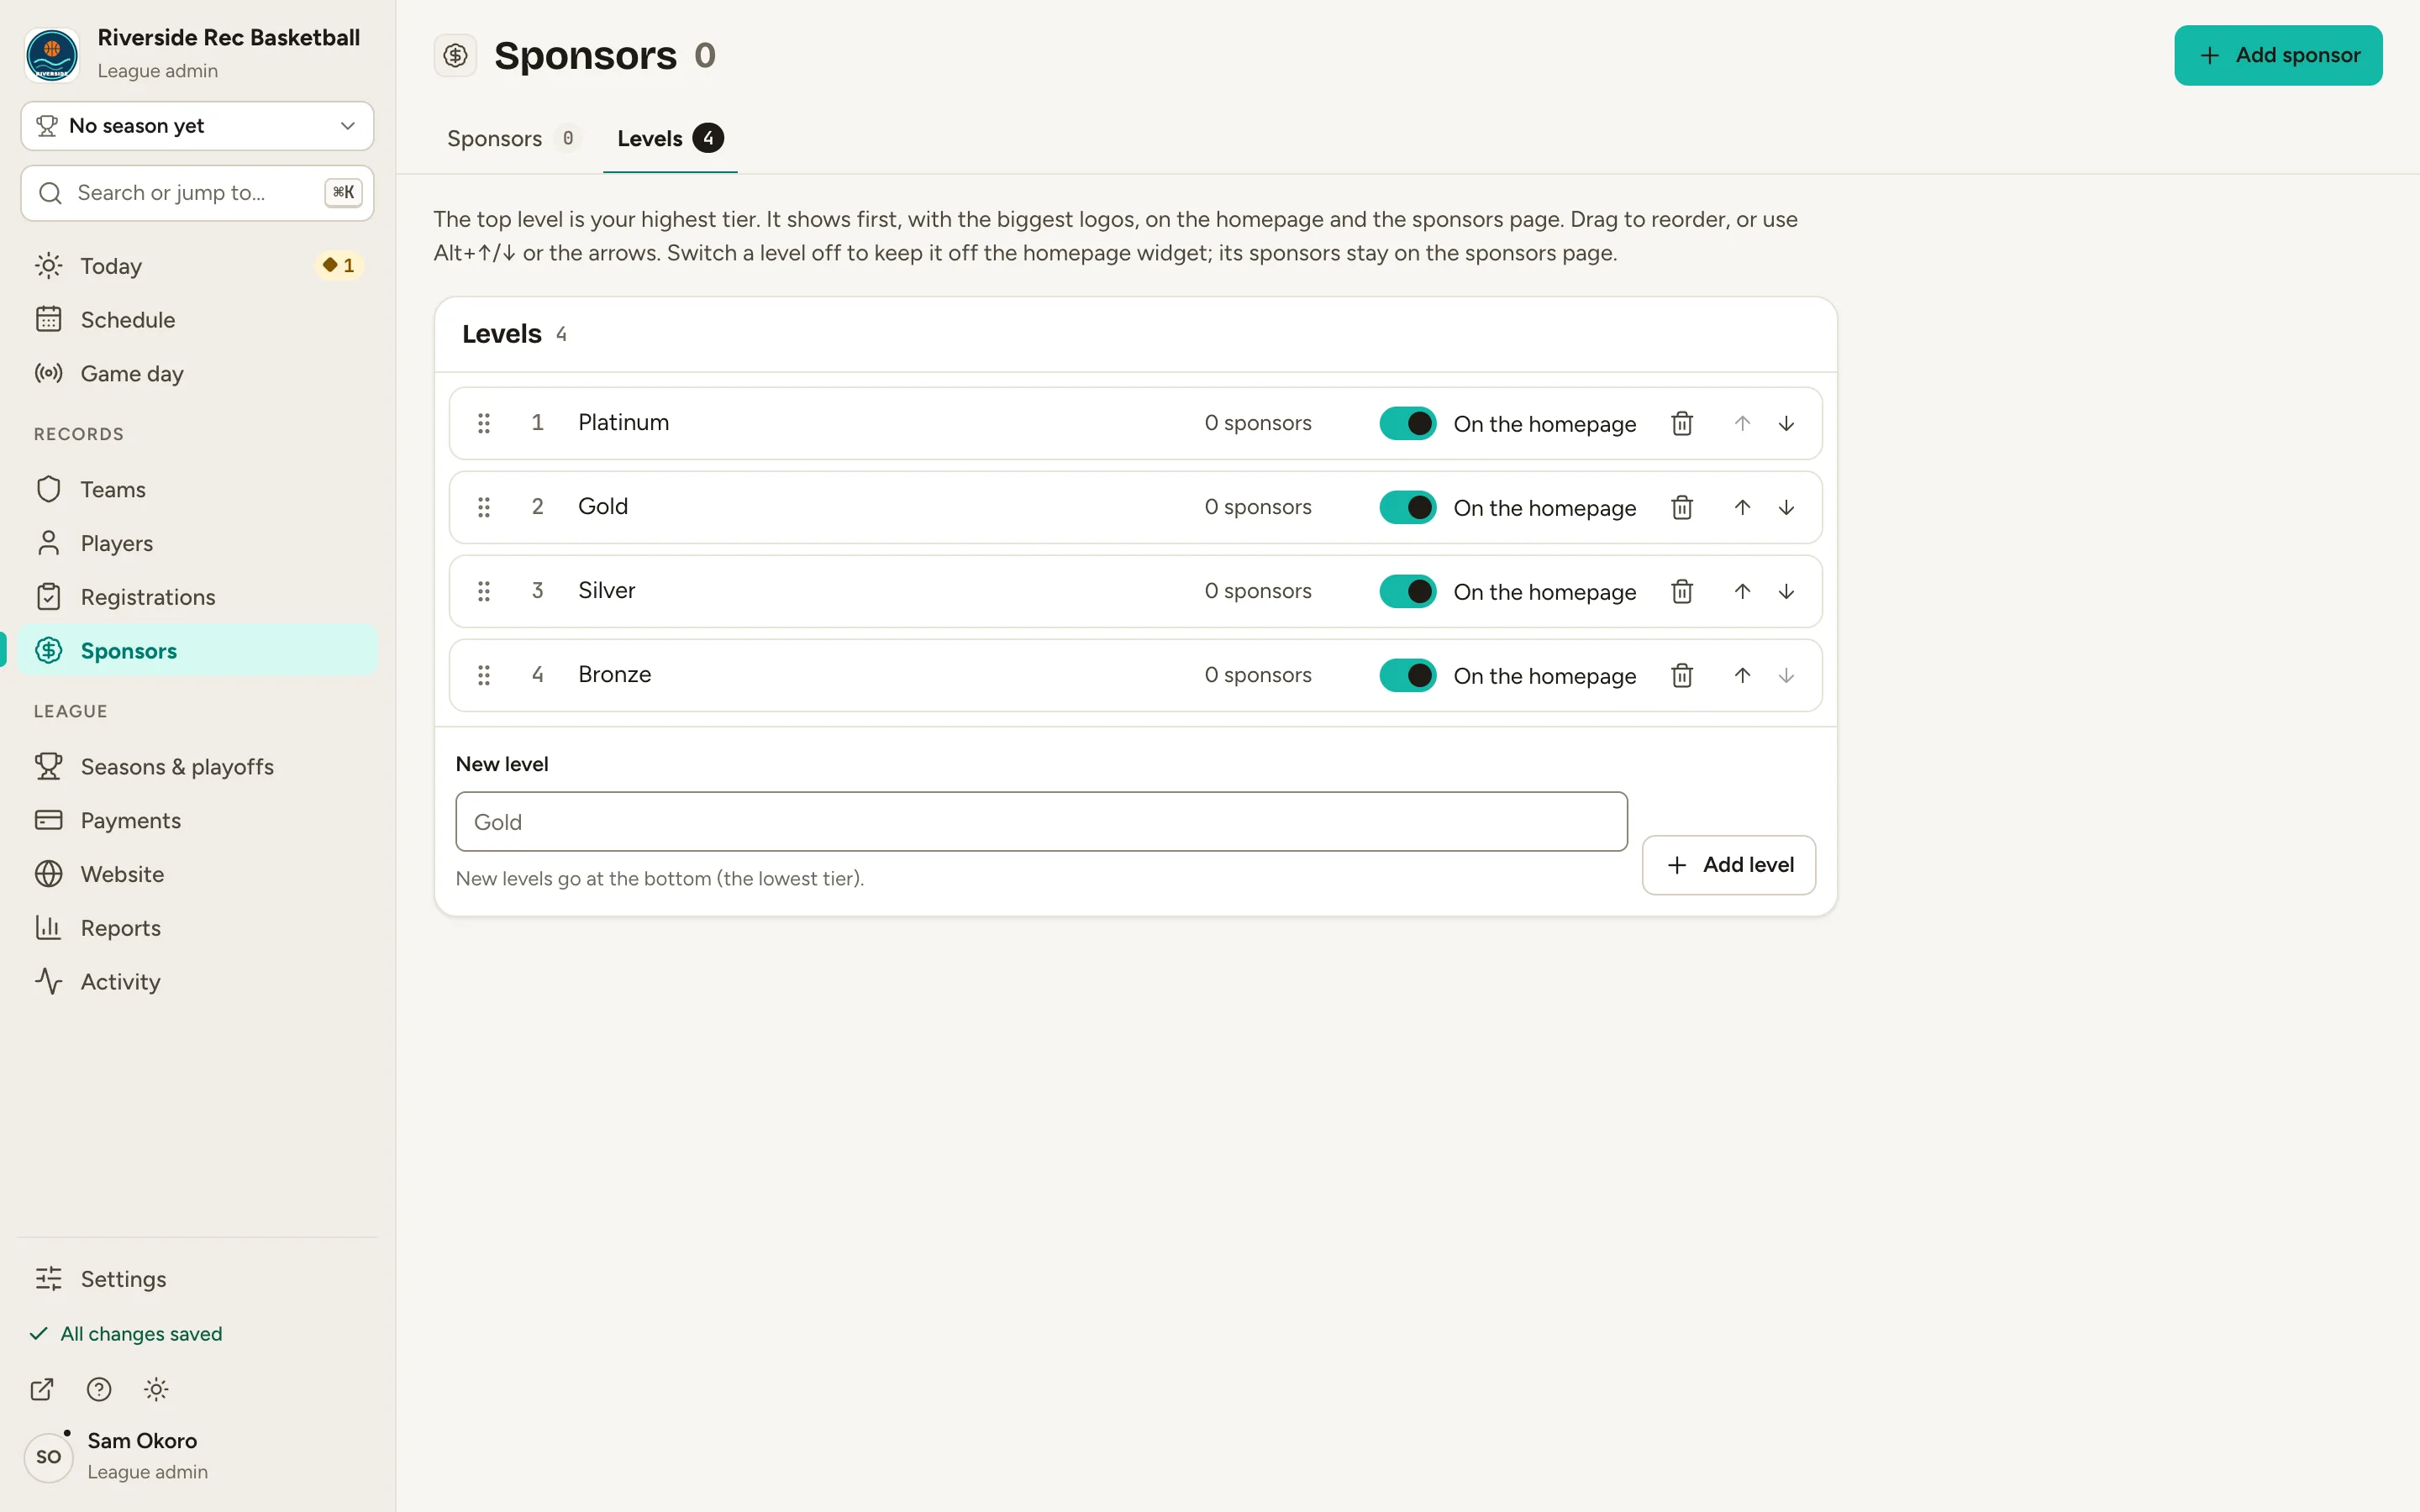
Fig. 4Add sponsor. -
Step 5: Type the Name, like Riverside Credit Union, choose a Level, like Gold, and add its Website.
Higher levels show first. The website must start with https://.
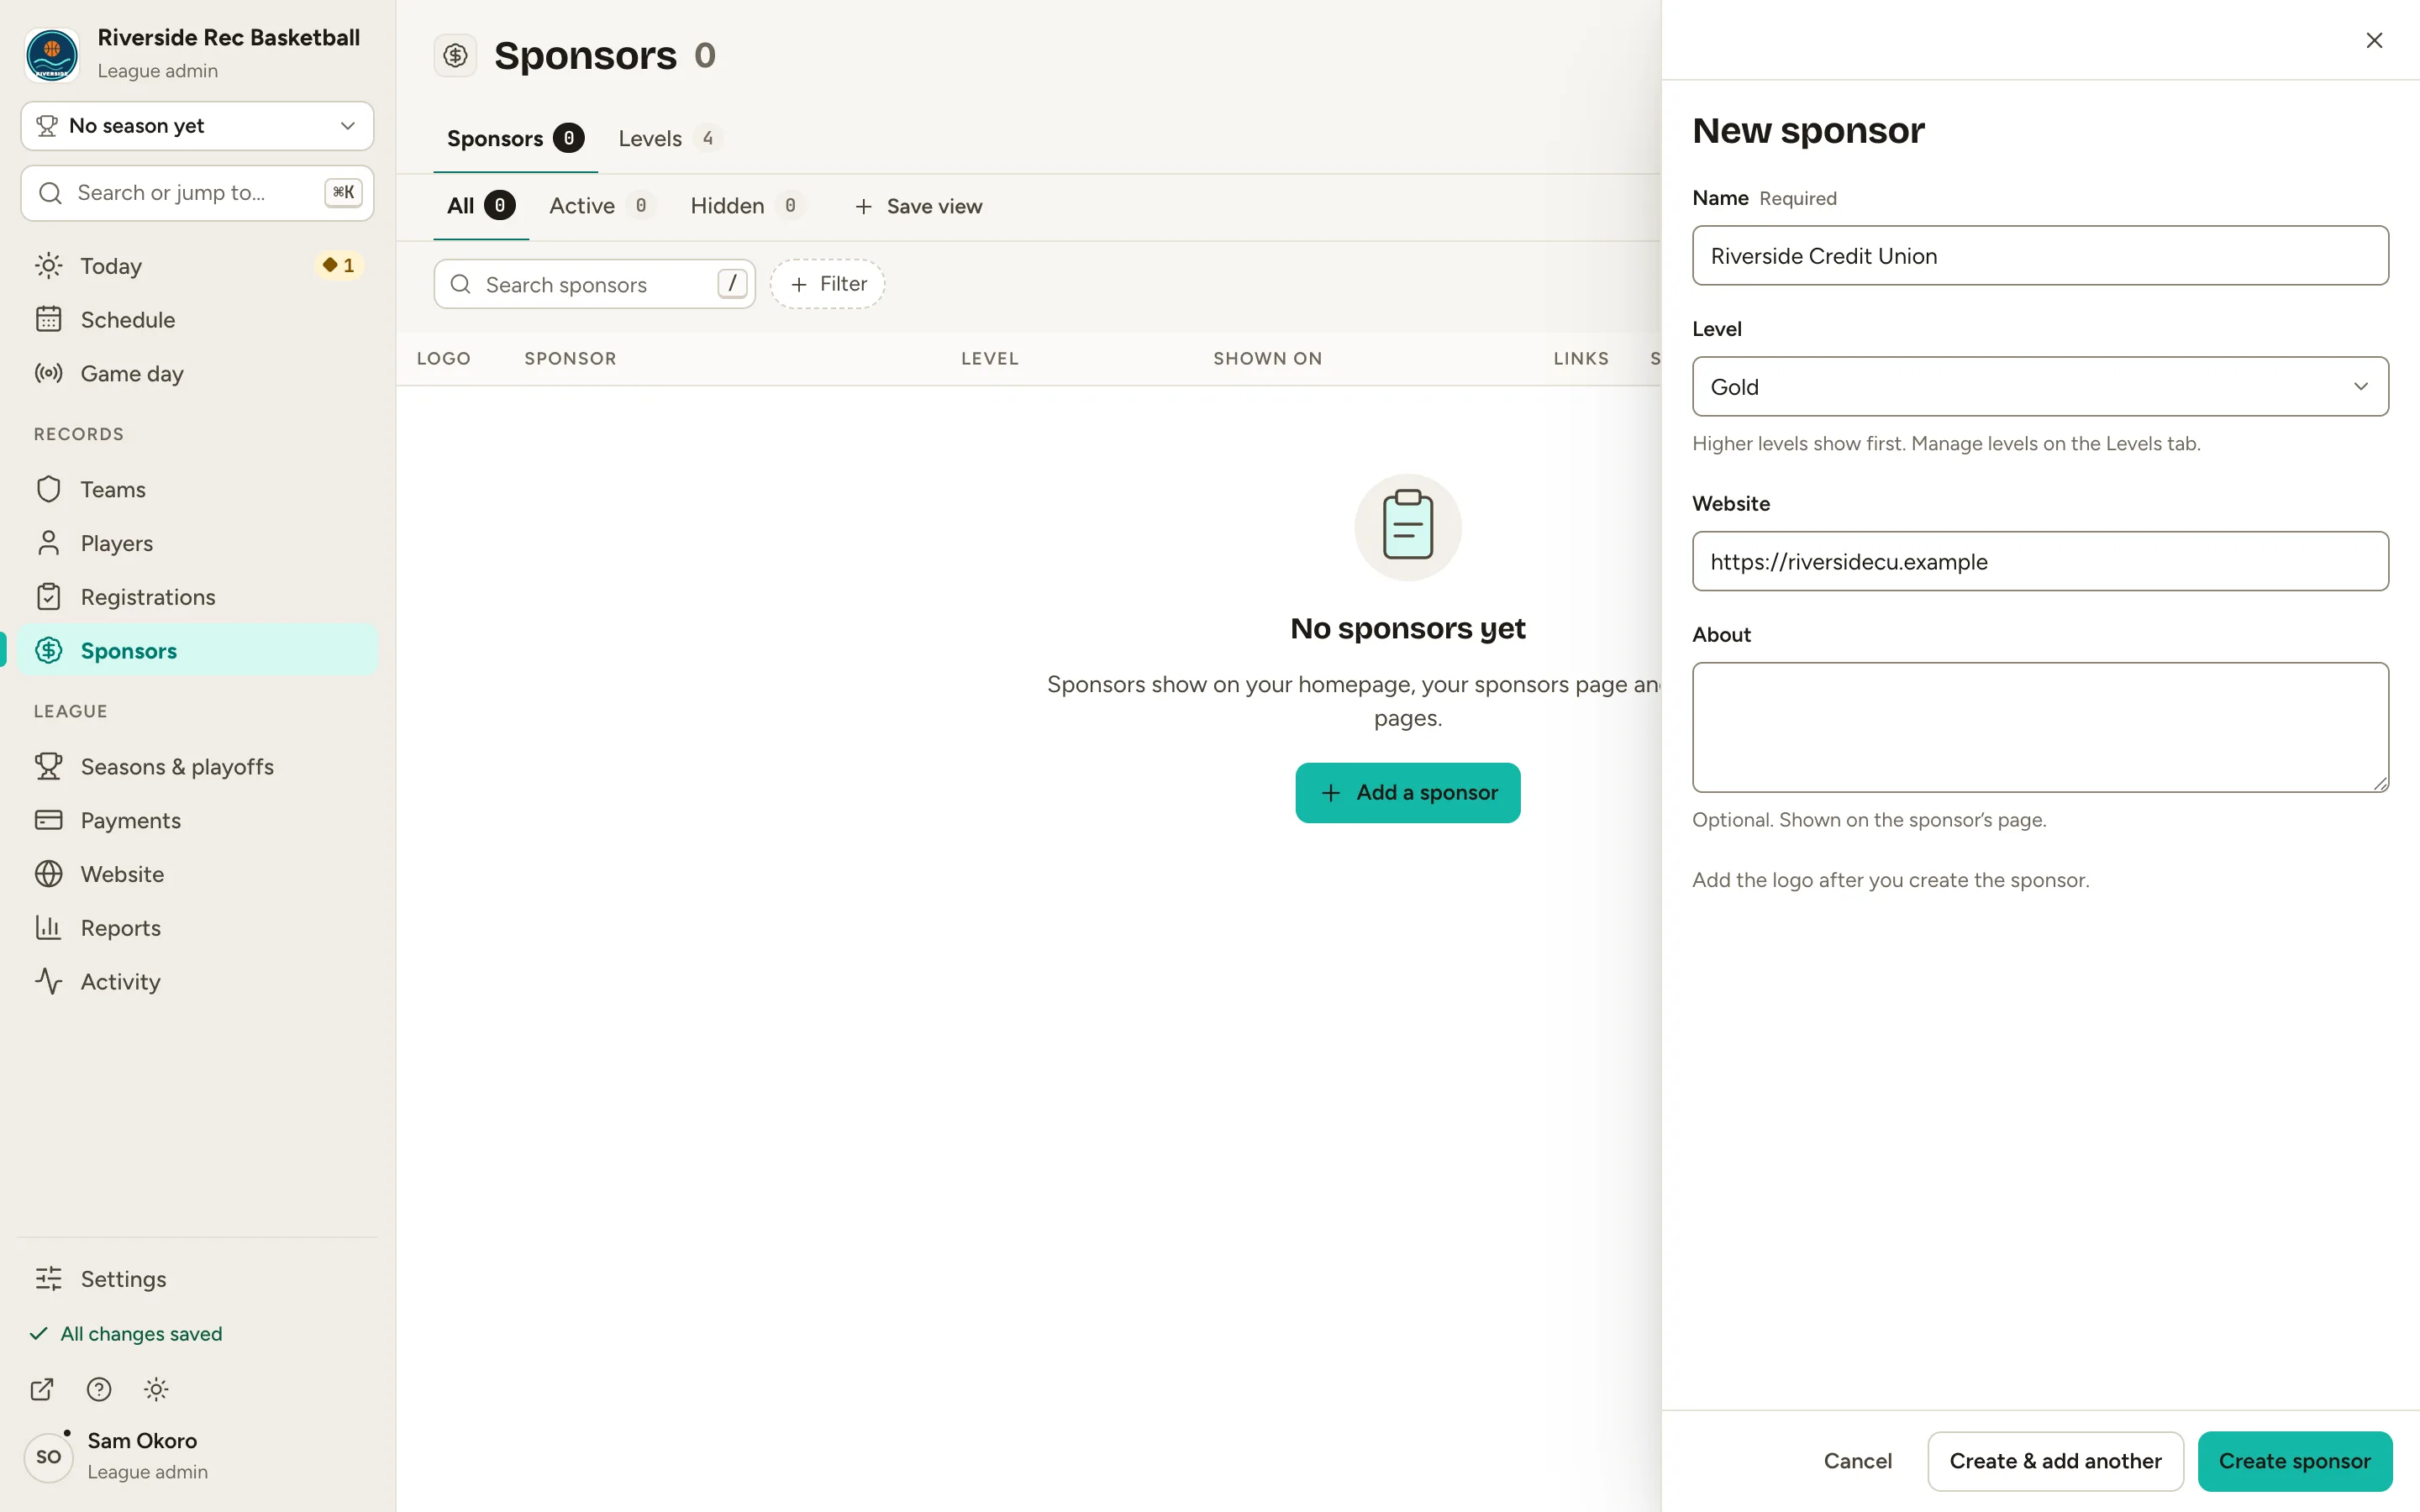
Fig. 5The new sponsor’s name, level and website. -
Step 6: Click Create sponsor.
The sponsor is added and its panel opens, where you add the logo.
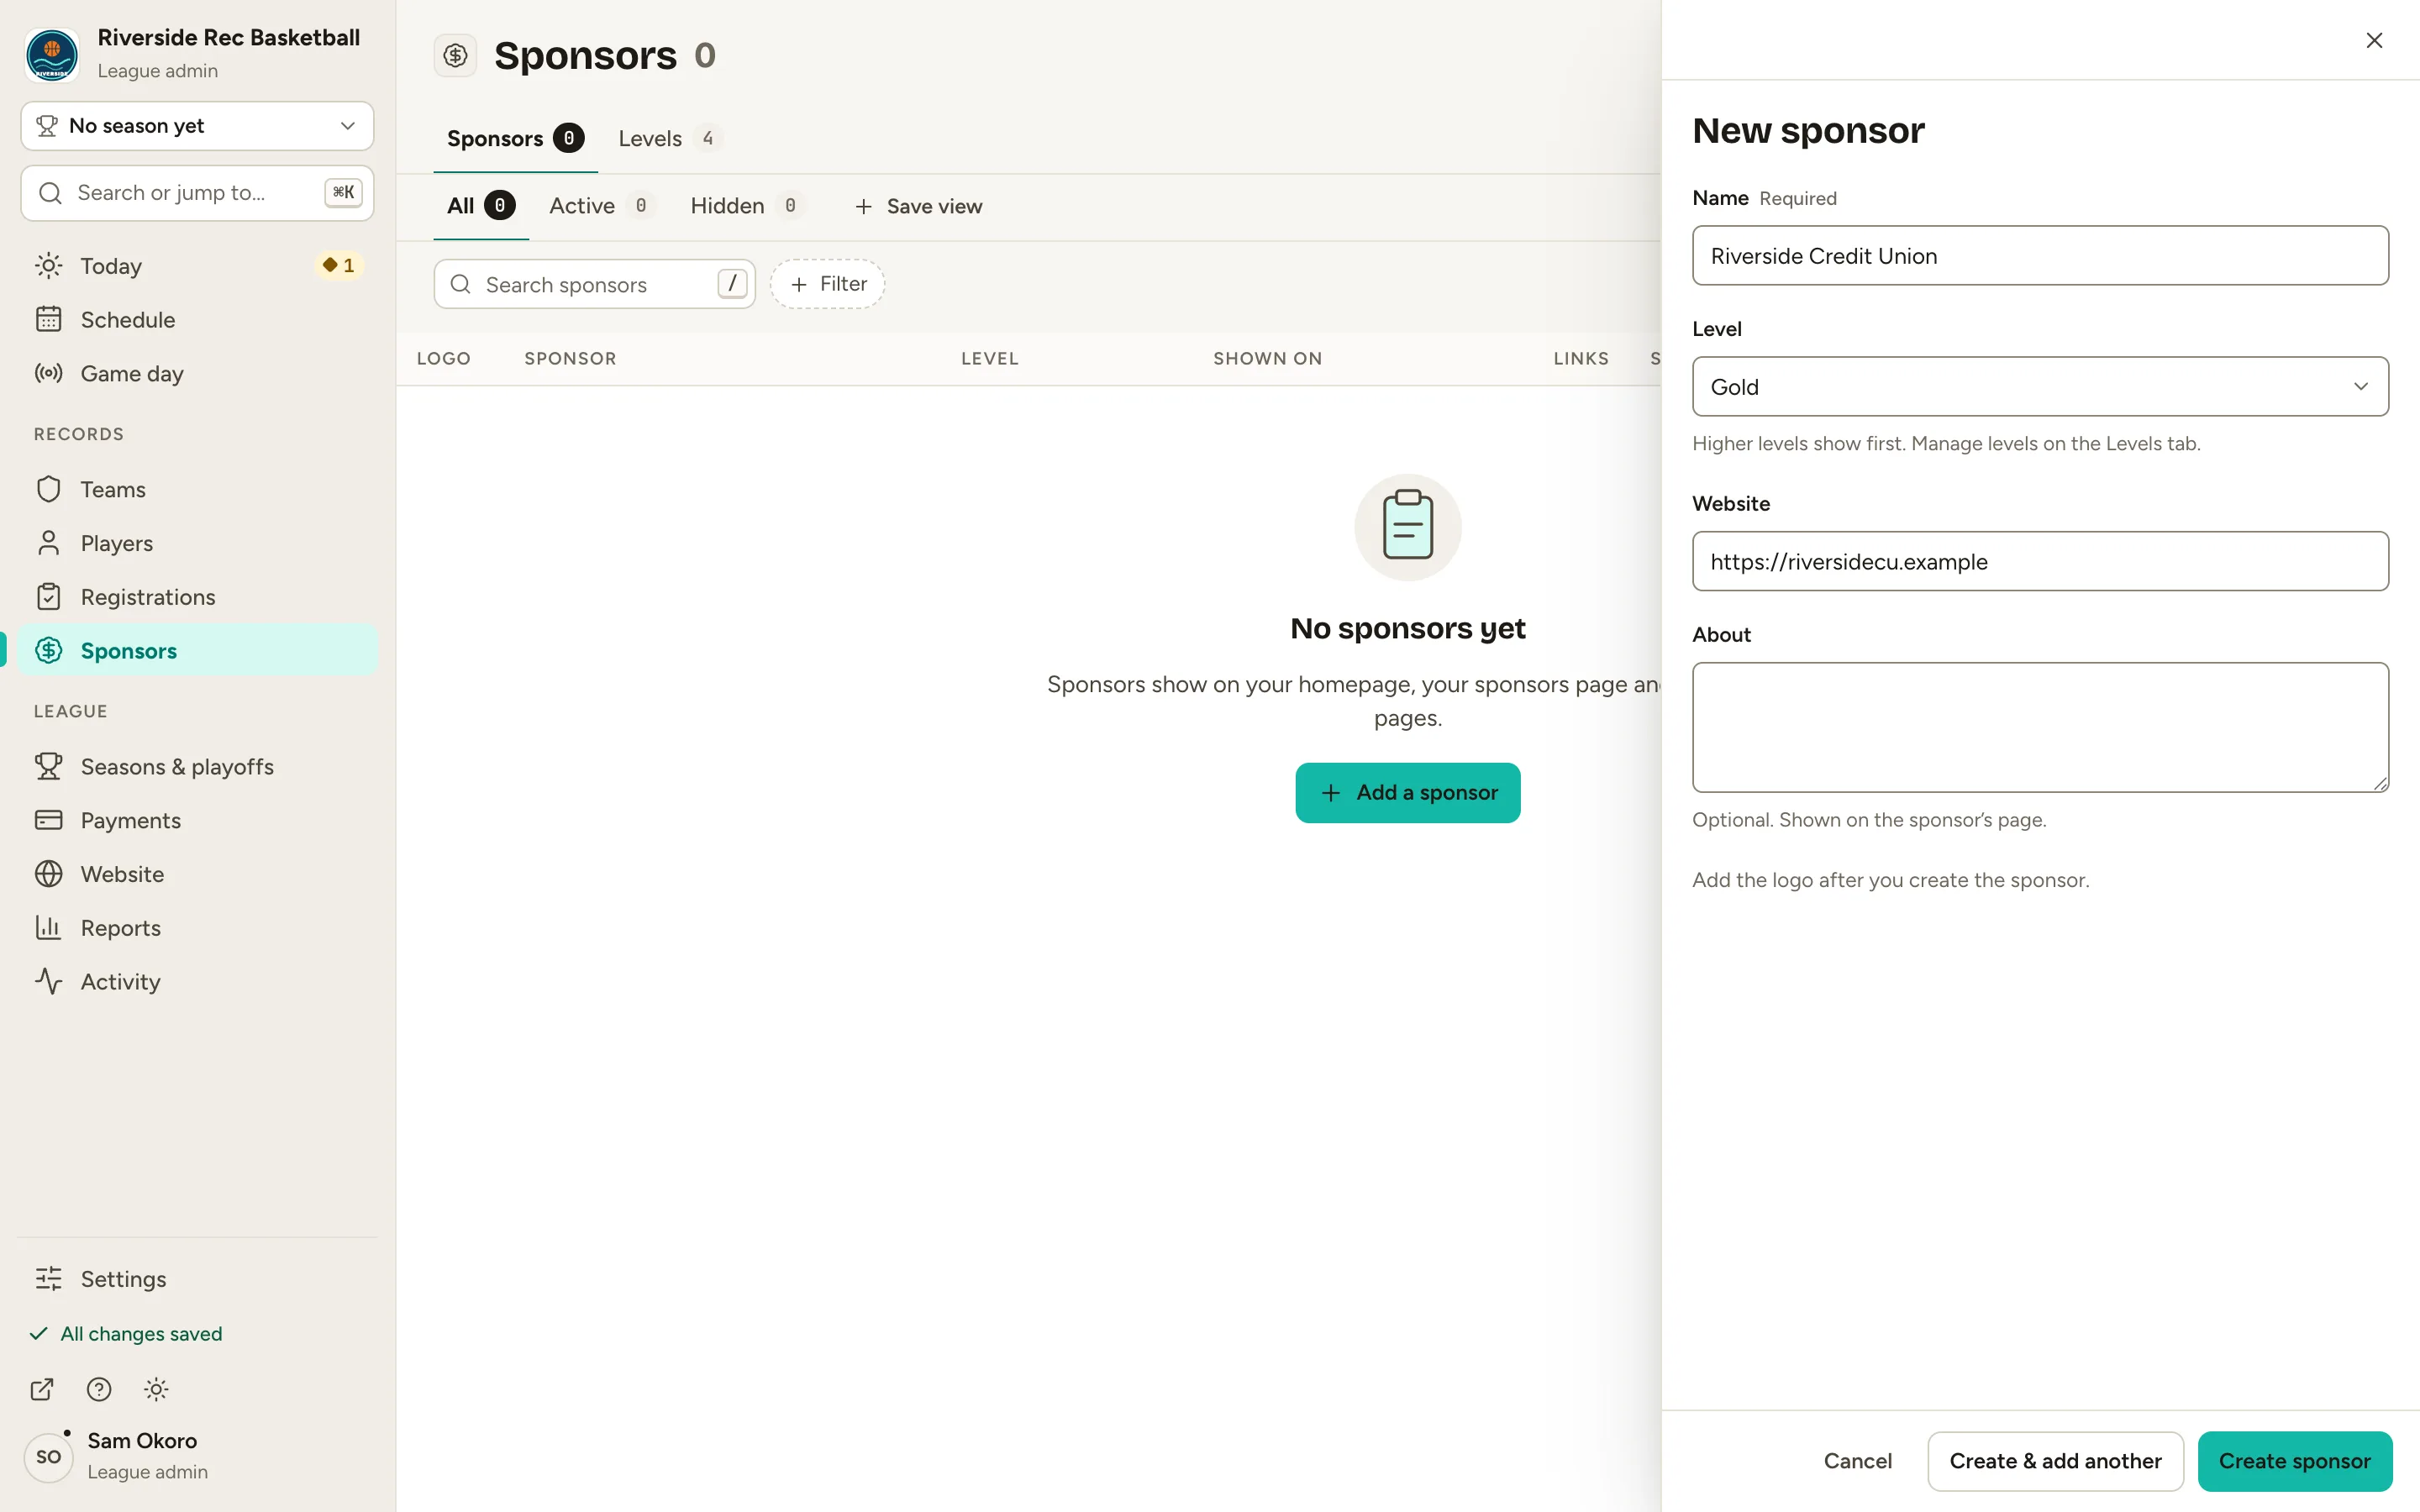
Fig. 6Create sponsor. -
Step 7: Click Upload logo and choose the logo file.
The logo shows in the list and on your site. A sponsor needs a logo, a level and a level that’s on the homepage to appear in the homepage widget.
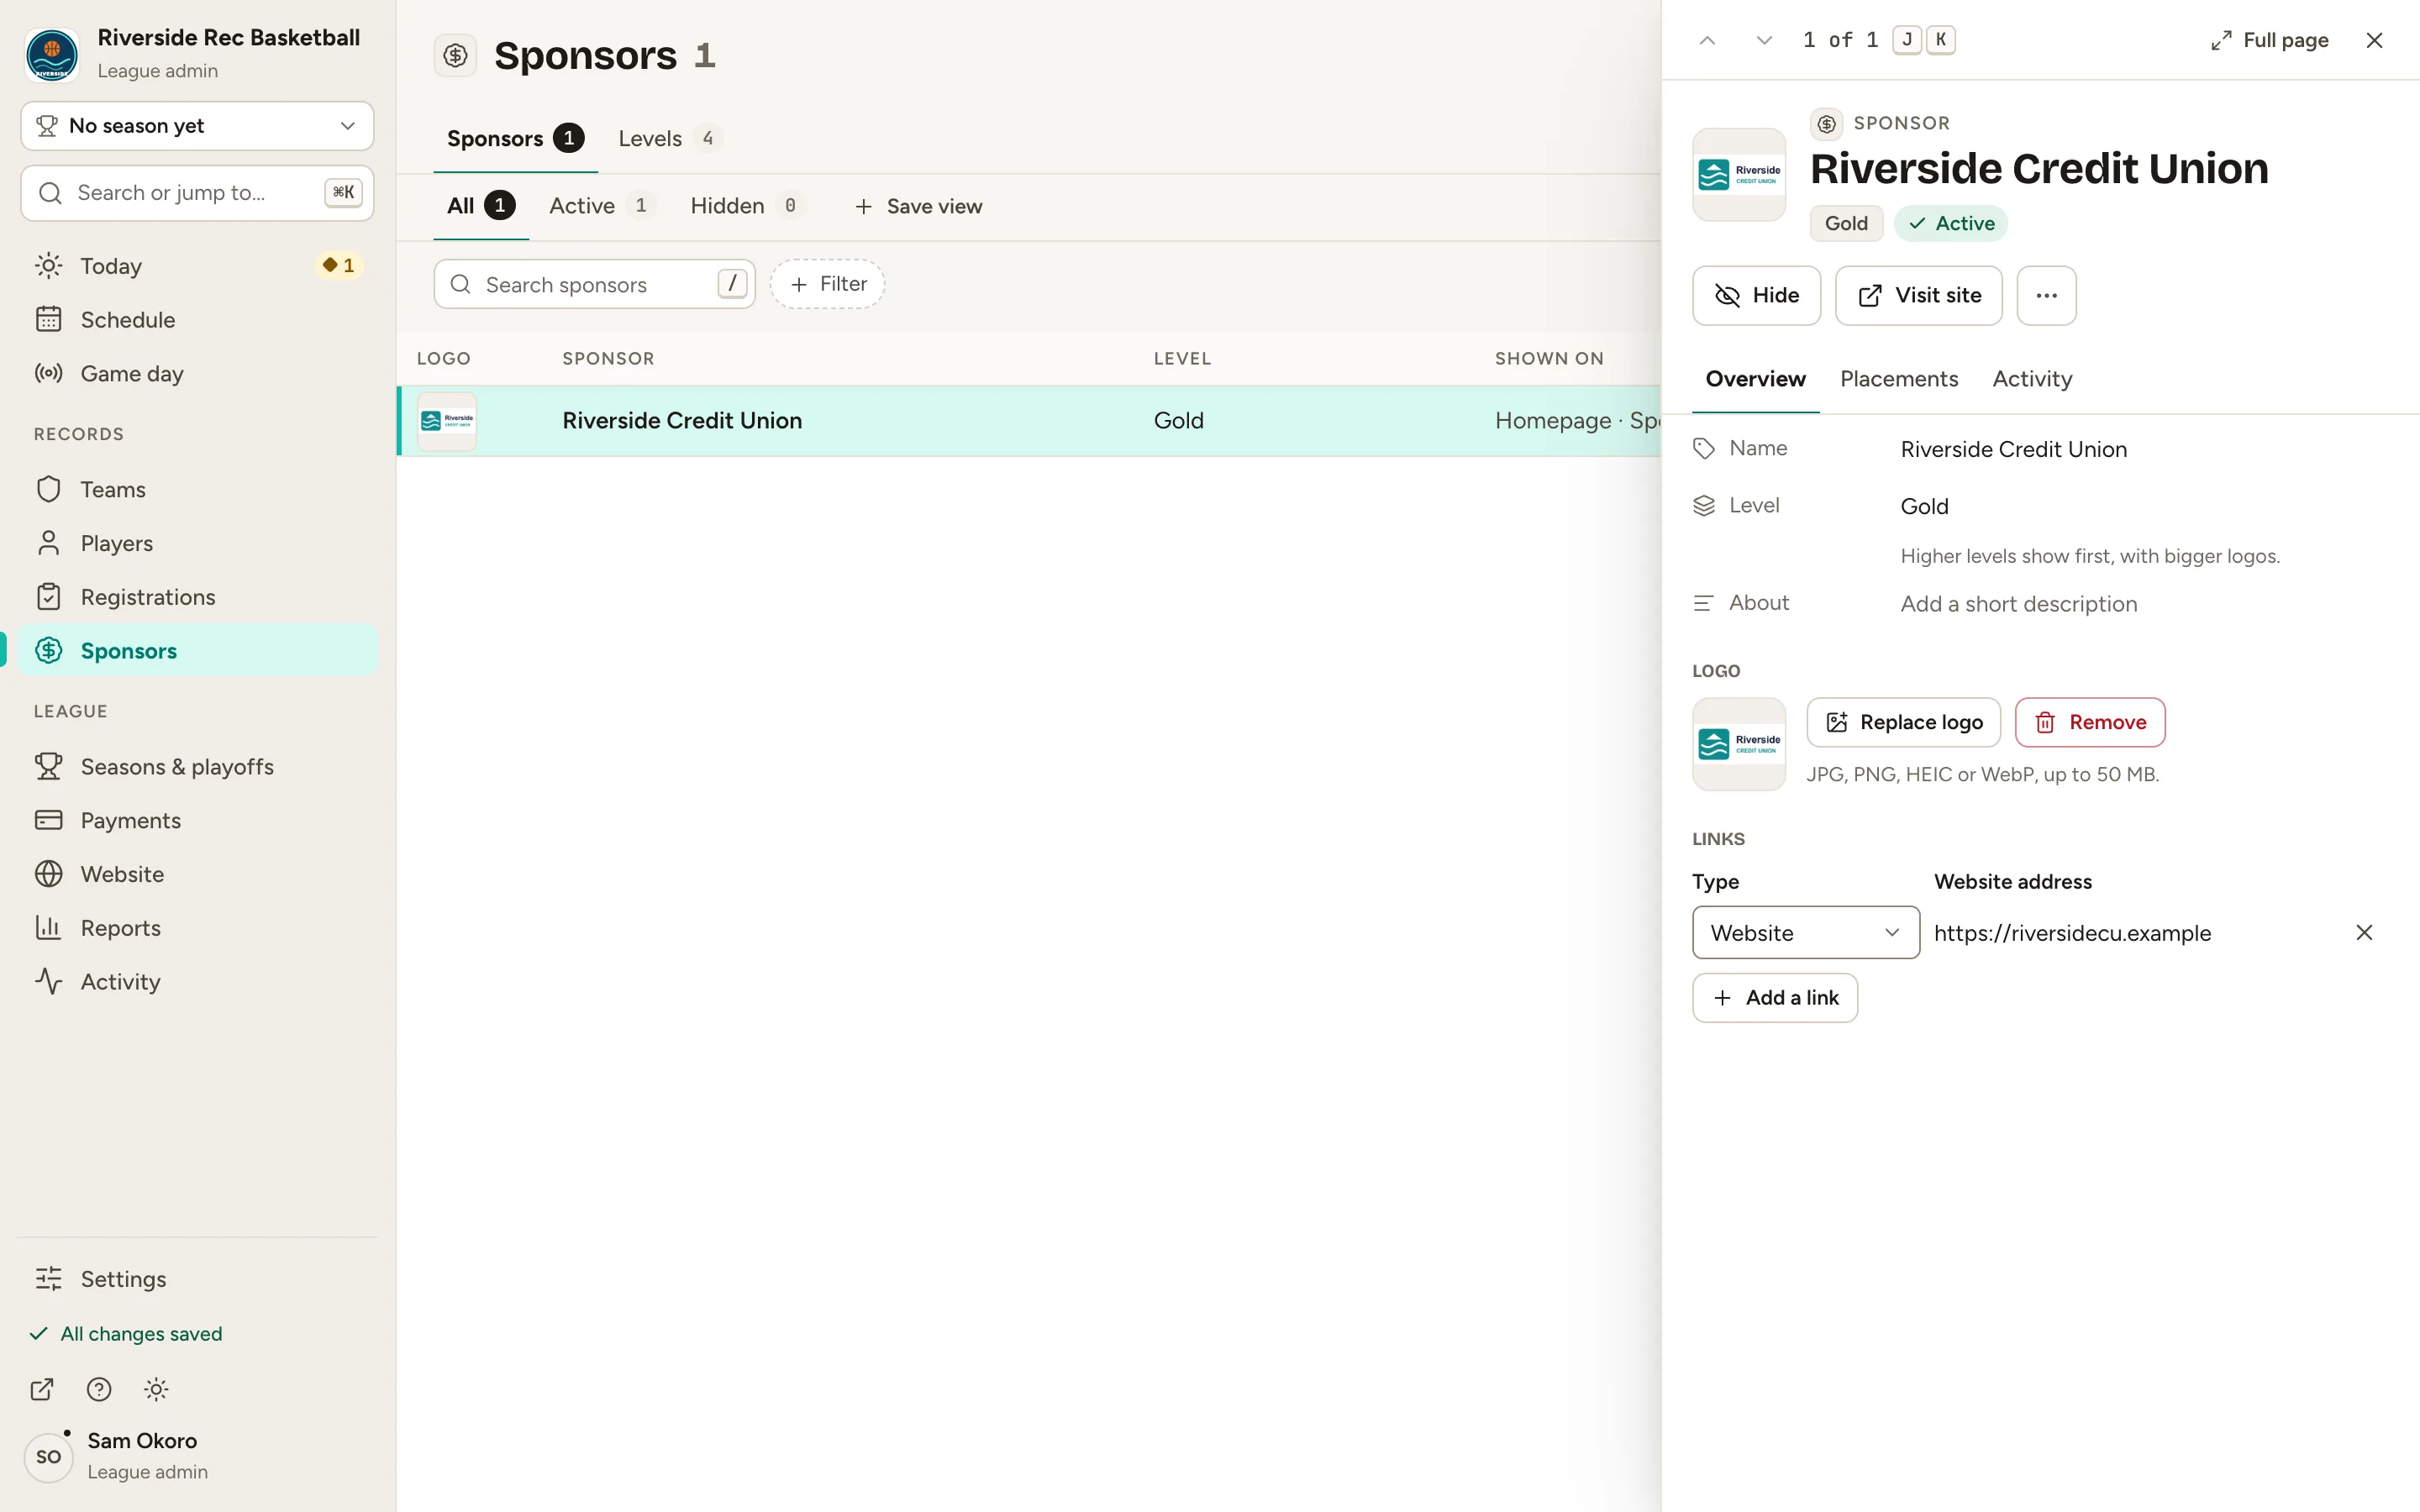
Fig. 7The logo, uploaded. -
Step 8: On your website, scroll to Sponsors on the homepage.
From the admin, click ↗ (View public site) at the bottom of the sidebar; your website opens in a new tab. Riverside Credit Union is in the sponsor widget with its logo.
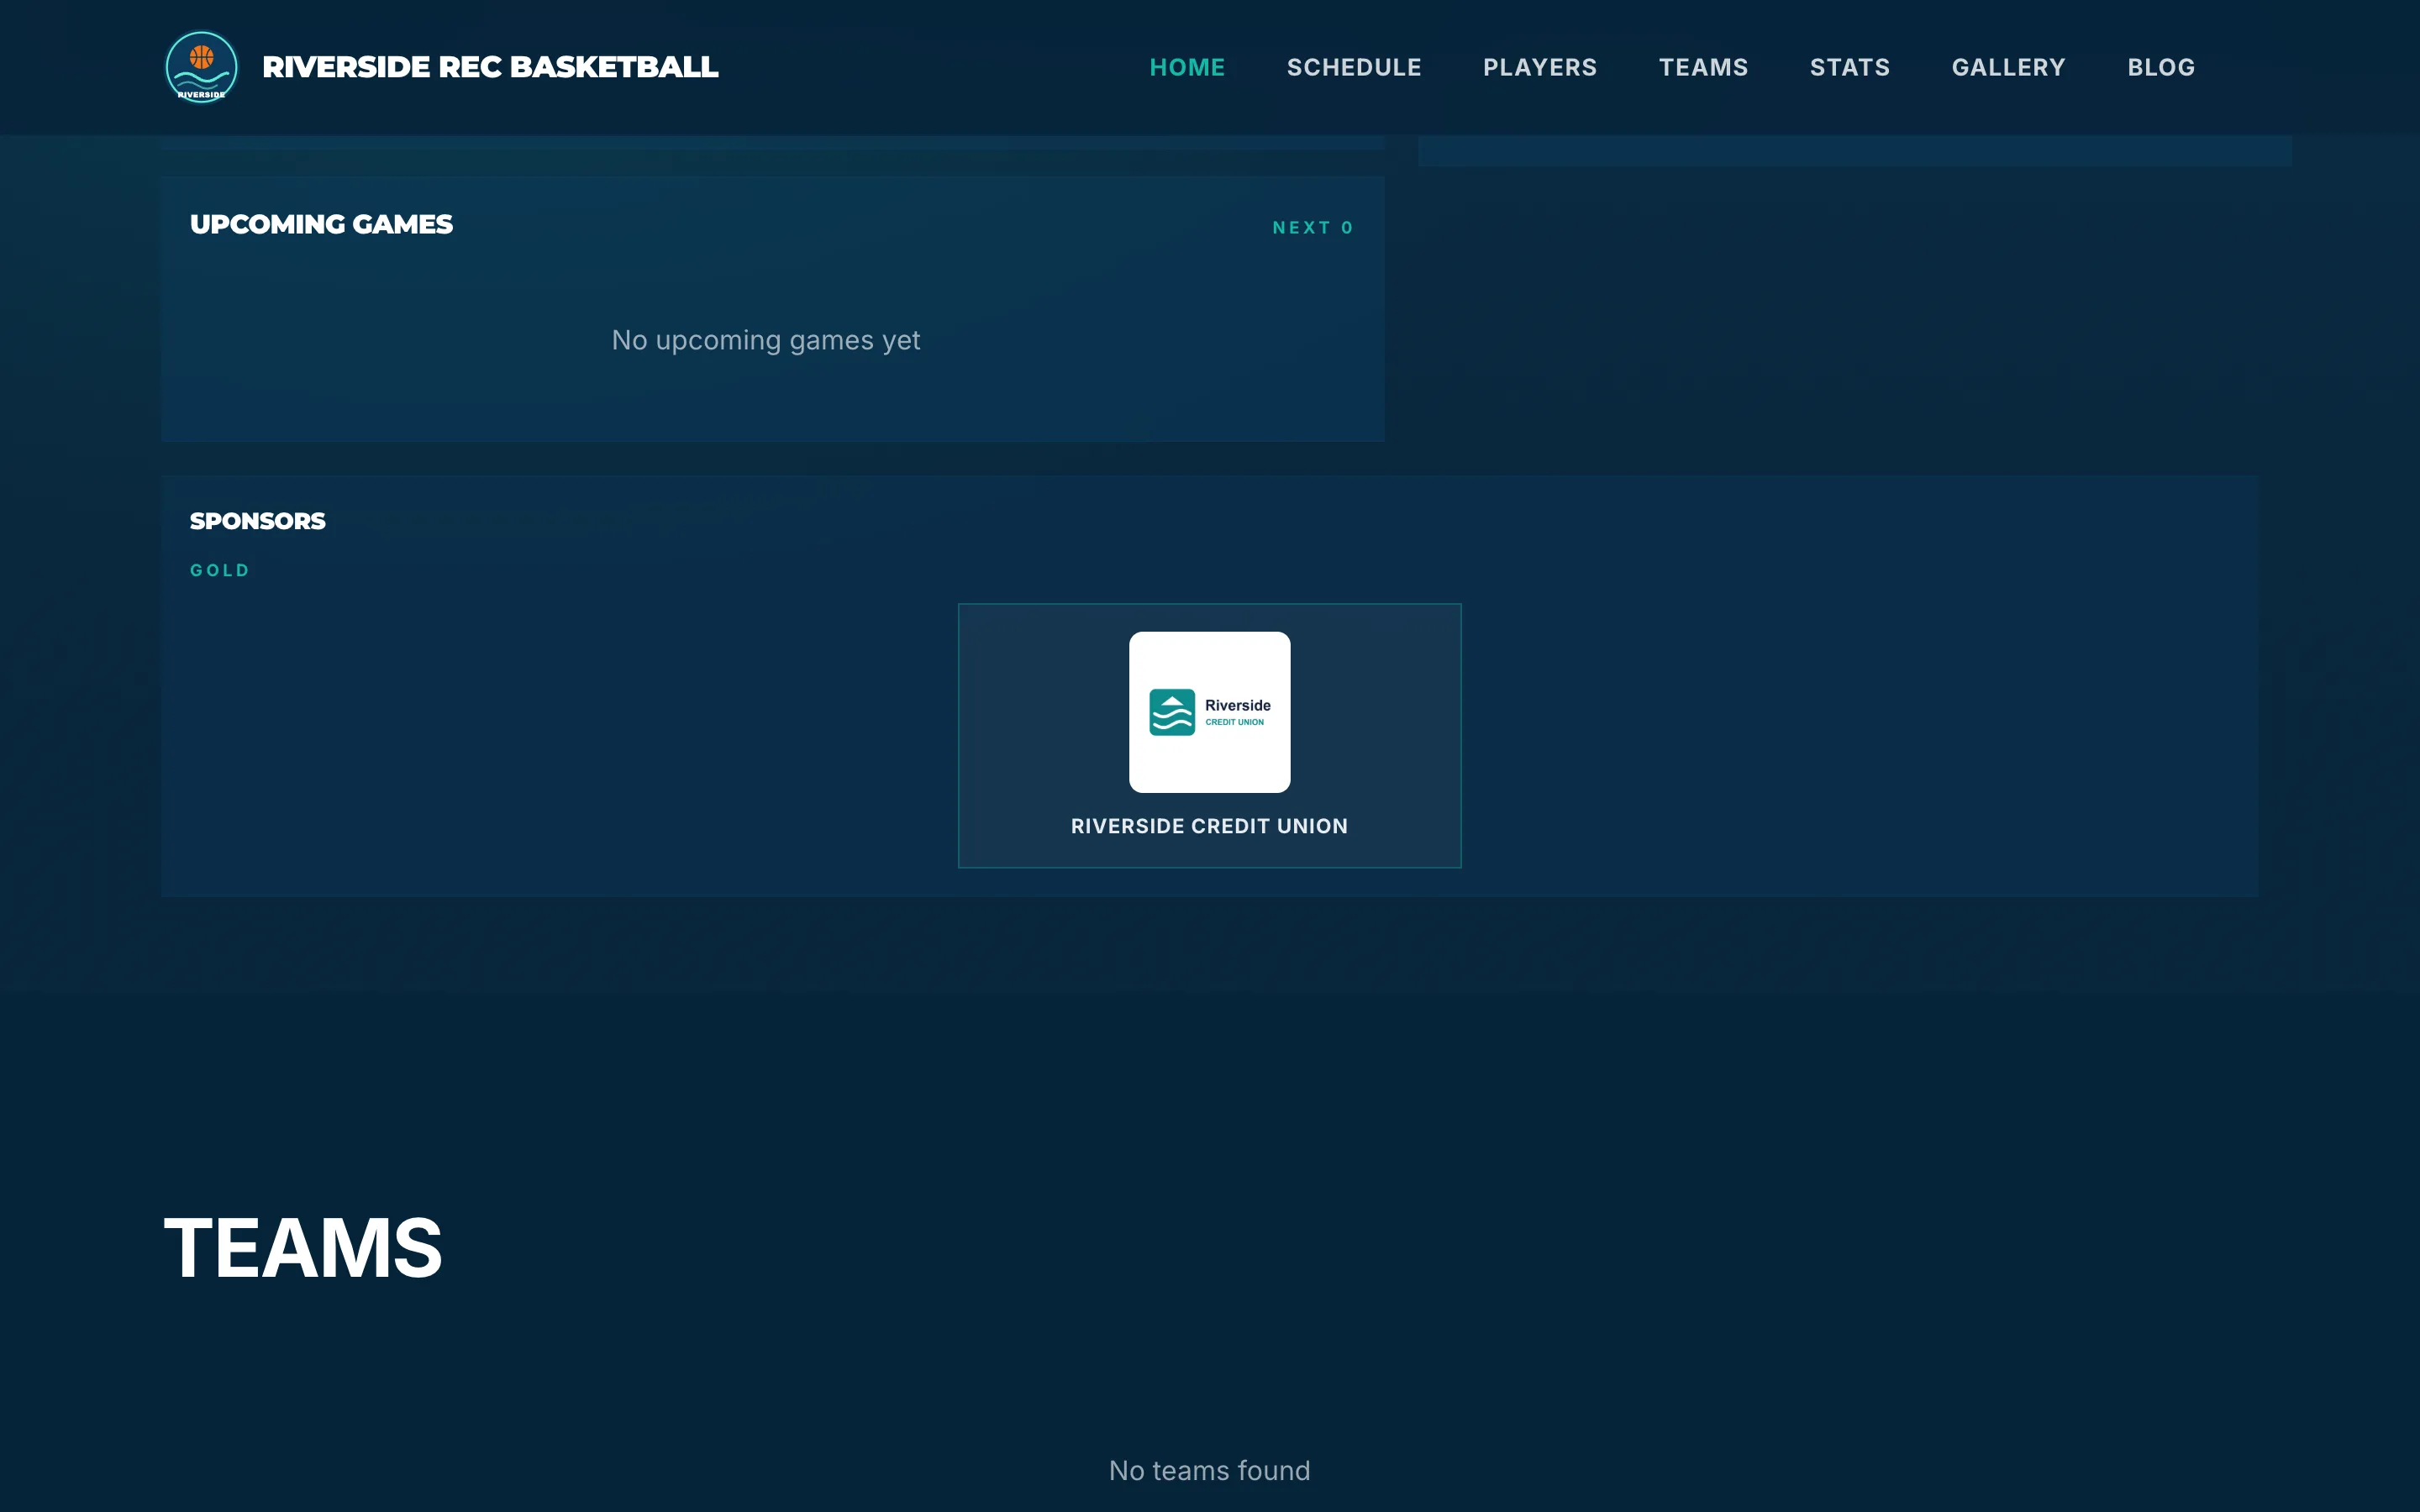
Fig. 8The sponsor on your homepage.
What you’ll see
Your sponsor is on your homepage and your sponsors page, grouped under its level. The sponsor’s Placements tab shows everywhere it appears and why.