Post an announcement
By the end you’ll have a short notice on your homepage, like a venue change or a registration deadline, first in the list and linked to the page with the details.
Before you start
- Fans see announcements in the Announcements section of your homepage. If yours doesn’t have one, add it in Website › Design › Homepage. See Arrange your homepage.
Steps
-
Step 1: In the left menu, click Website.
Website opens on its Design tab. Announcements have their own tab.
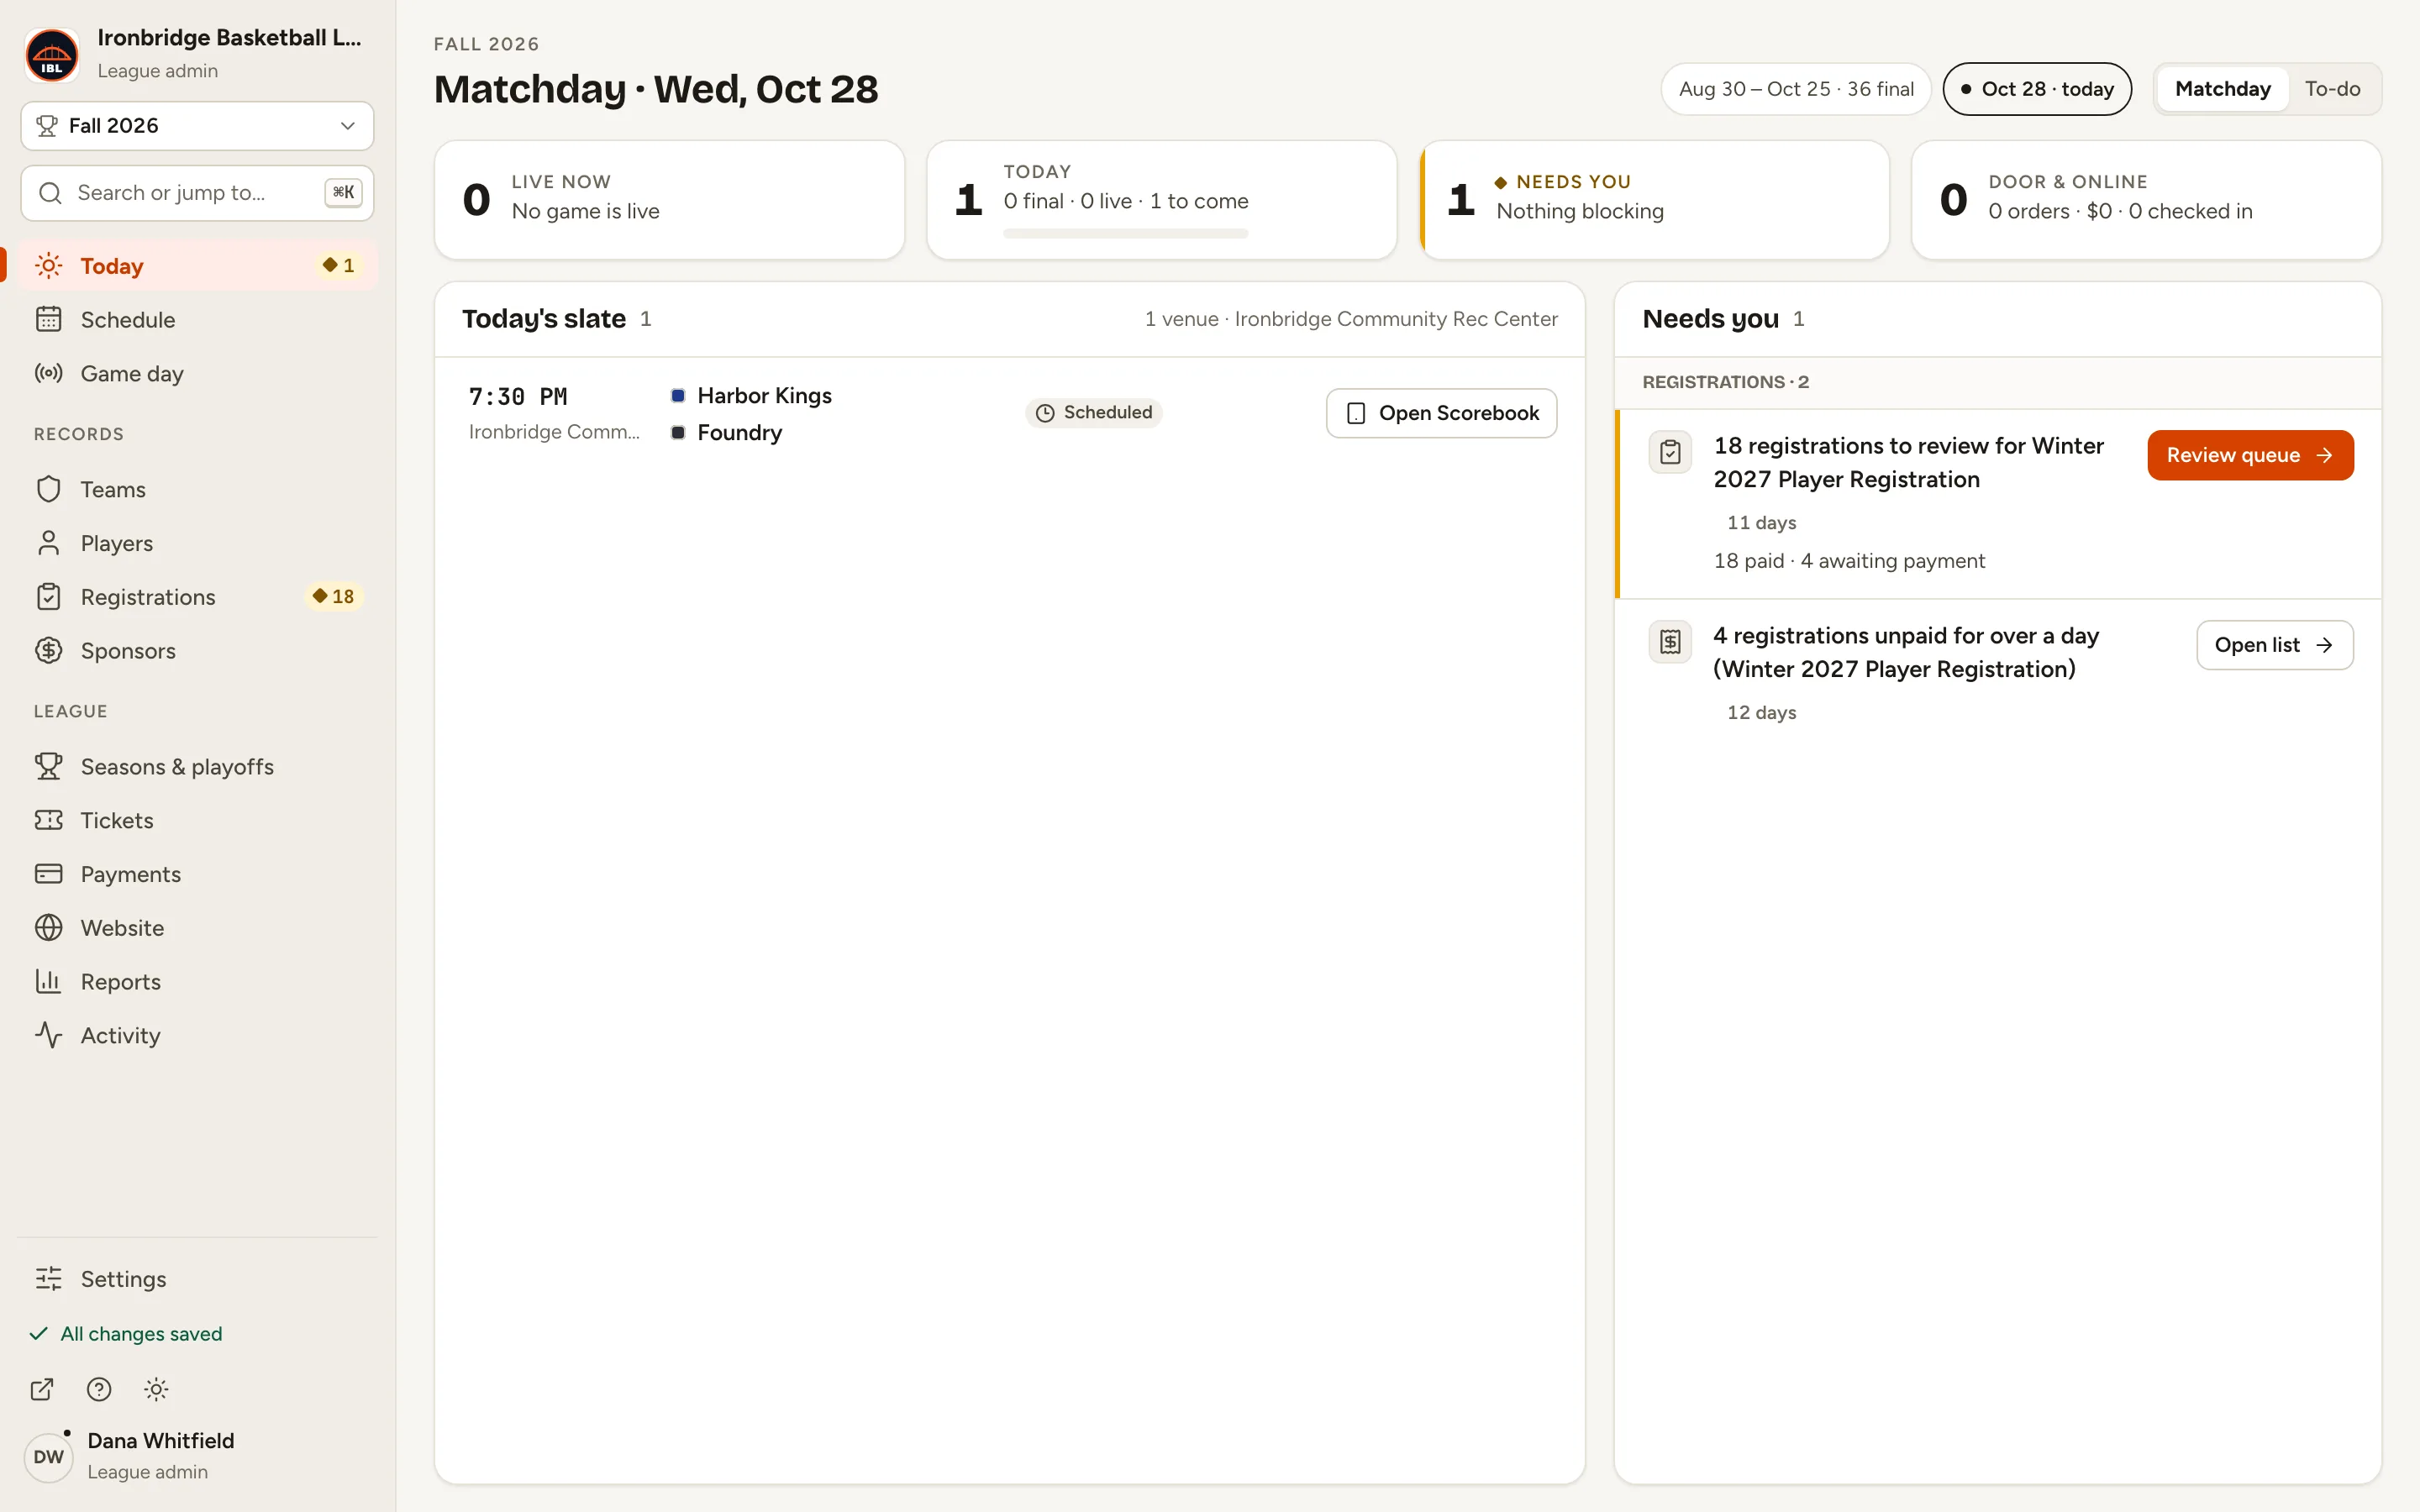
Fig. 1Website, in the left menu. -
Step 2: Click the Announcements tab.
Post an announcement is at the top. Below it, On your homepage lists the ones fans see now.
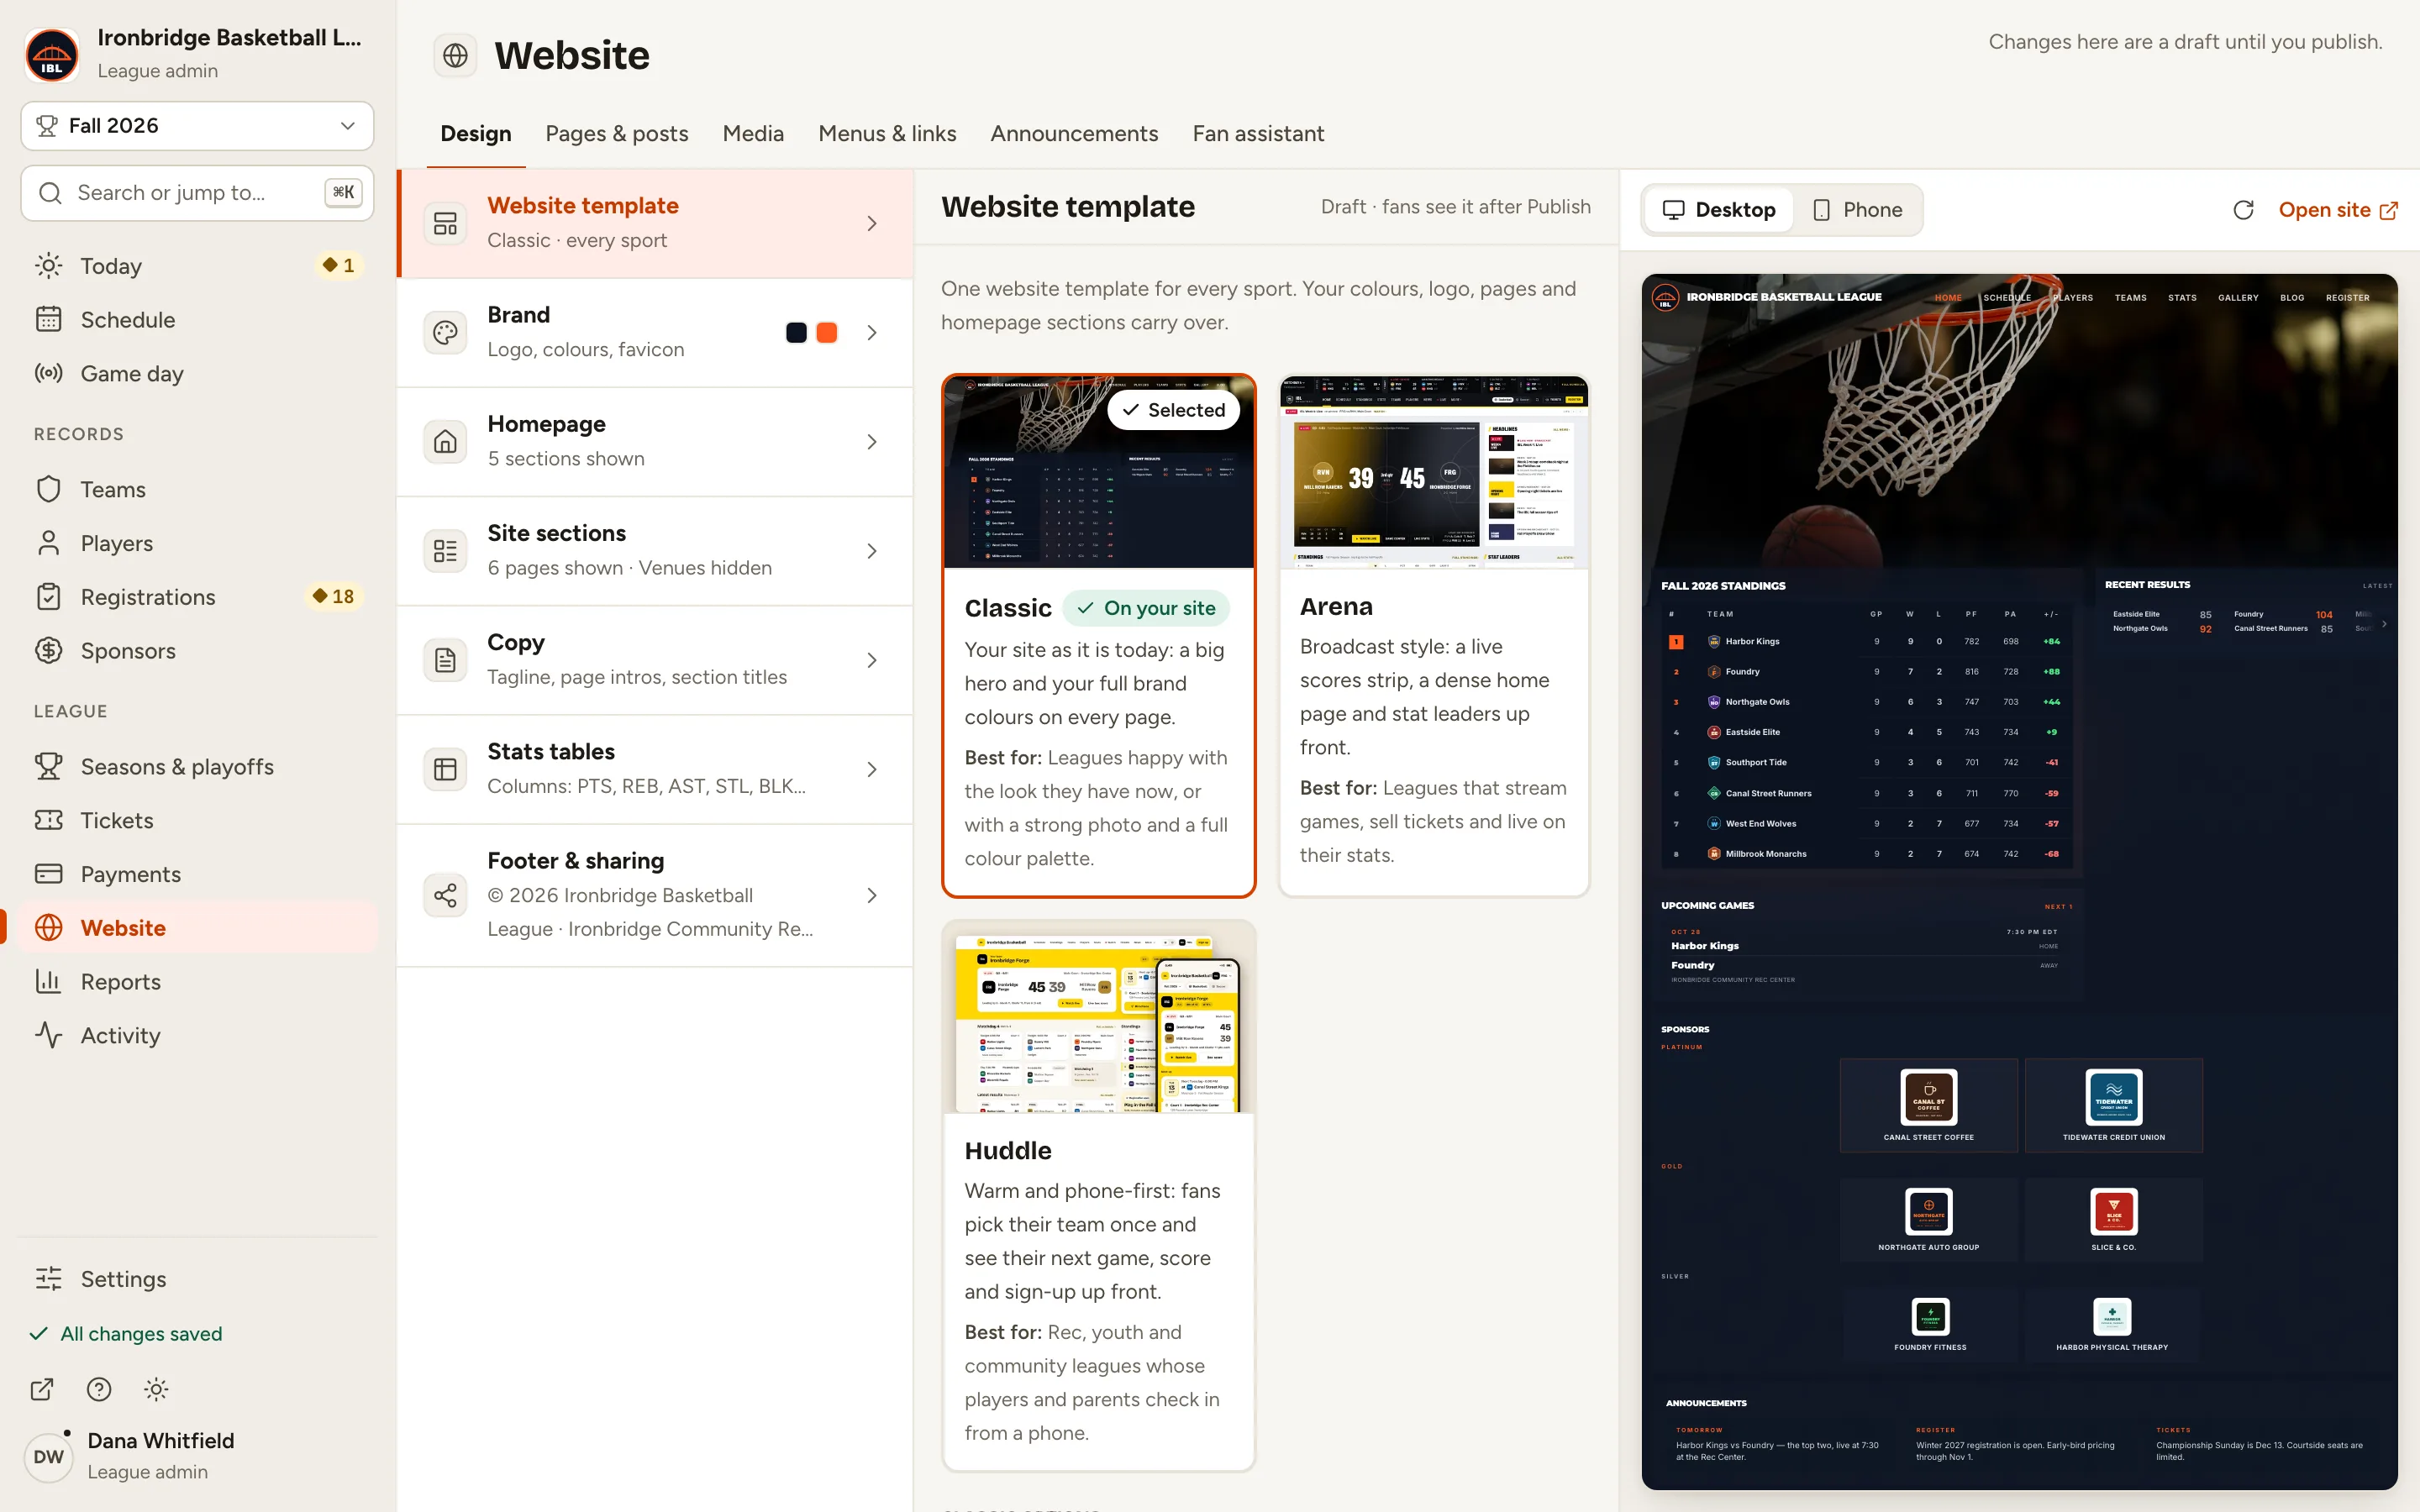
Fig. 2The Announcements tab, after Menus & links. -
Step 3: Type a Label, like Venue change.
The label is the short tag fans see first.
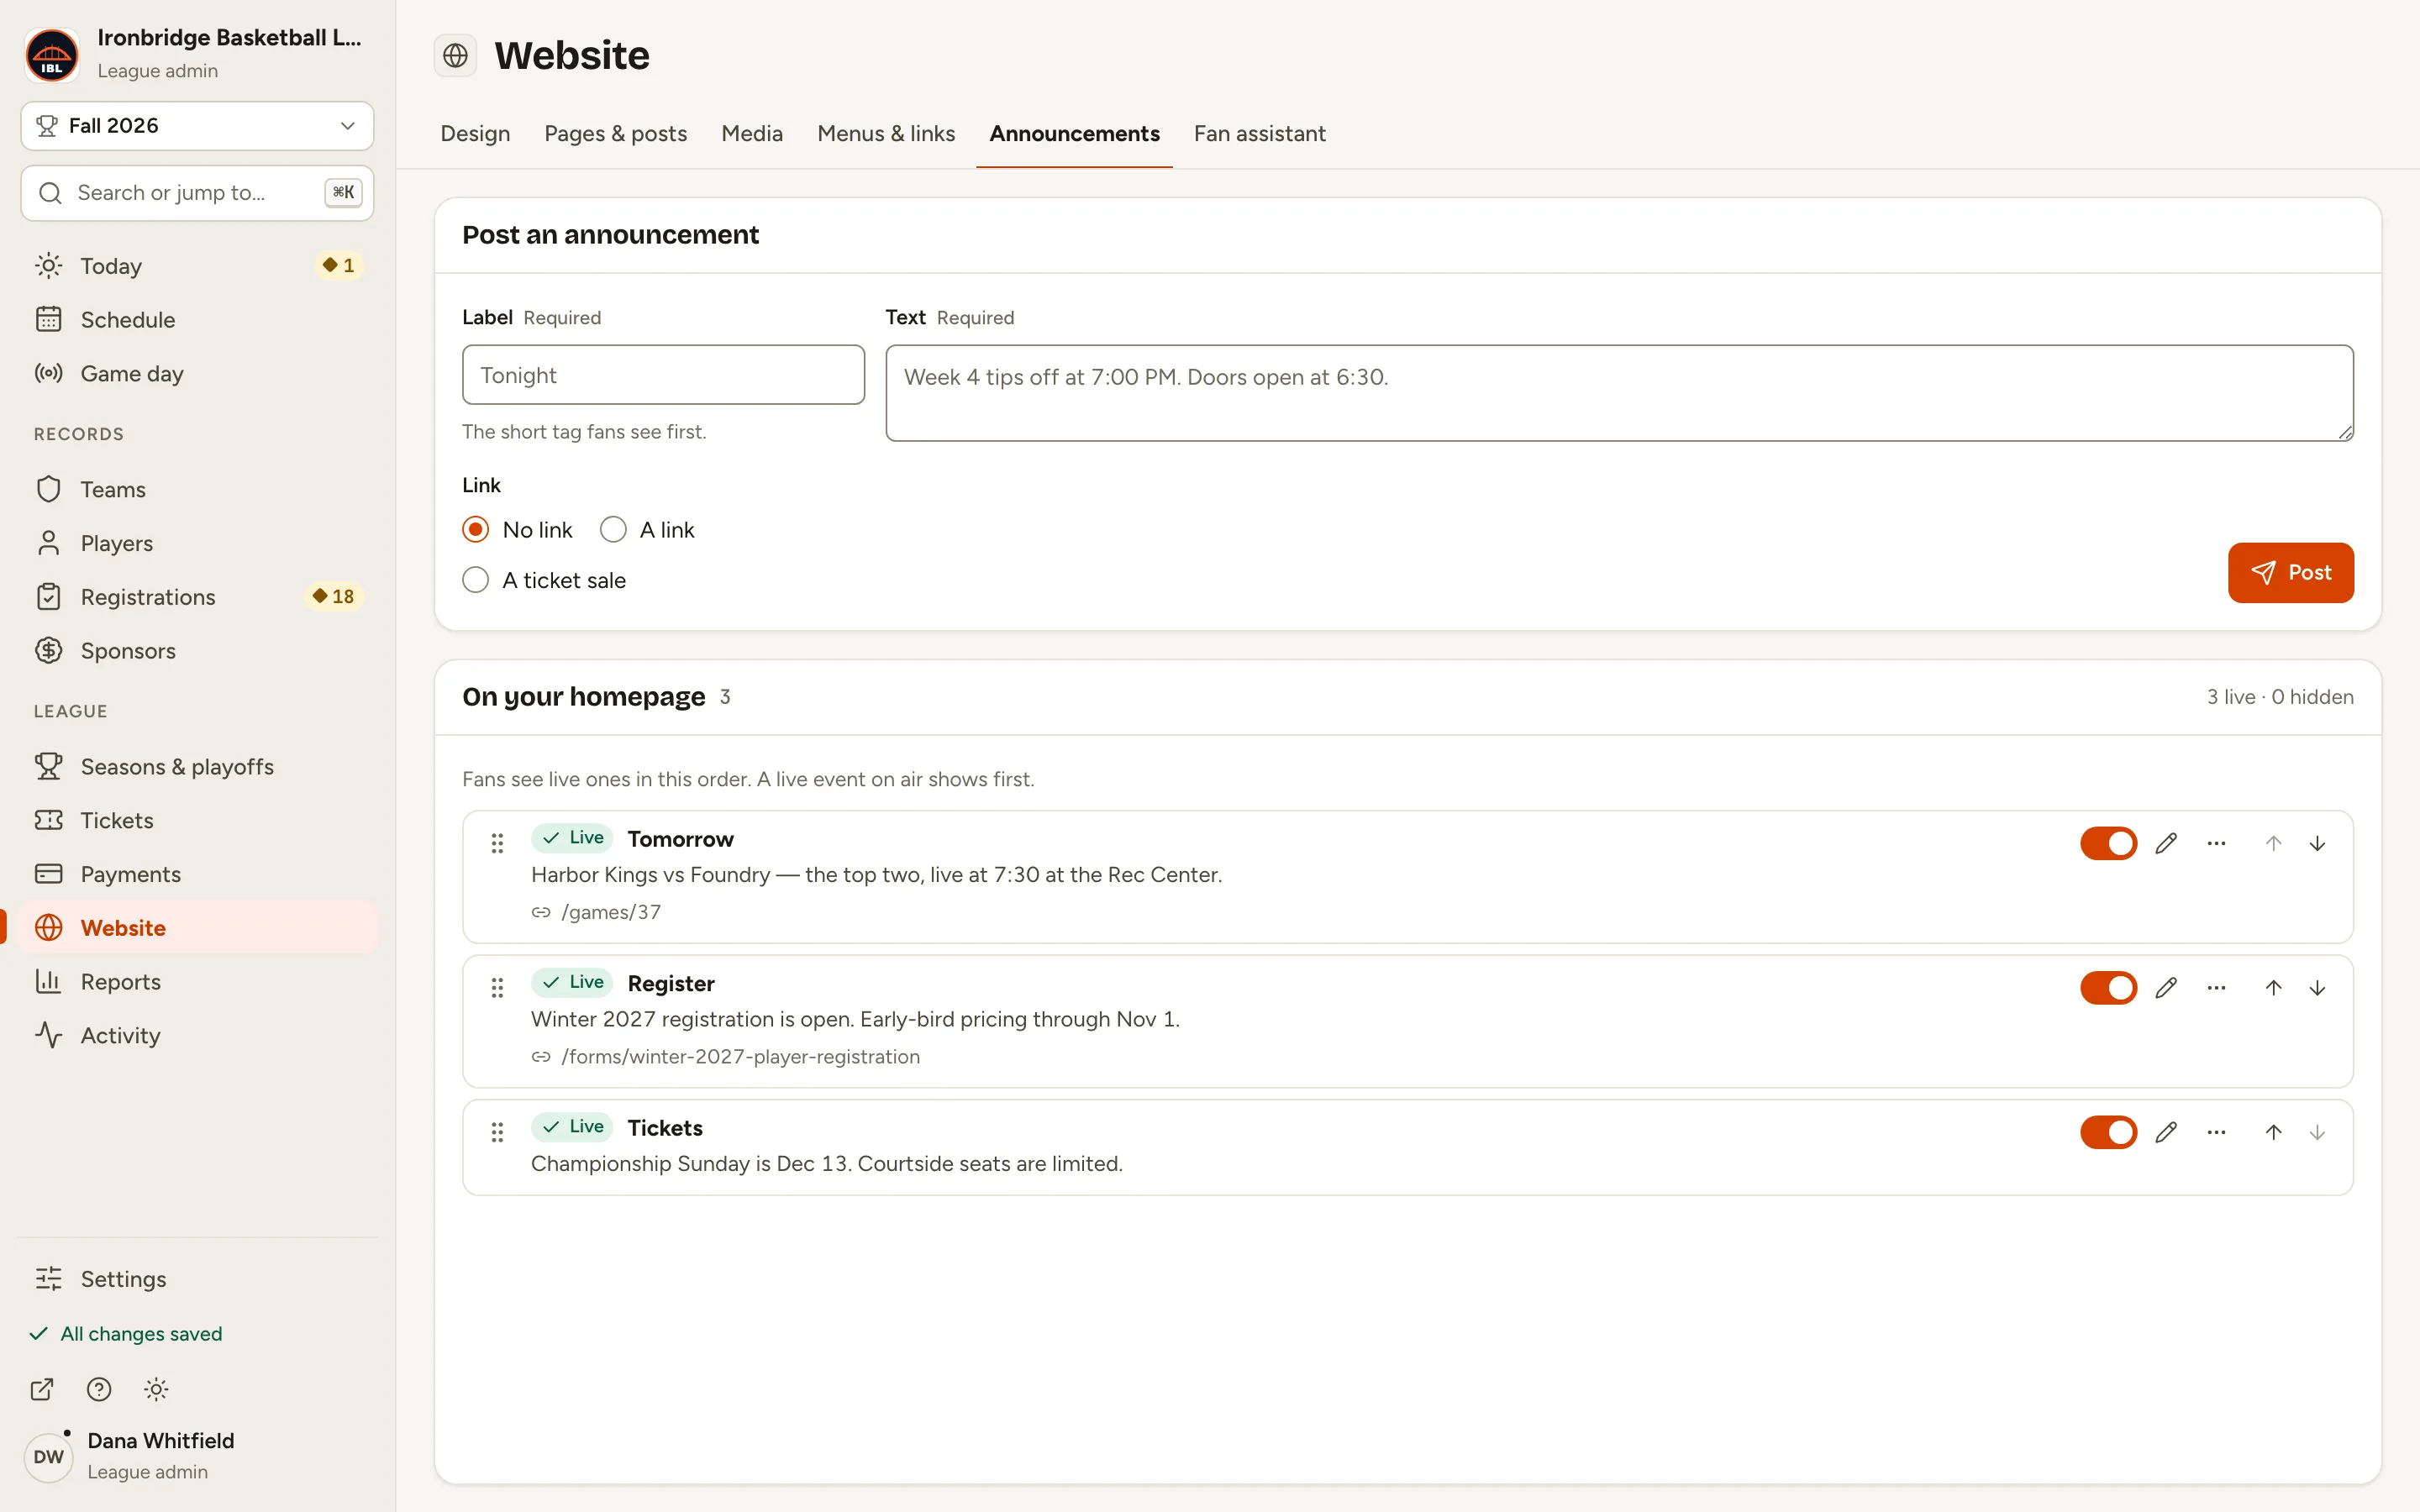
Fig. 3Label: the short tag fans see first. -
Step 4: Type the Text.
One or two sentences: what’s happening and when.
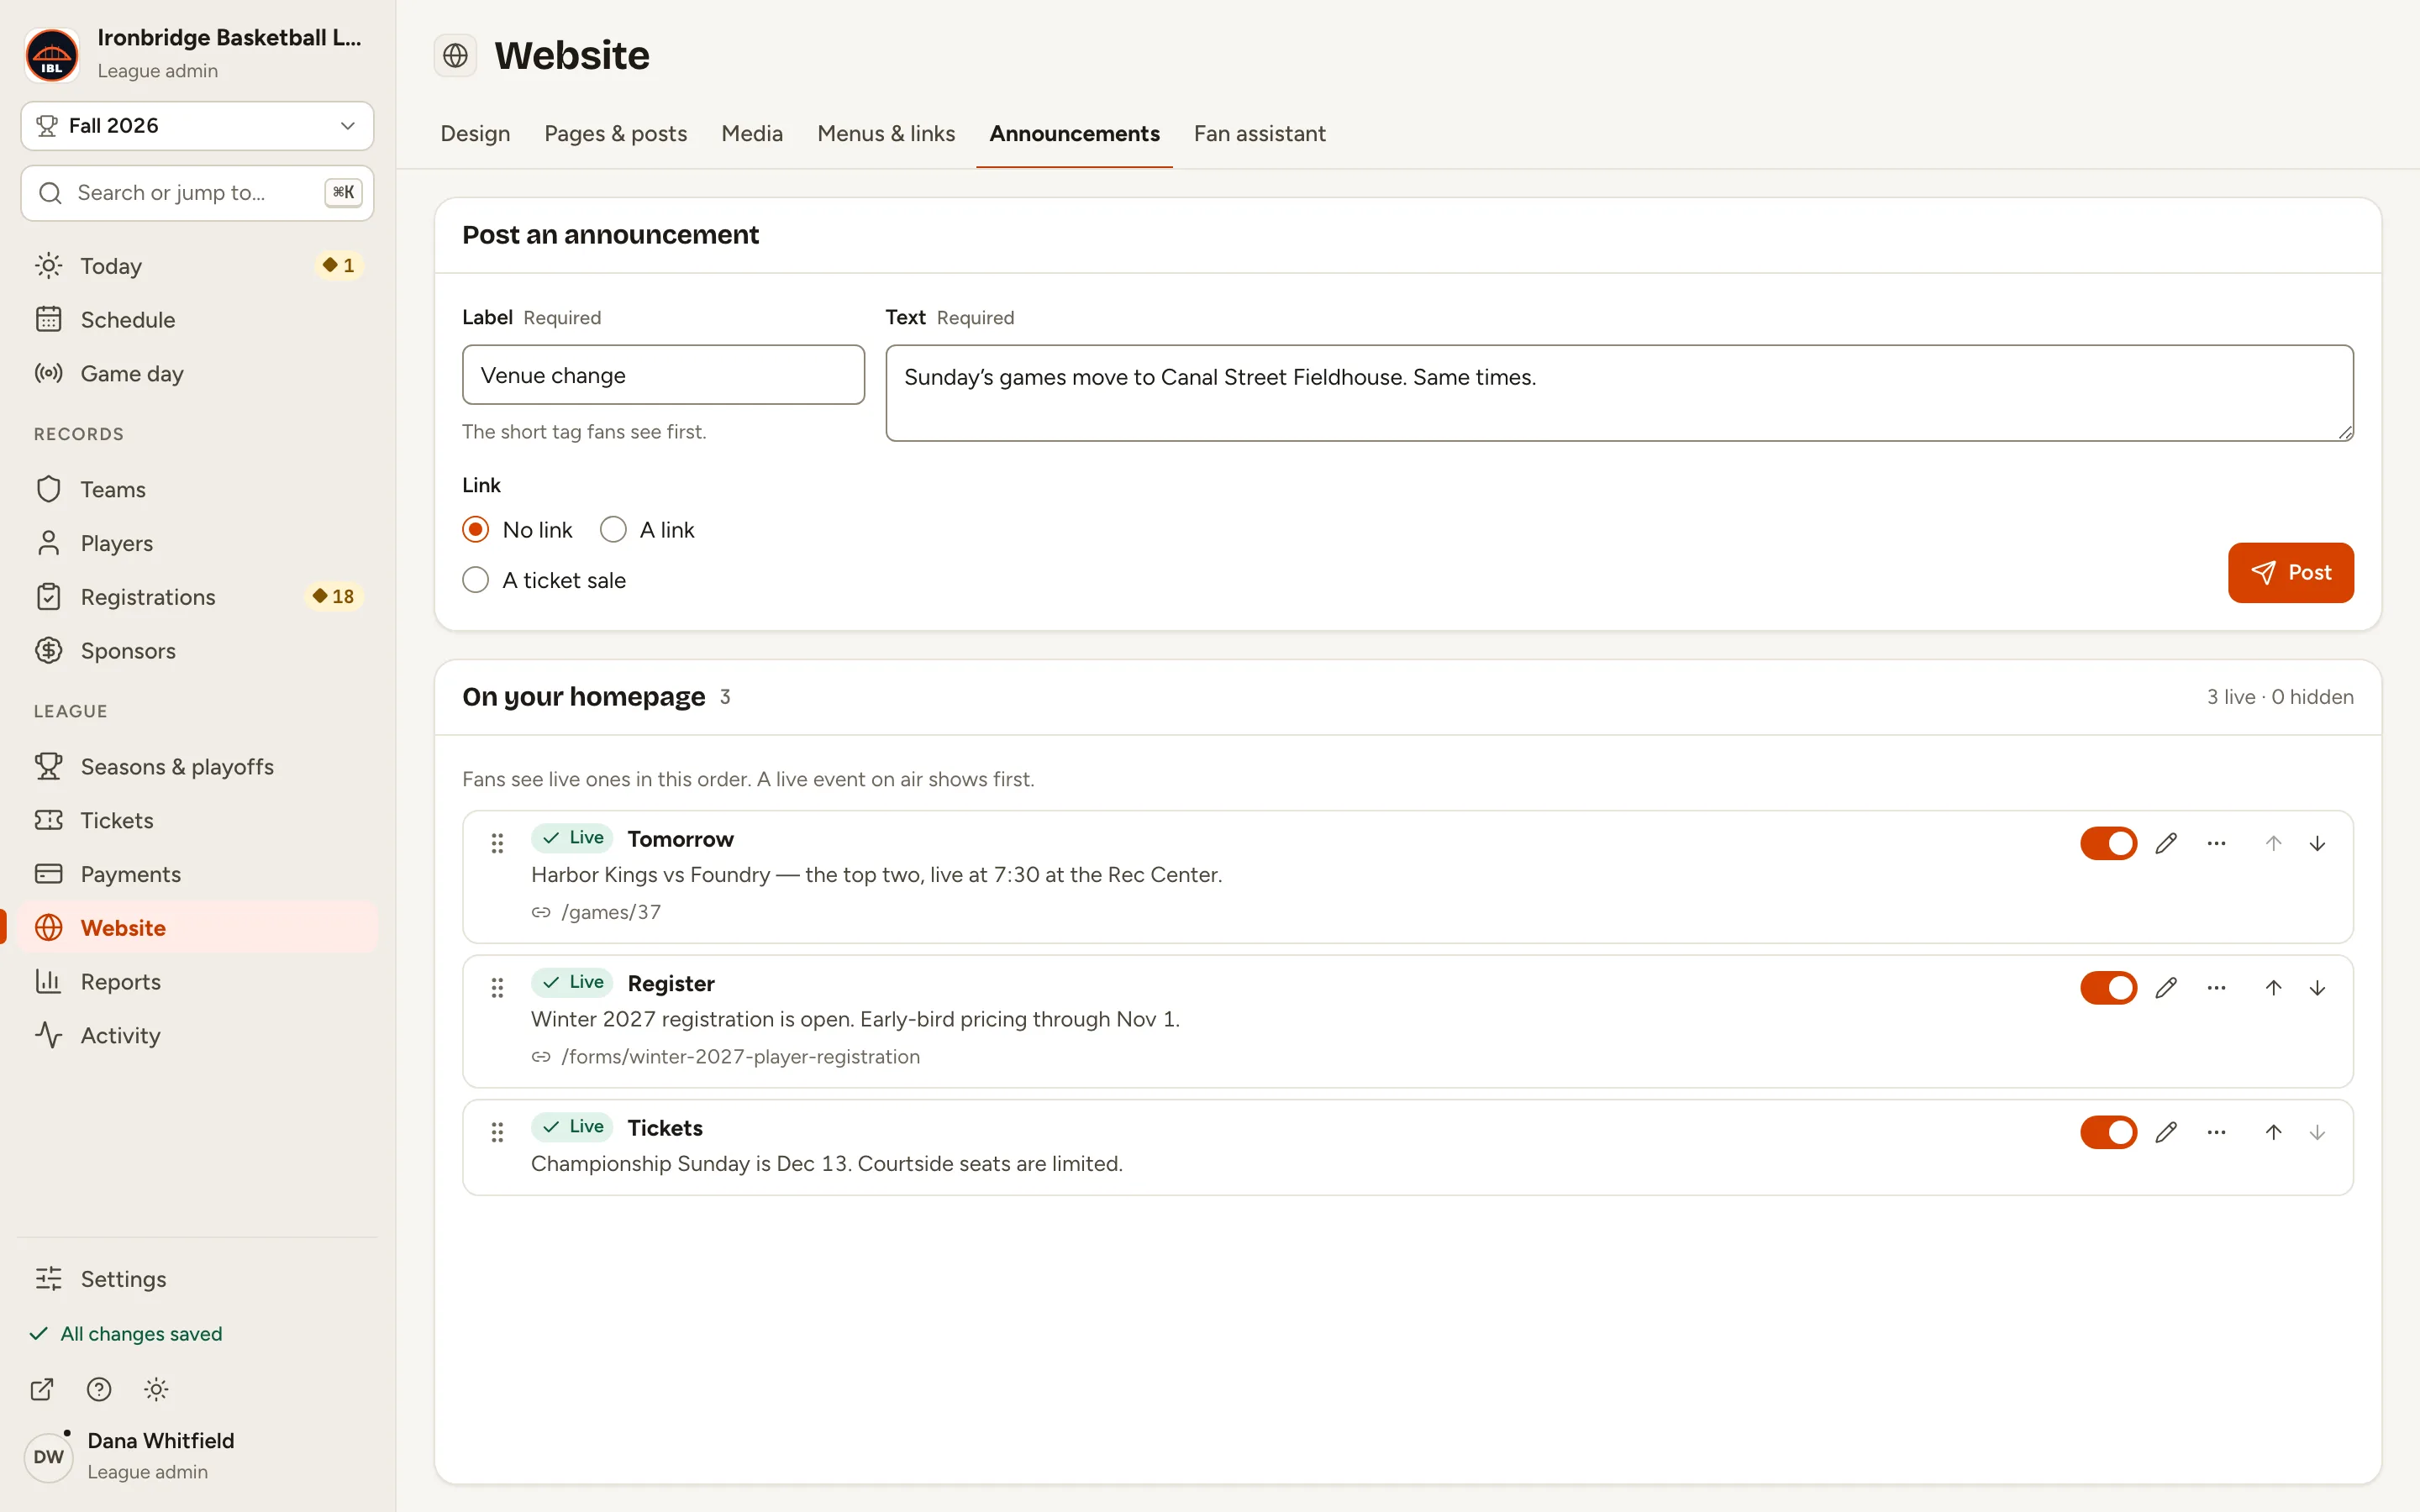
Fig. 4The text fans read under the label. -
Step 5: Under Link, choose A link and type where it goes, like /schedule.
Use a path on your site, like /schedule, or a full address. Choose No link for a plain notice.
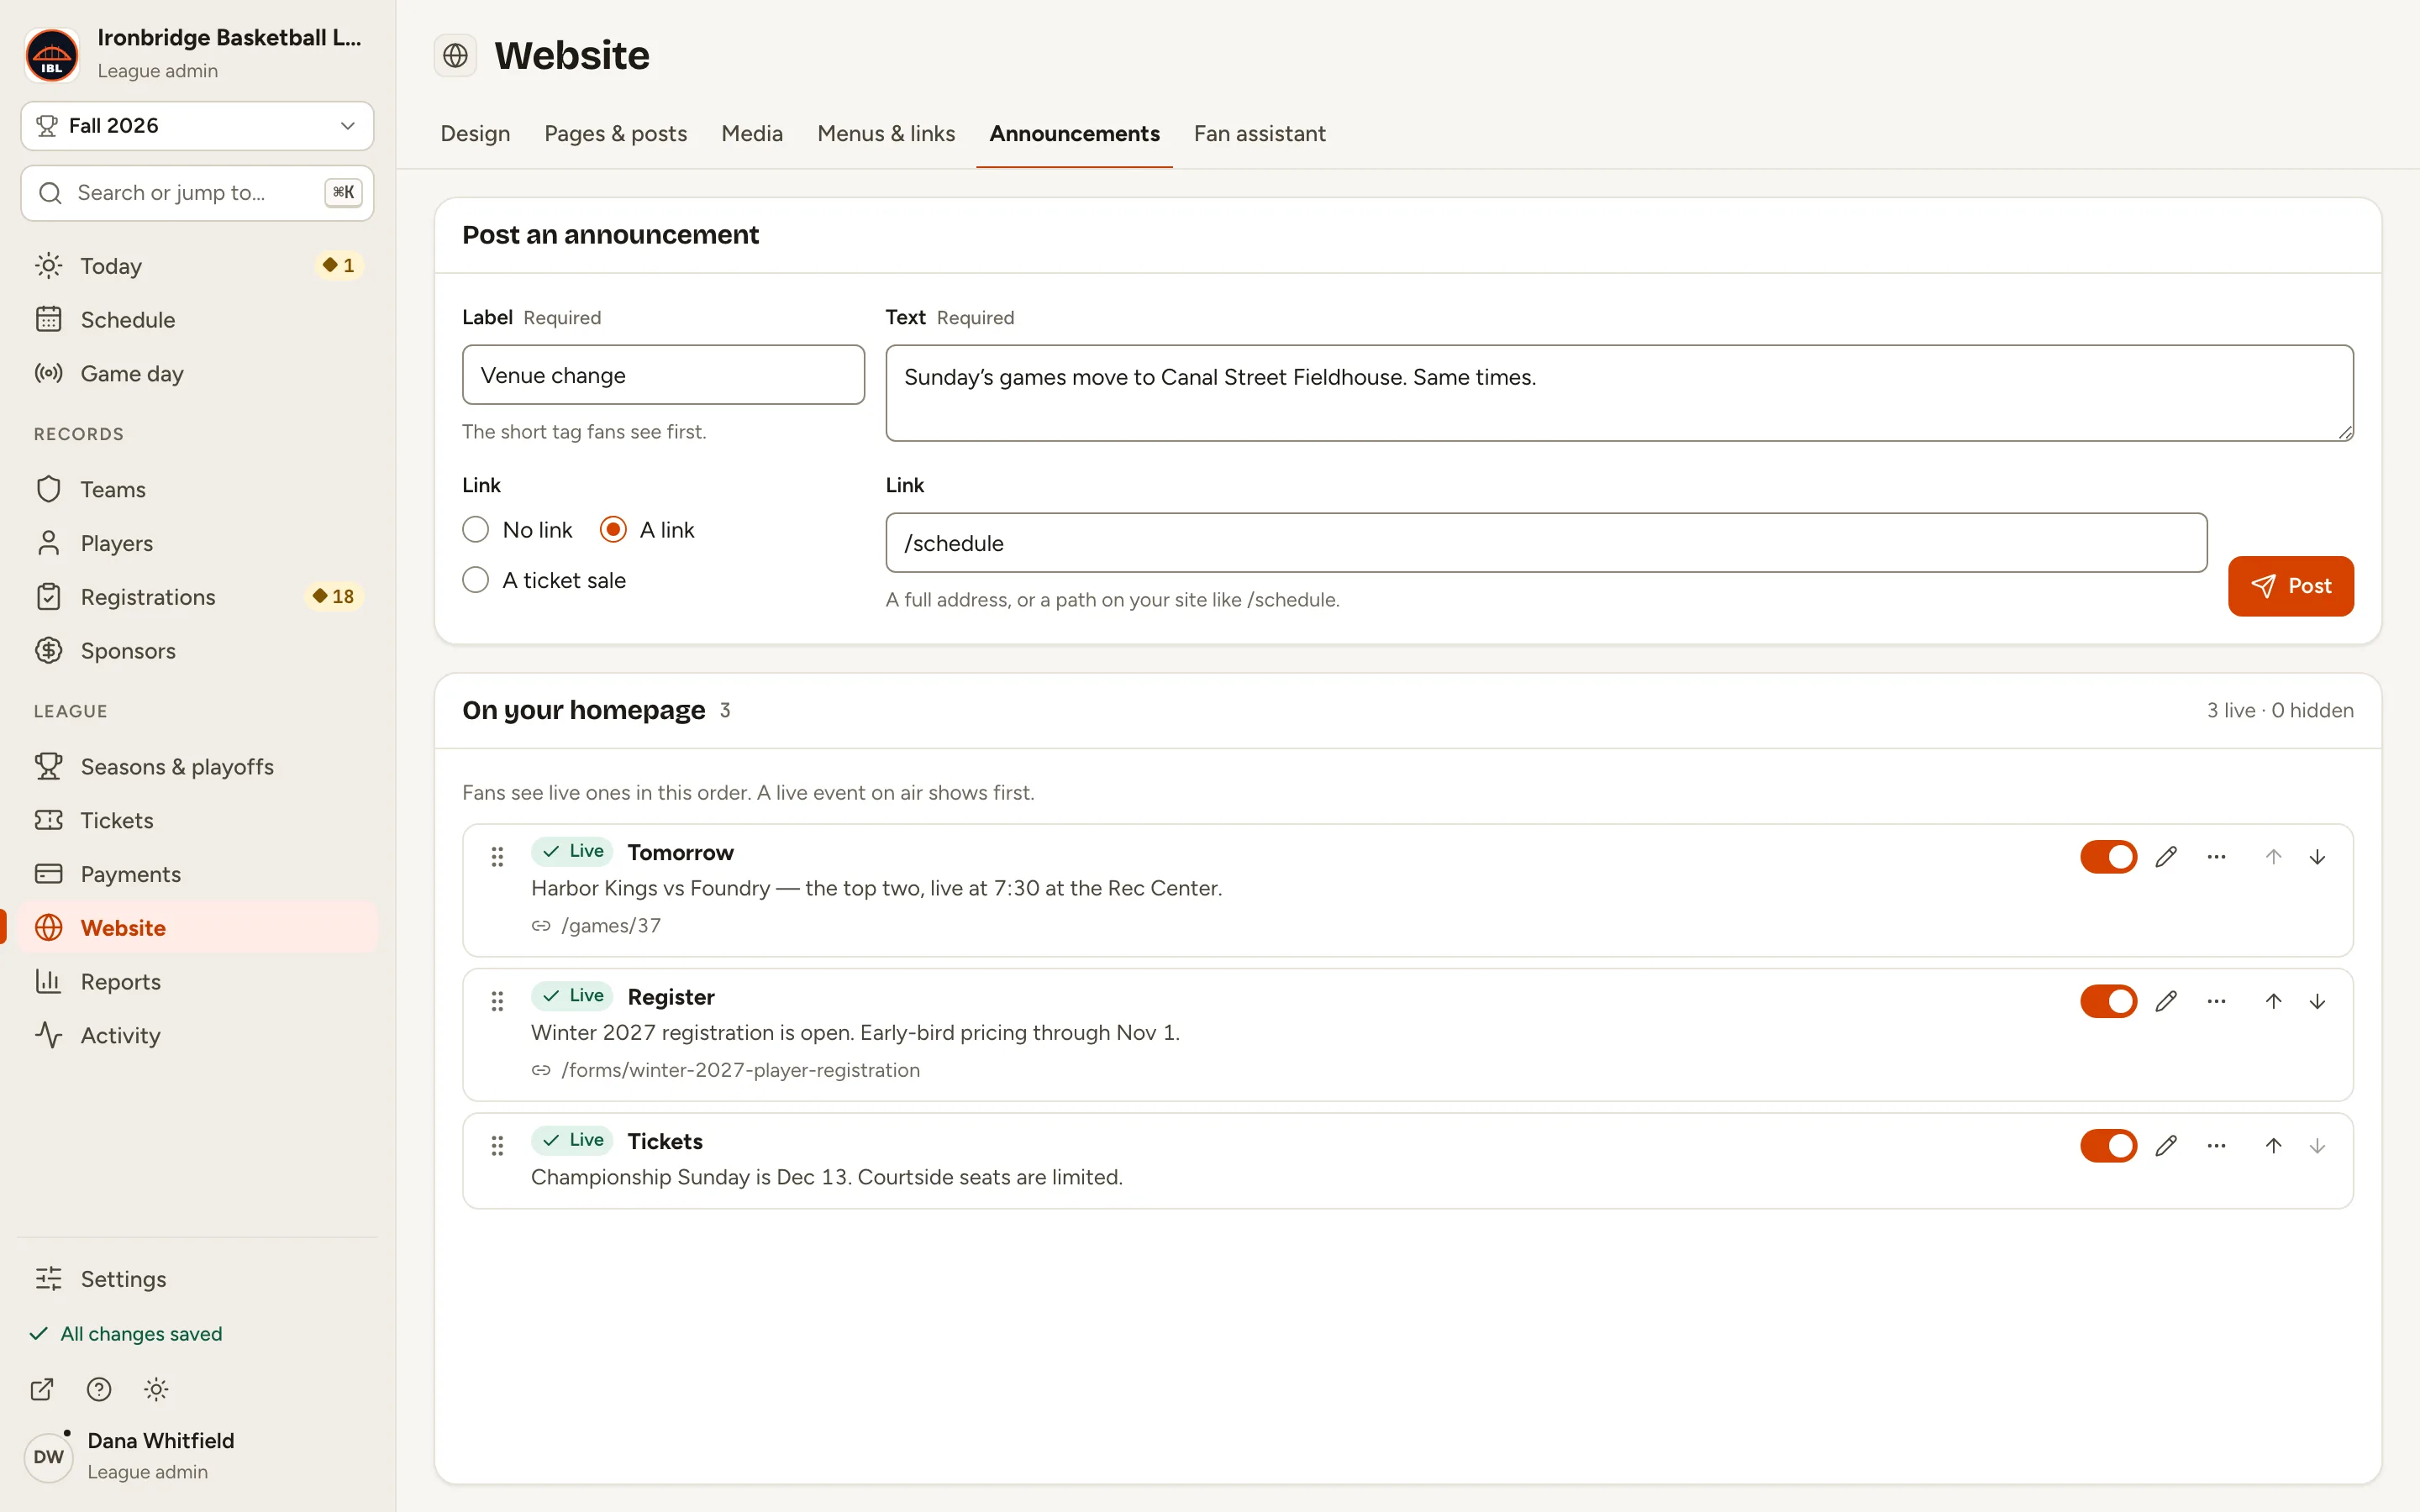
Fig. 5A link to the page with the details. -
Step 6: Click Post.
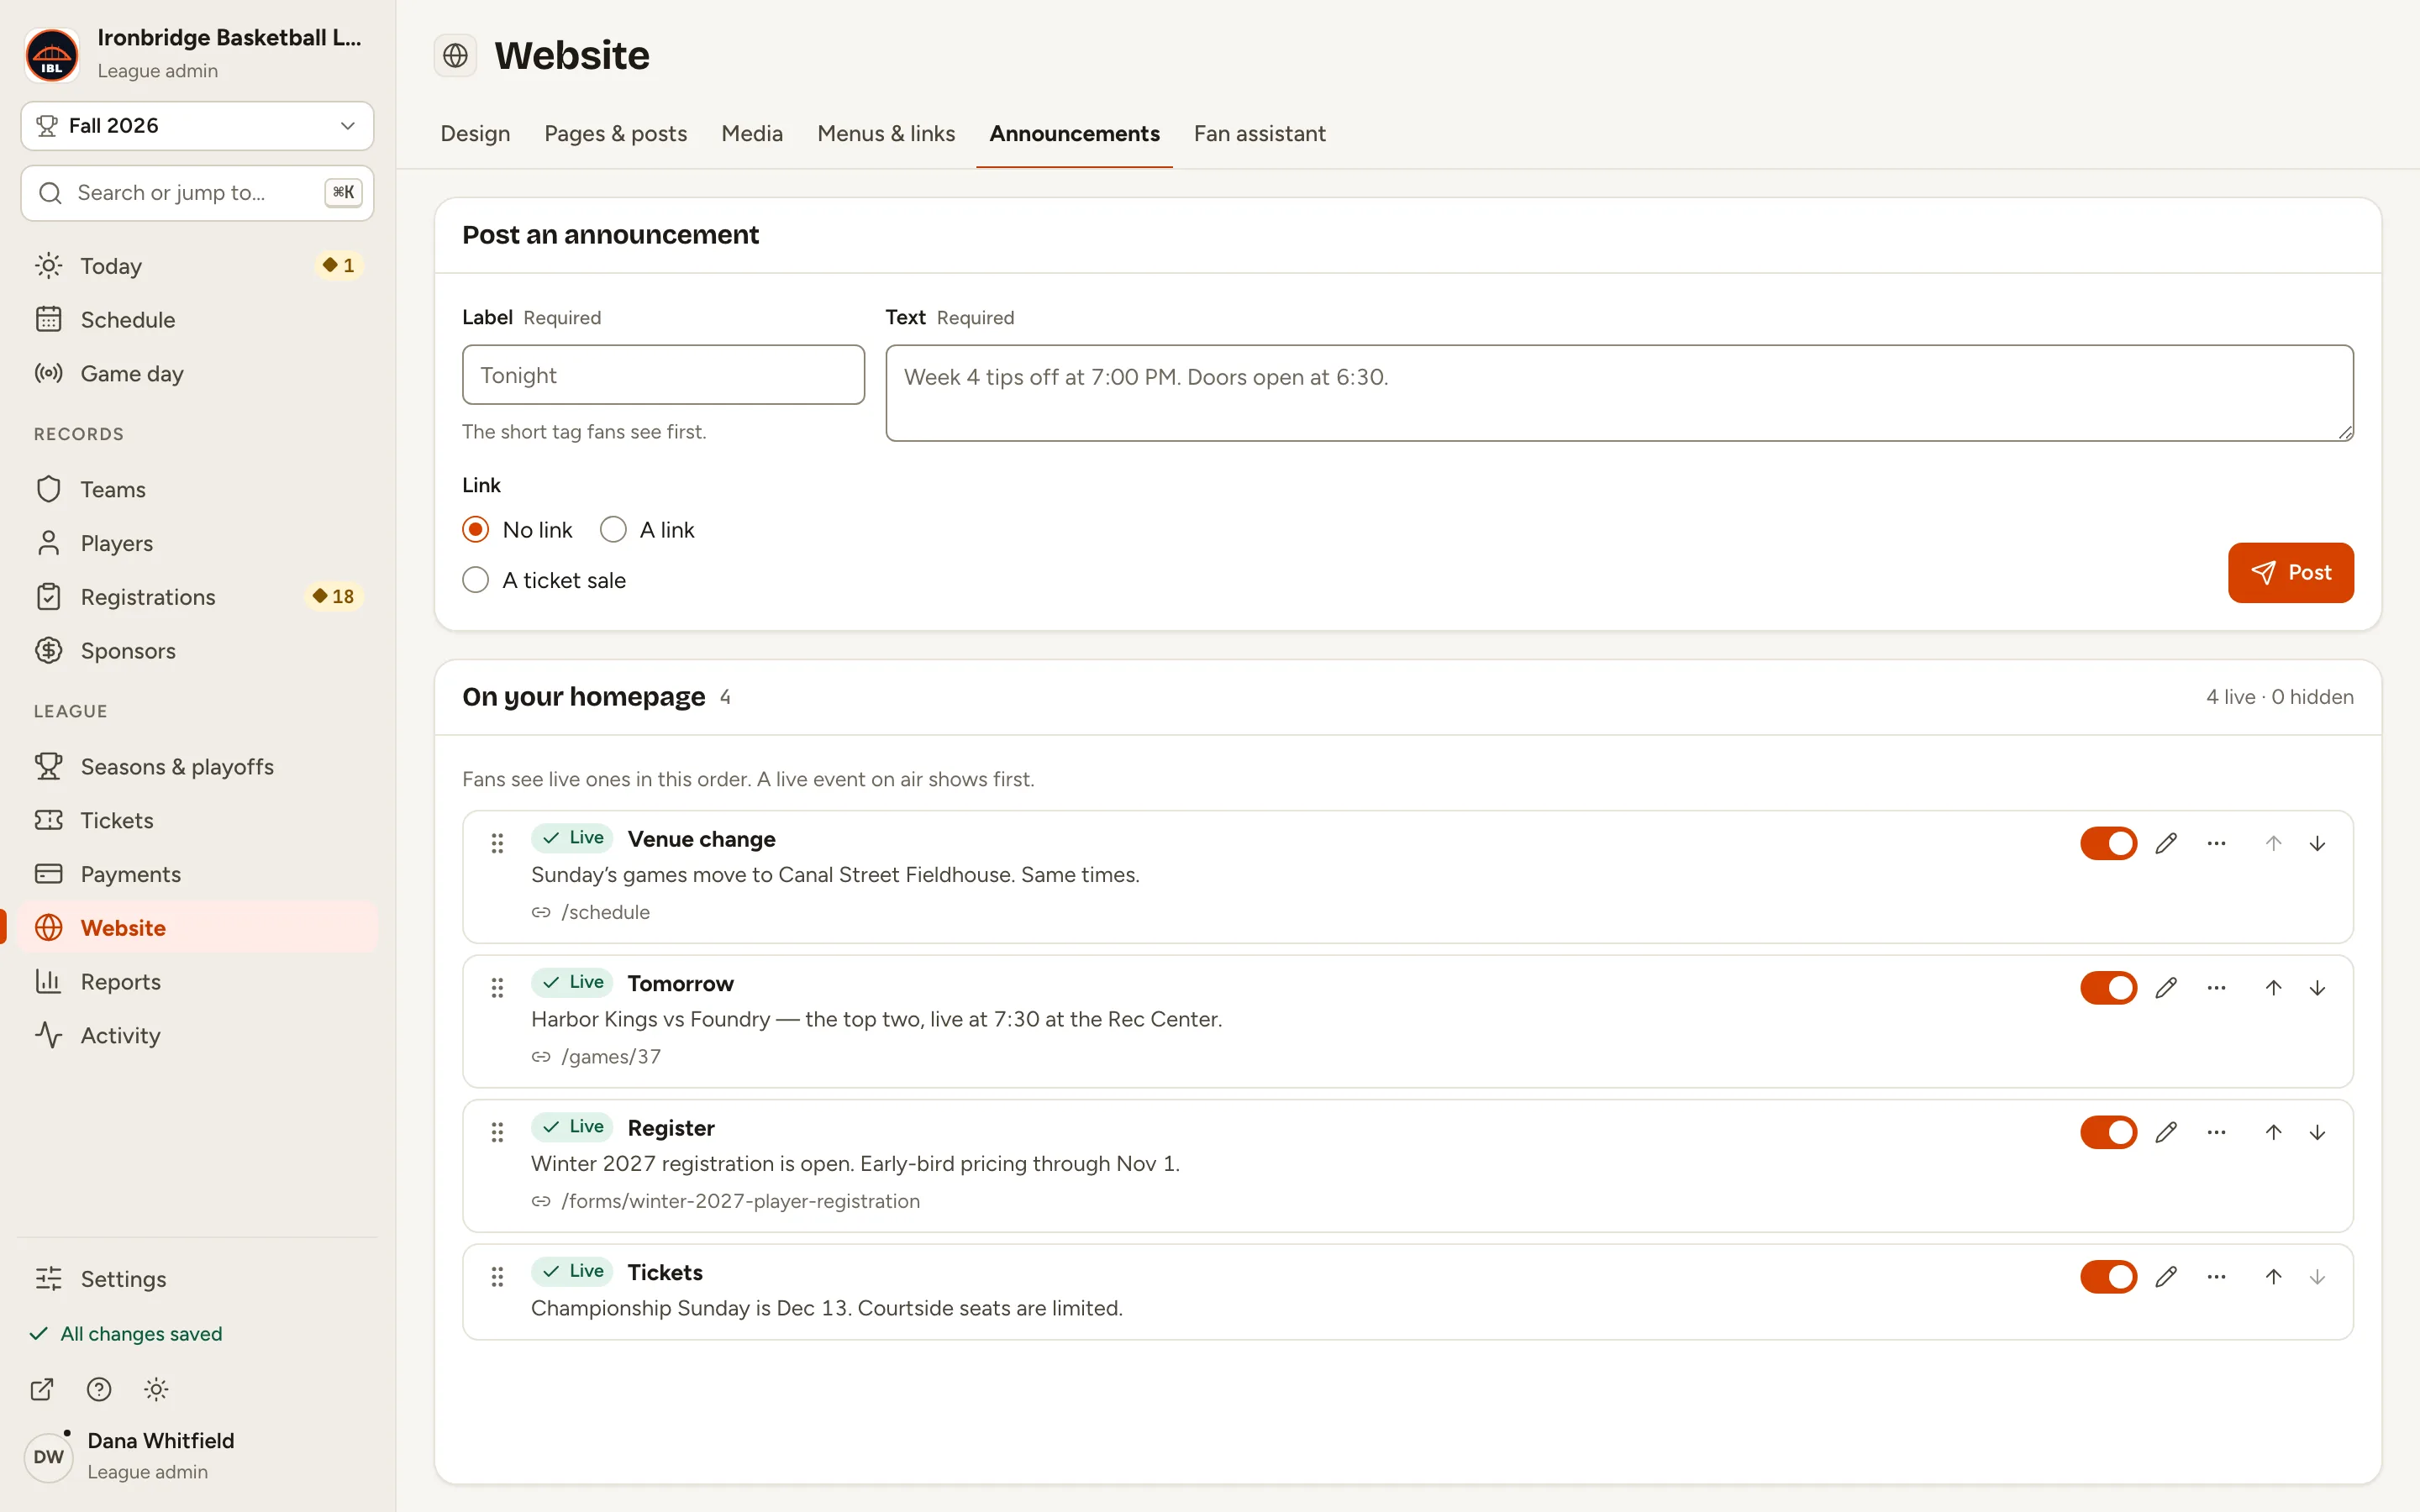
It’s live straight away, at the end of On your homepage. A Posted message has Undo in case you need it.
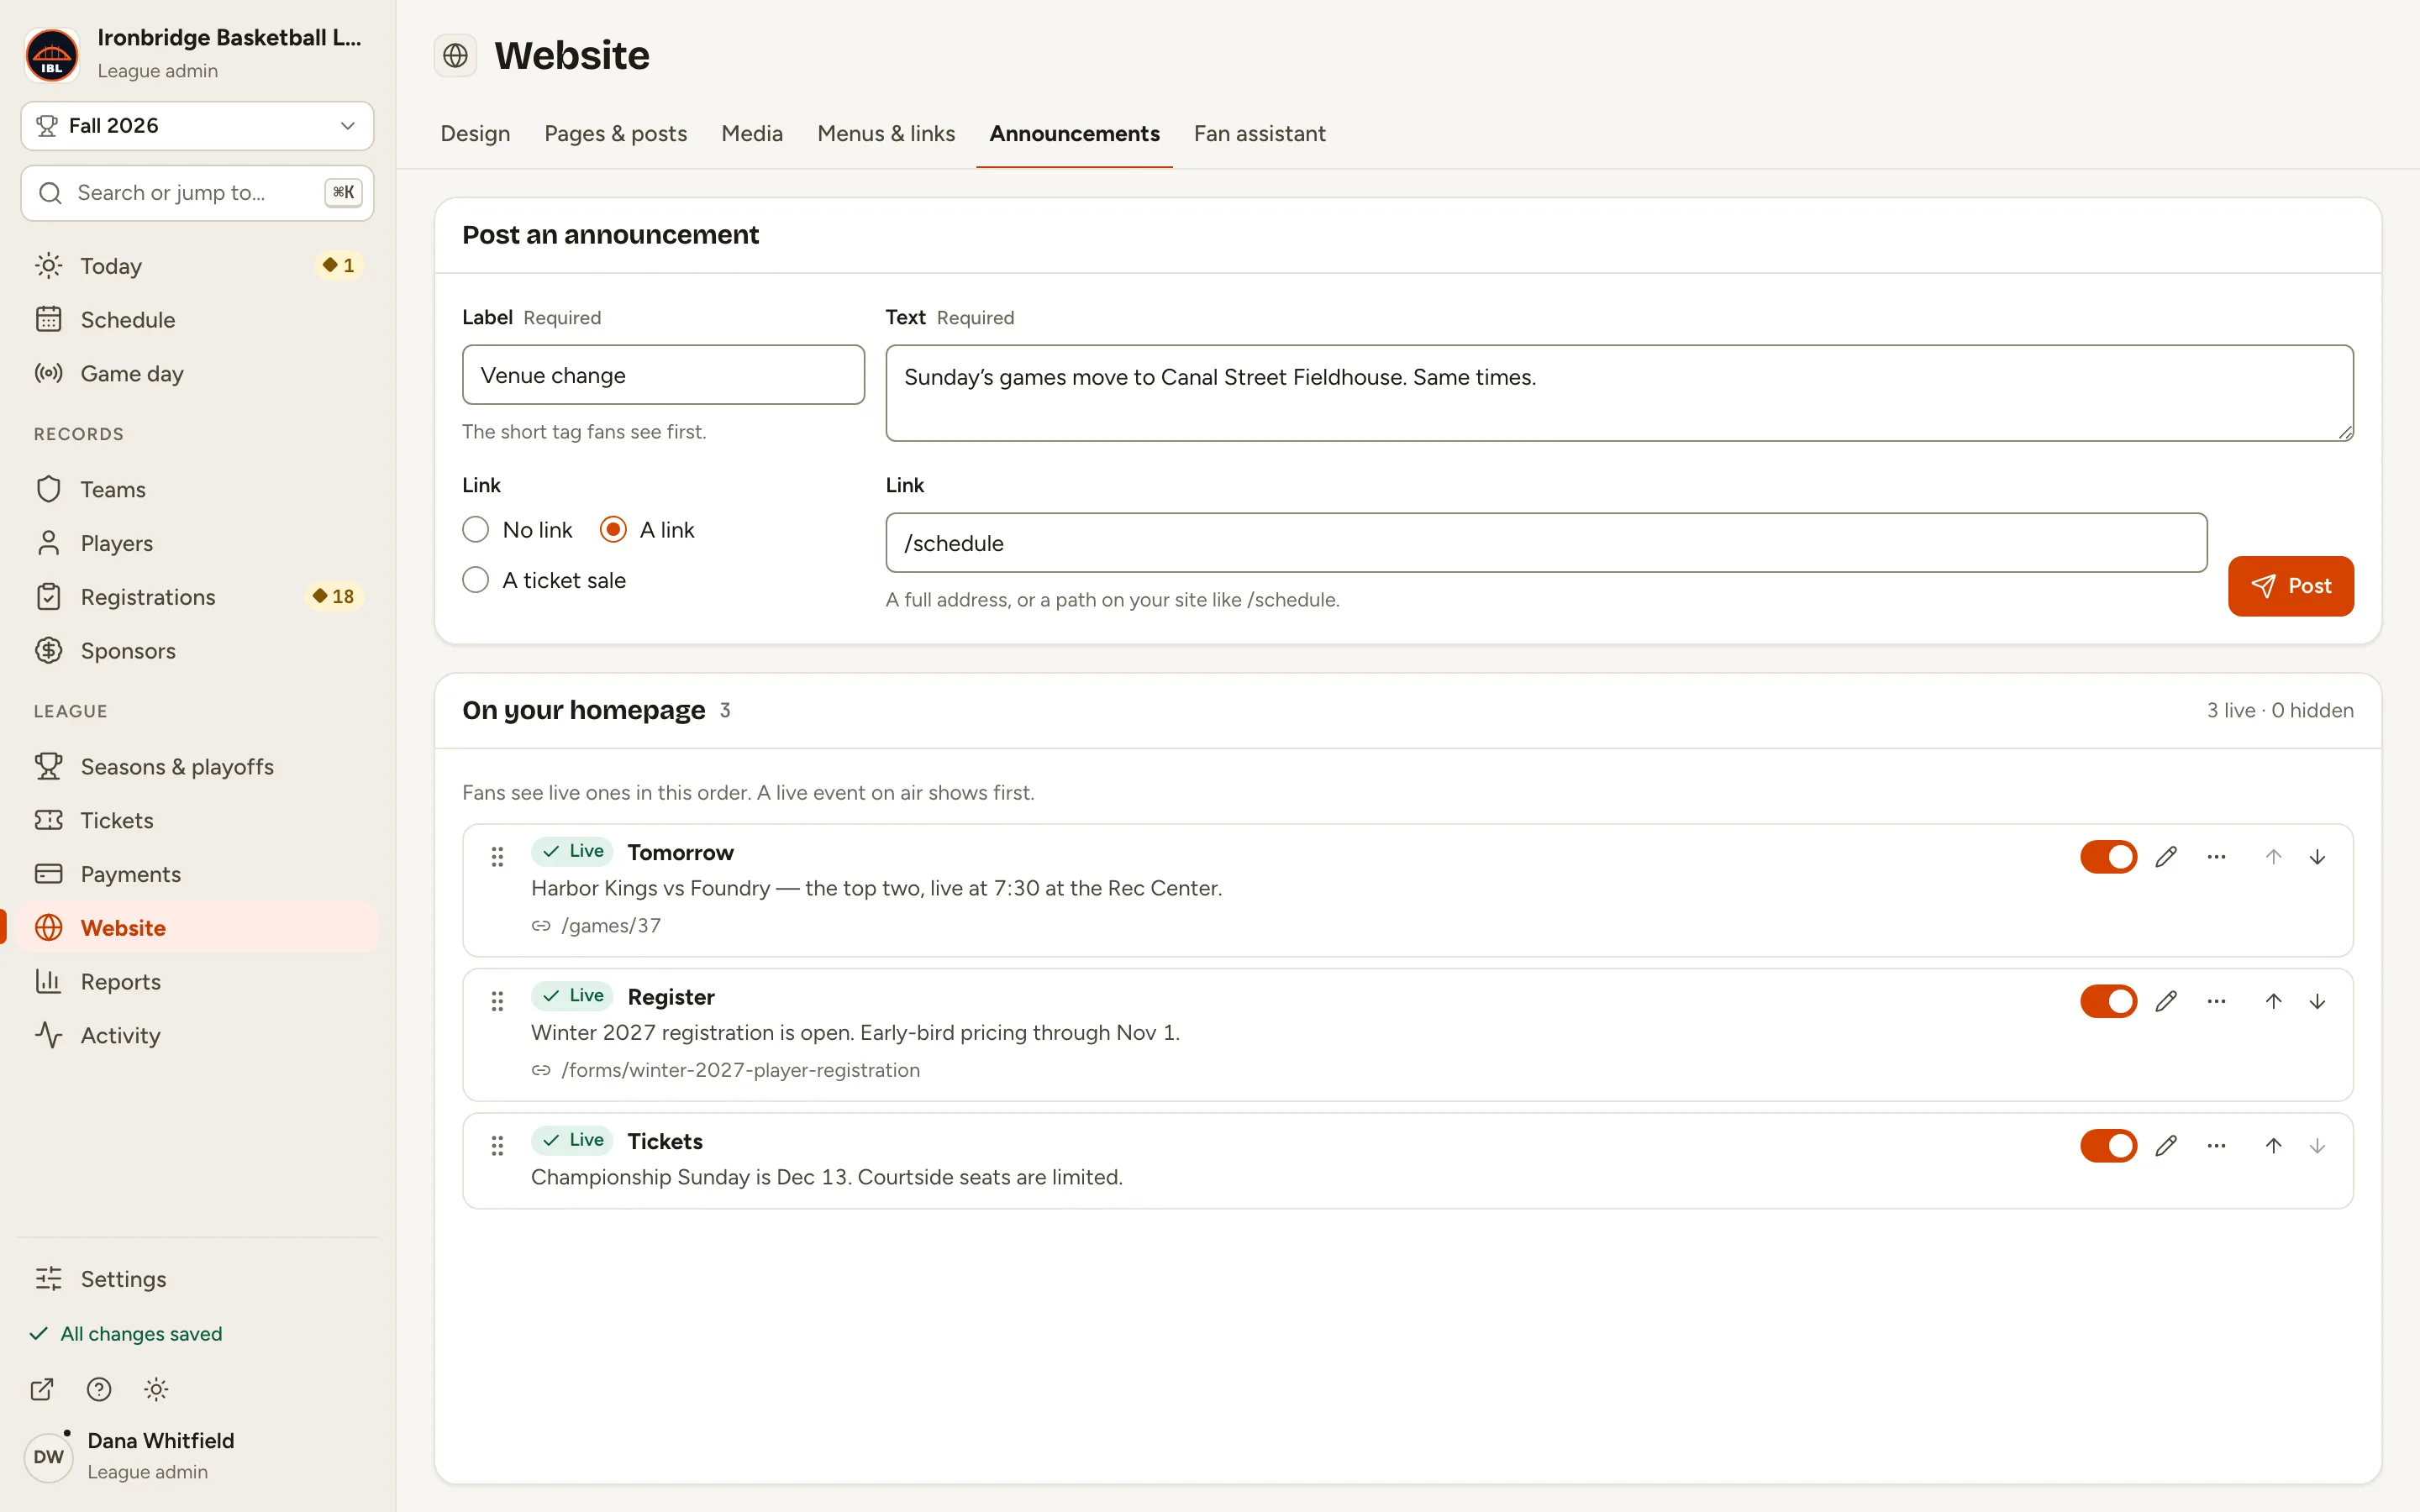
Fig. 6Post, at the right of the form. -
Step 7: Click ↑ next to Venue change until it’s first.
Fans see live announcements in this order. You can also drag one by its handle.
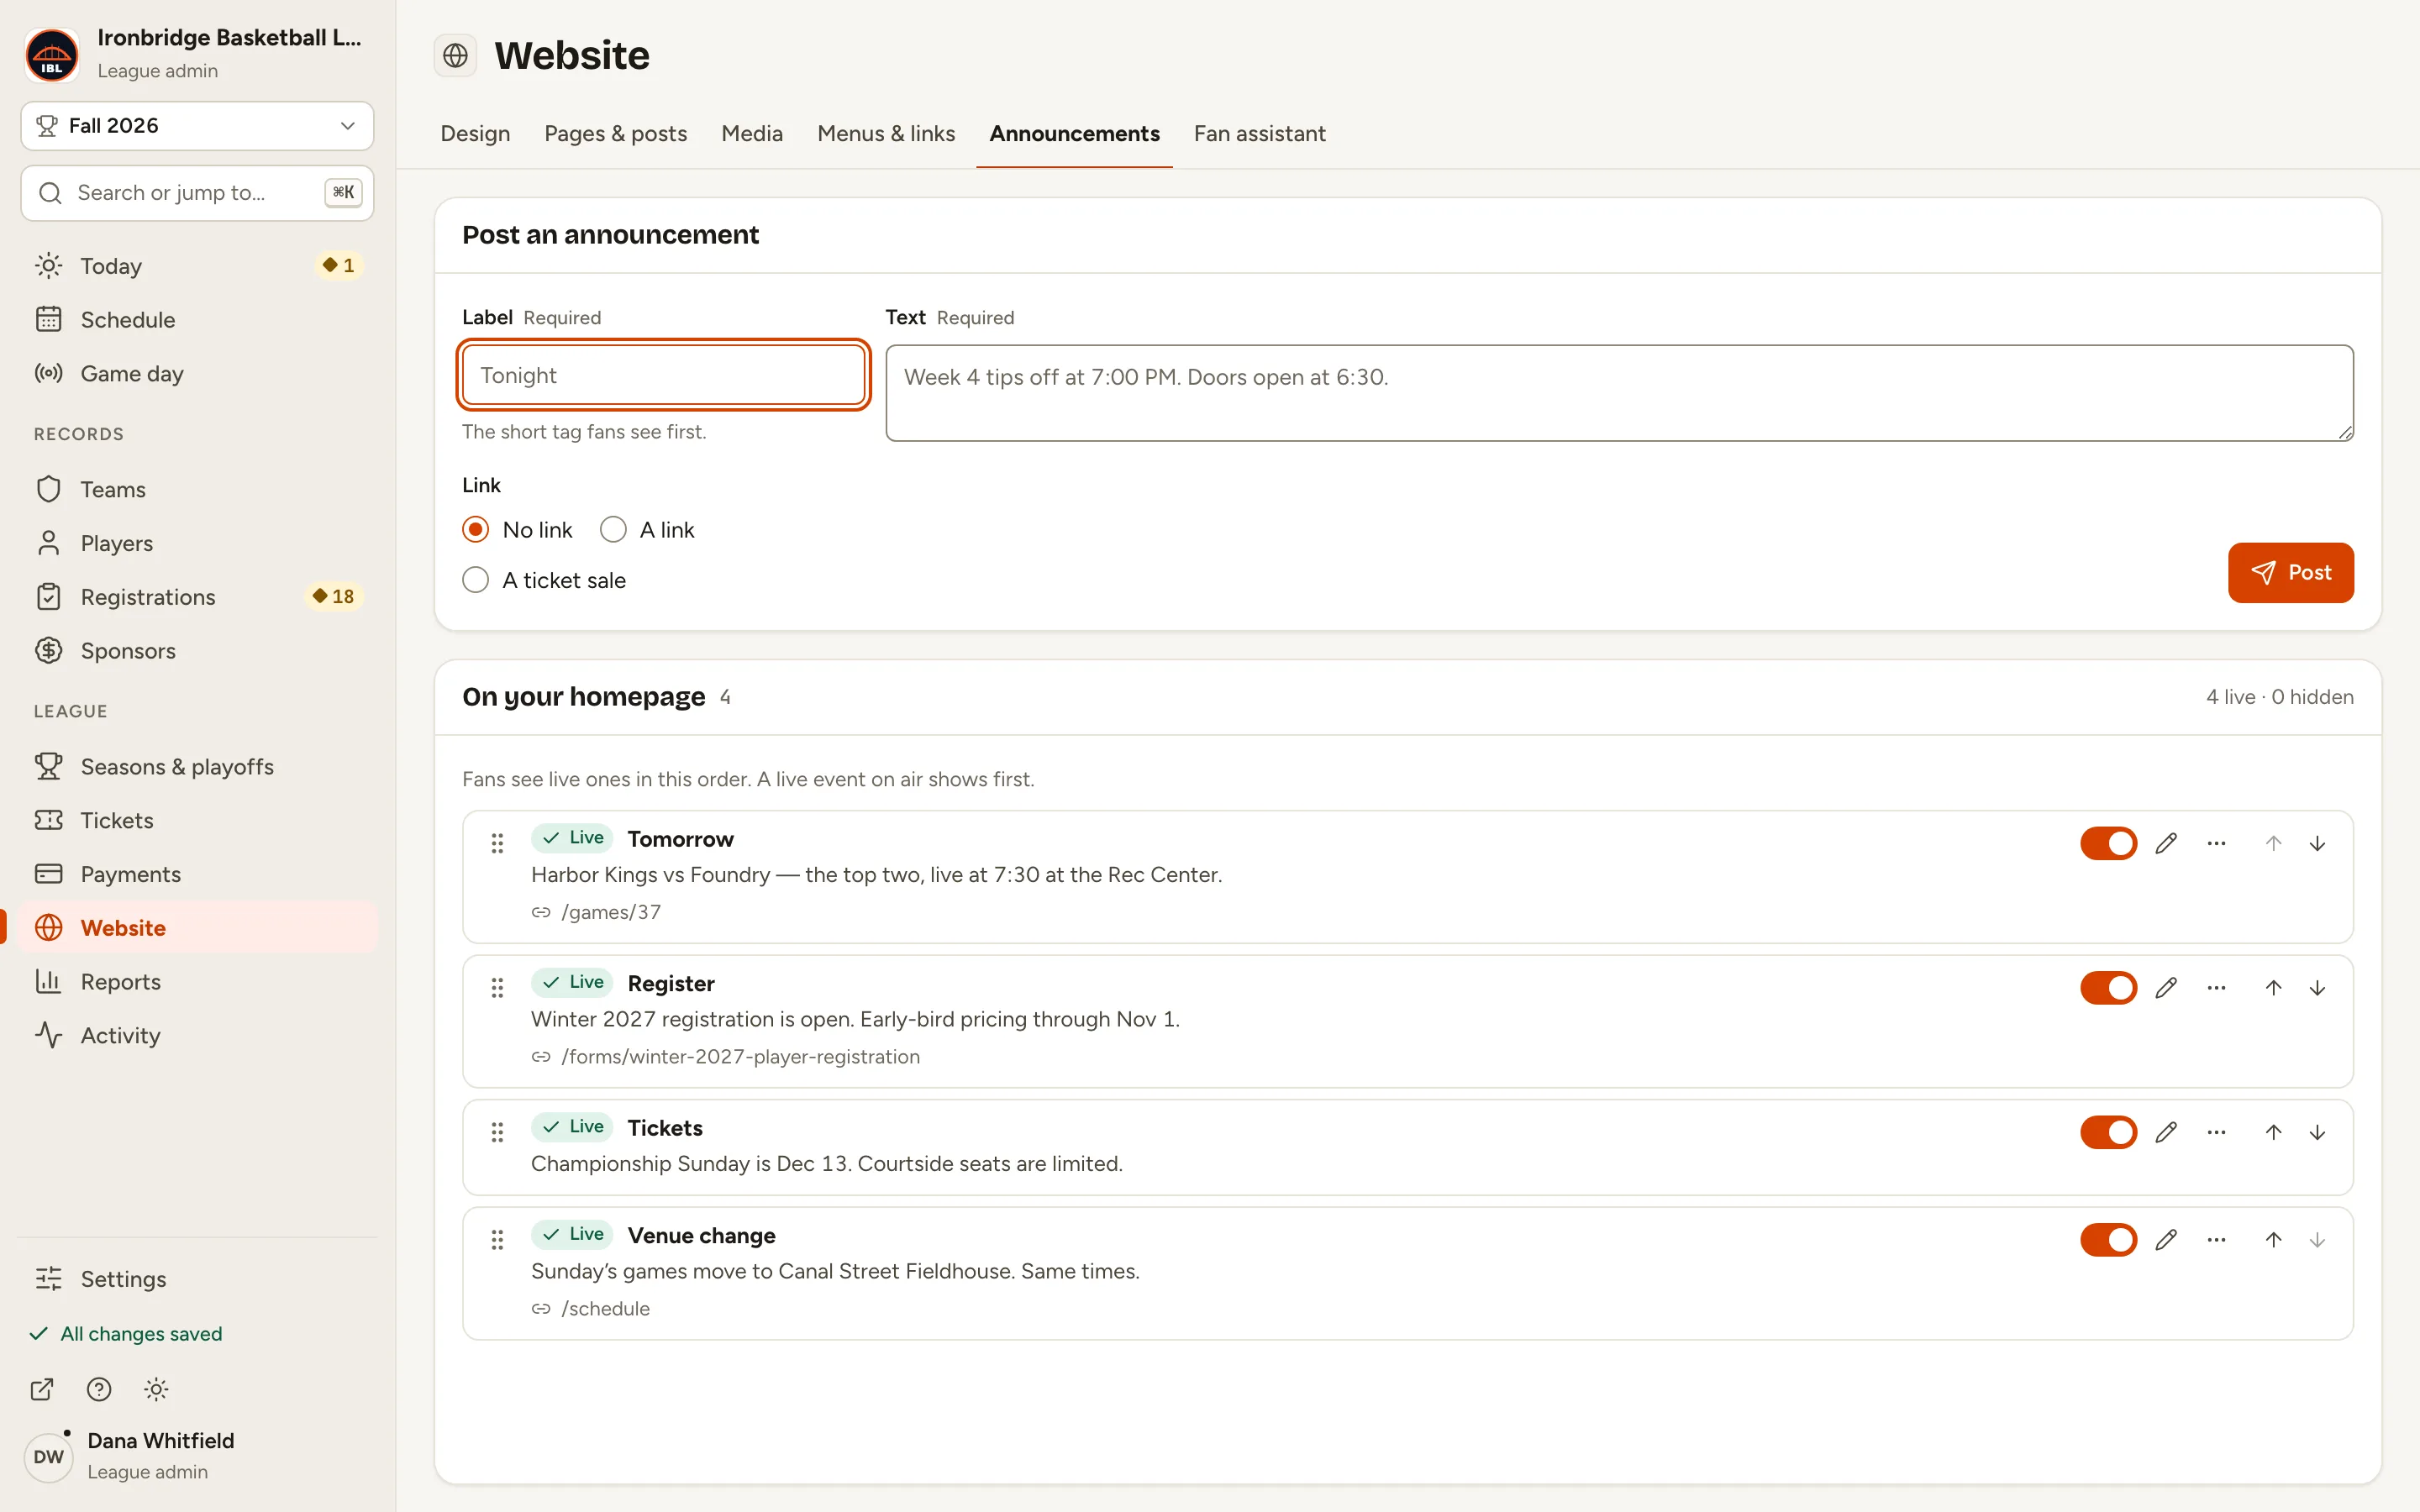
Fig. 7The arrows set the order fans see. -
Step 8: Open your website.
From the admin, click ↗ (View public site) at the bottom of the sidebar; your website opens in a new tab. Your announcement is first in the Announcements section of your homepage.
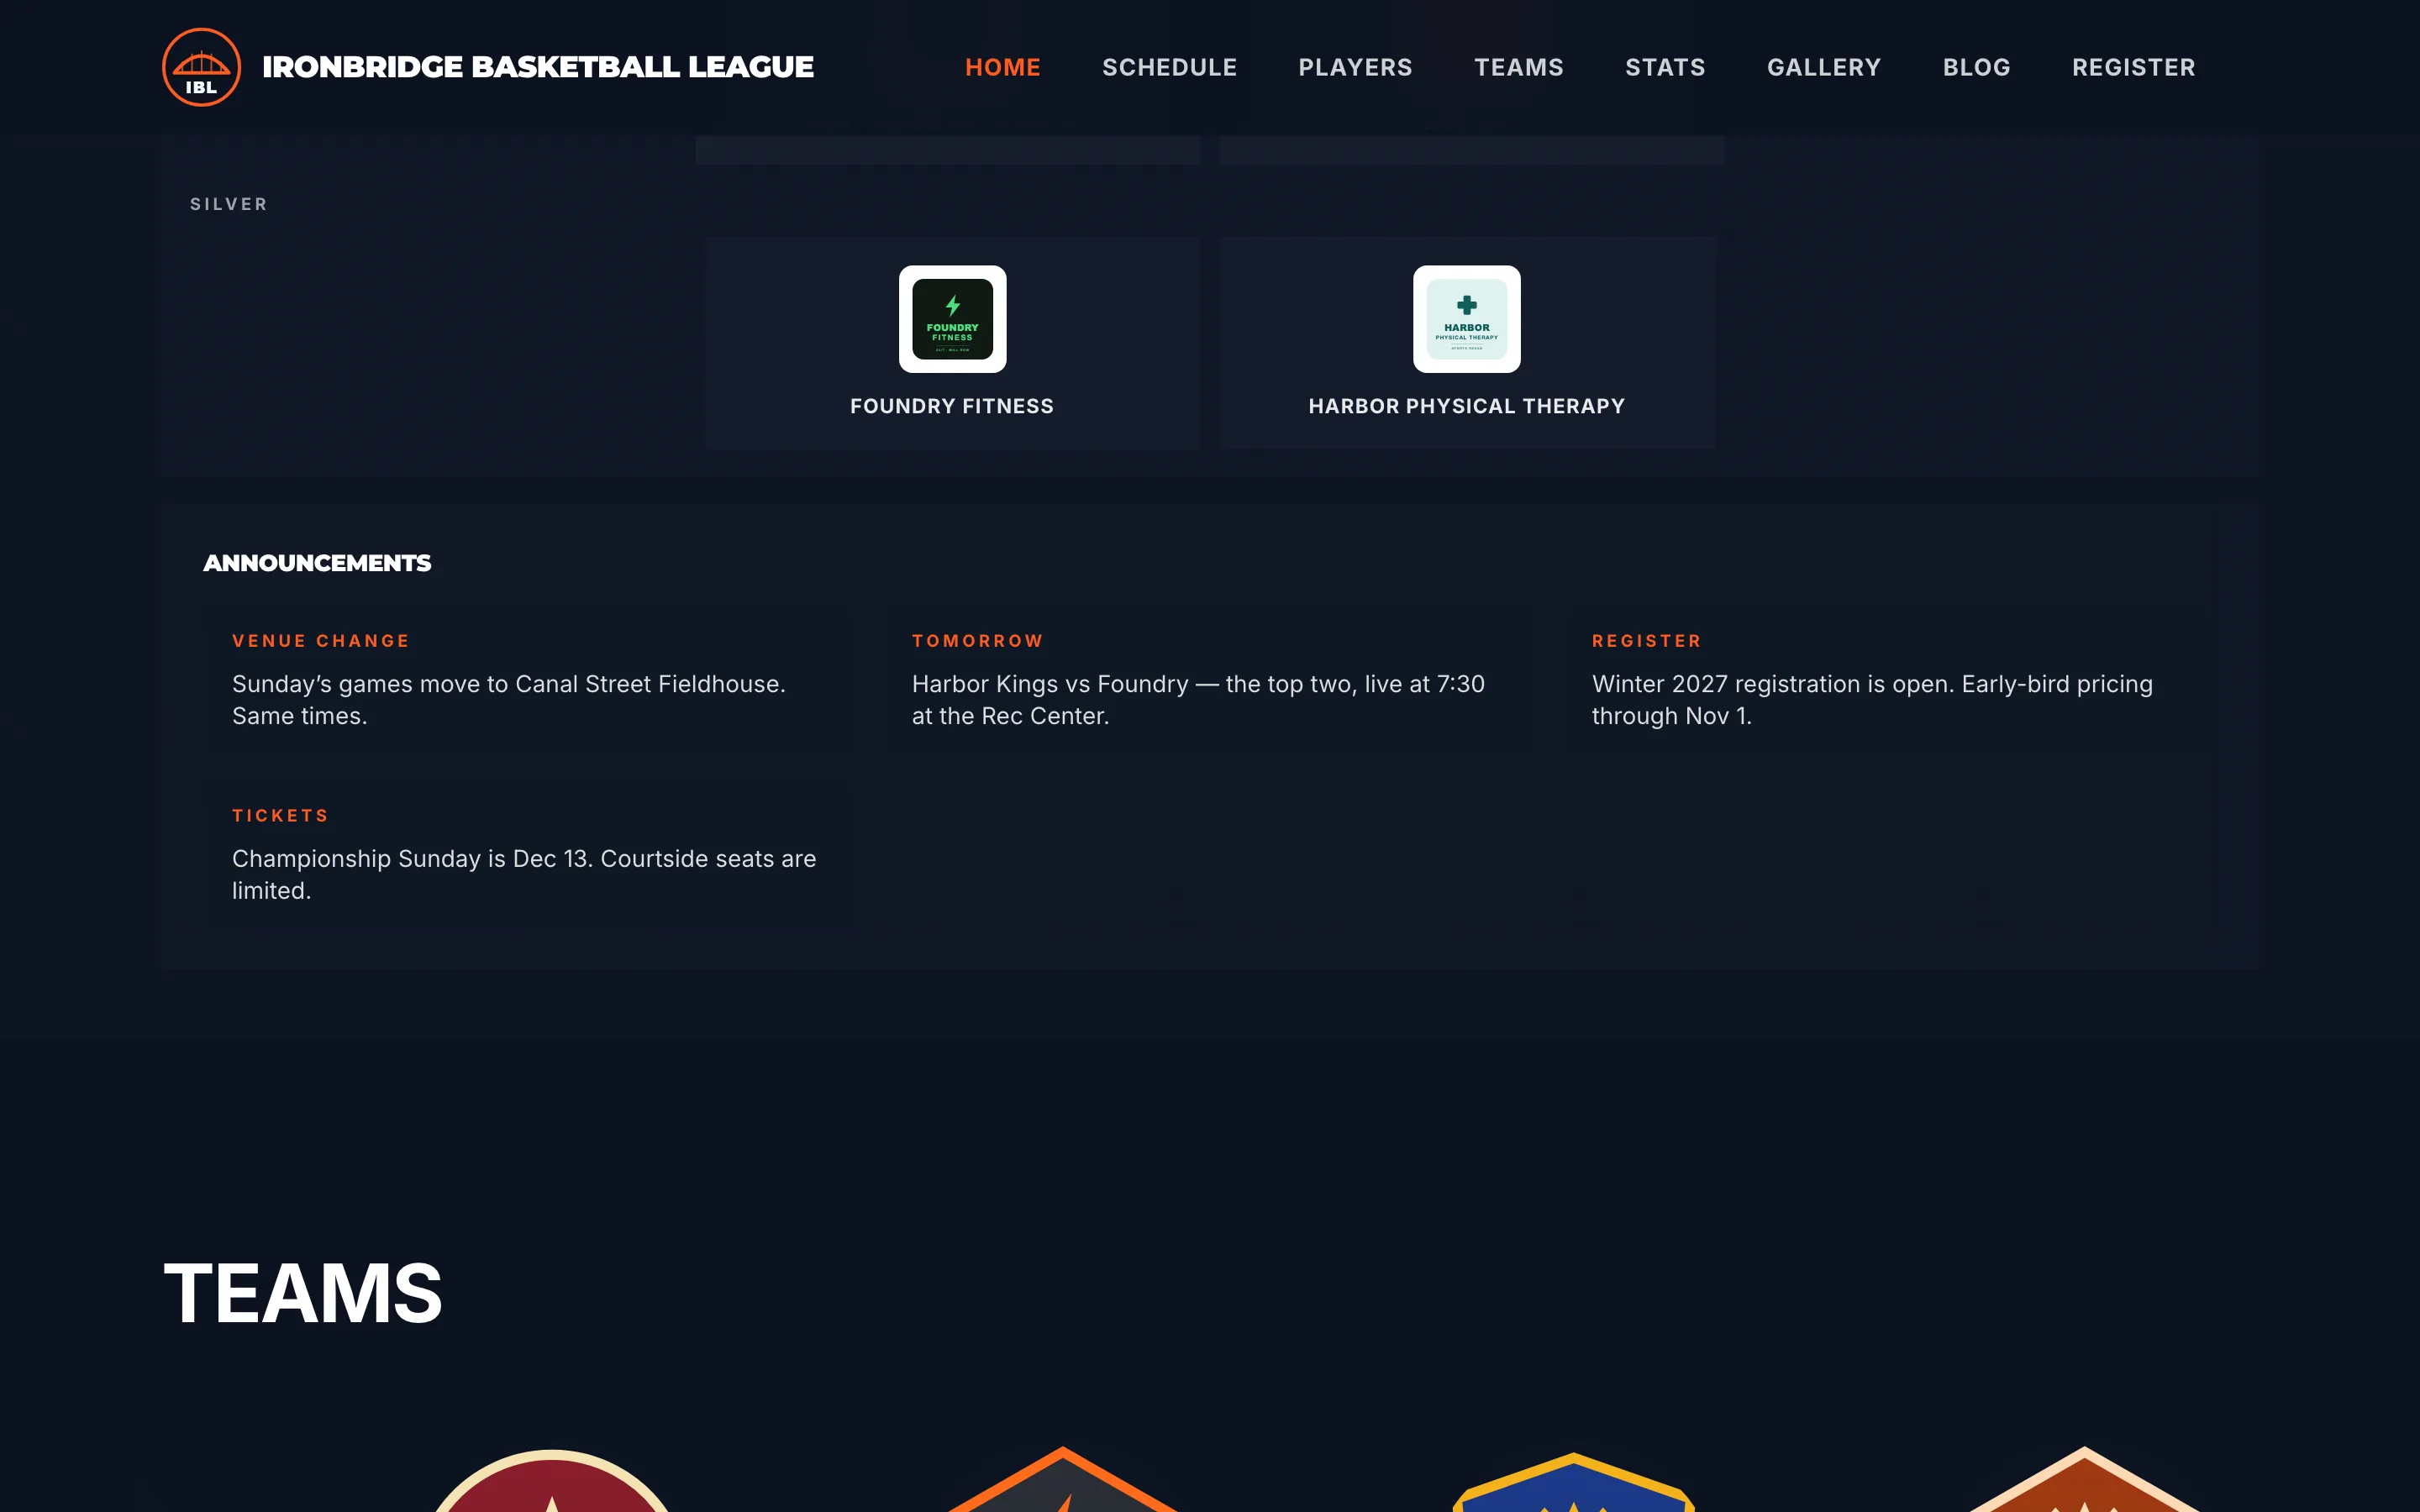
Fig. 8Your announcement, first on the homepage.
What you’ll see
Your announcement is on your homepage, first in line. When it’s out of date, switch it off or delete it in Website › Announcements.